Water Heater Leak Diagnostic Tool
Find a puddle? Don't panic. Answer the questions below to identify the most likely culprit and get immediate advice on how to handle it.
Likely Culprit:
Why this happens:
Recommended Action:
You come home to find a puddle of water near your basement corner. Panic sets in. Is the whole thing going to burst? Before you call an emergency plumber or start mopping up, take a breath. Water heater leaks are rarely random disasters; they usually happen at specific weak points that fail over time. Knowing where to look can save you hundreds of dollars and a lot of stress.
Most homeowners assume the tank itself is cracked, but that’s actually one of the less common scenarios until the unit is very old. In reality, nearly 80% of leaks stem from connections, valves, or external components. If you can identify the source quickly, you might fix it yourself with a wrench and some Teflon tape. Or, you’ll know exactly what part needs replacing when you do call a pro. Let’s walk through the five most likely spots for a leak, ranked by how often they cause trouble.
The Temperature and Pressure Relief Valve
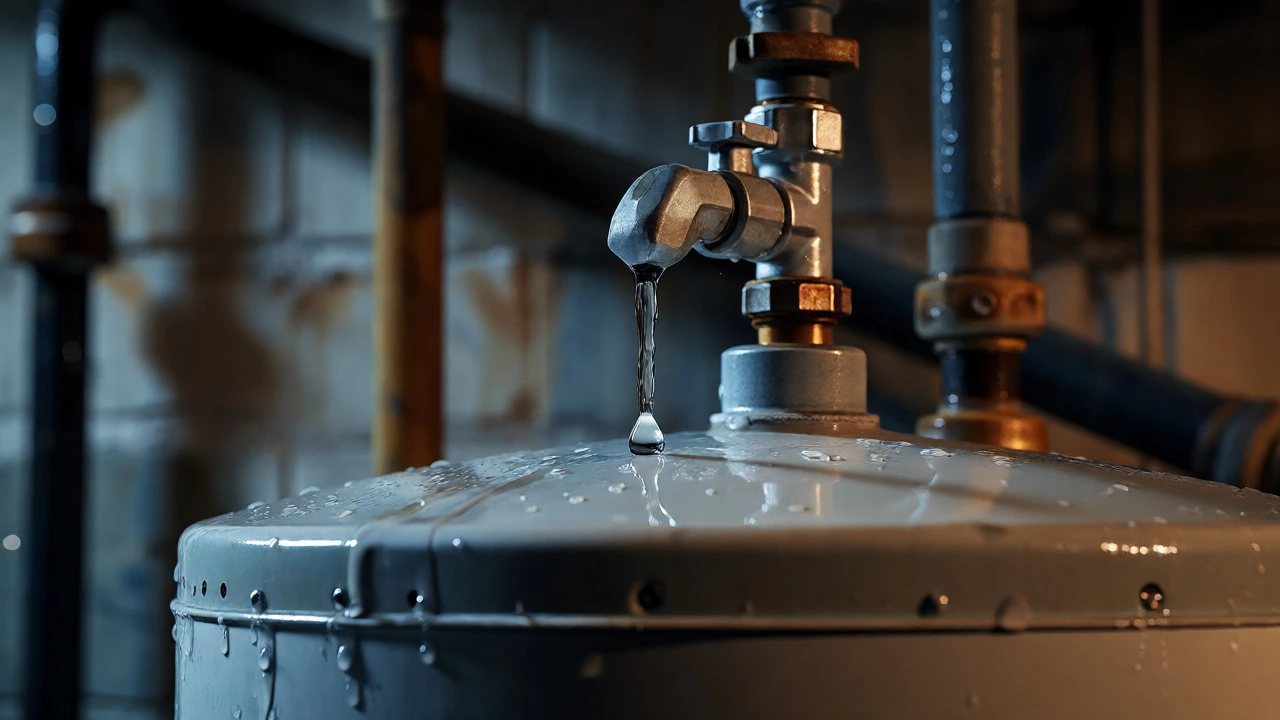
If there’s a small pipe sticking out of the top or side of your tank with a lever on it, that’s your Temperature and Pressure (T&P) Relief Valve. This safety device is designed to open if the internal pressure gets too high, preventing the tank from exploding. It’s a good thing it exists, but it’s also a notorious leaker.
Why does it leak? Sometimes it’s just old age. The rubber seal inside degrades. Other times, it’s reacting correctly to a problem elsewhere-like a faulty thermostat overheating the water or excessive pressure from your home’s main supply line. If you see water dripping from the discharge pipe connected to this valve, don’t ignore it. A steady drip means the valve isn’t resealing properly. A sudden gush means the pressure spiked dangerously.
Quick check: Lift the lever on the T&P valve briefly. You should hear a rush of water and see it flow out the discharge pipe. When you let go, it should snap back shut and stop immediately. If it keeps dripping after you release it, the valve is faulty and needs replacement. This is a cheap part, usually under $20, but accessing it can be tricky if the tank is tightly packed into a closet.
The Drain Valve at the Bottom
Sitting at the very bottom of the tank is the drain valve, used for flushing sediment during maintenance. Because it’s located low, gravity helps any leak here form a noticeable puddle right away. These valves are typically made of plastic or brass and feature a simple screw or ball mechanism.
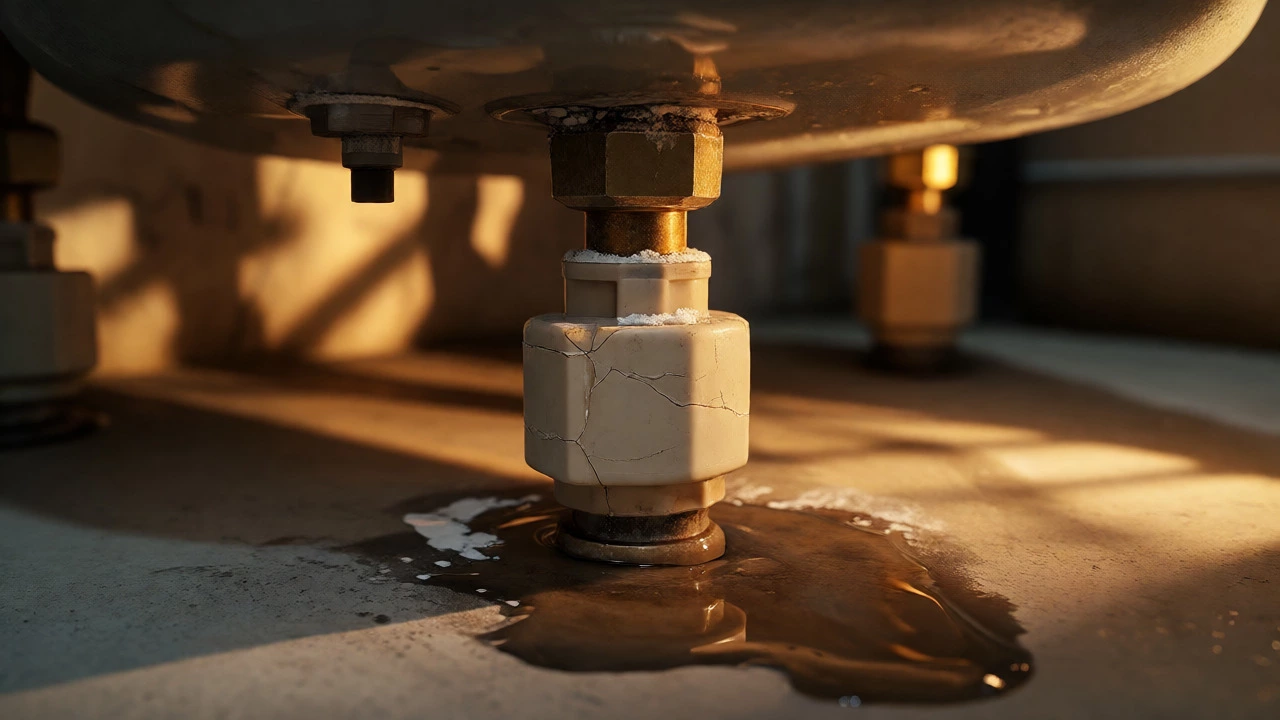
Plastic drain valves are particularly prone to cracking. If you’ve ever tried to flush your heater and the handle felt stiff, forcing it might have already caused micro-fractures. Over time, thermal expansion and contraction weaken the plastic further. If you spot moisture around the base of the tank, check the drain valve first. Tightening the packing nut sometimes stops a slow seep, but if the body of the valve is cracked, tightening won’t help. You’ll need to replace it.
Pro tip: If you’re handy, swapping a plastic drain valve for a brass one is a smart upgrade. Brass lasts longer and handles heat better. Just make sure the tank is drained before you try this, or you’ll create a much bigger mess than you started with.
Inlet and Outlet Pipe Connections
Your water heater has two pipes coming out of the top: one for cold water entering (inlet) and one for hot water leaving (outlet). These connections use threaded fittings sealed with pipe dope or Teflon tape. Vibrations from water hammer, shifting foundations, or even just the natural settling of the house can loosen these joints over years.
Look closely at the union nuts connecting the pipes to the tank nipples. Are they wet? Corroded? White crusty residue around the threads indicates a long-term slow leak. Sometimes the leak isn’t at the tank connection but at the union joint where the flexible hose meets the rigid pipe. This is a classic DIY fix. Turn off the water supply, depressurize the system, and re-tape the threads. If the copper pipe itself is pitted or green, however, you might have galvanic corrosion eating away at the metal.
The Anode Rod Port
Inside every tankless or storage water heater is a sacrificial anode rod, a magnesium or aluminum core wrapped in steel wire. Its job is to corrode instead of the steel tank lining, extending the heater’s life. But the port where this rod screws into the top of the tank is a frequent leak site.
When the anode rod is removed for inspection or replacement, the plug hole must be sealed perfectly. If the original plug was damaged, or if new thread sealant wasn’t applied correctly during reassembly, water will seep out. Even if you haven’t touched the rod recently, the threads themselves can corrode. If you see rust-colored water dripping from the top center of the tank, inspect the anode rod port. Replacing the plug and applying fresh PTFE tape often solves the issue.
Tank Body Corrosion
Finally, we get to the scenario everyone fears: the tank itself is leaking. This usually happens when the glass lining inside fails, allowing water to touch the raw steel. Once corrosion starts, it spreads fast. You’ll often see brownish stains running down the sides of the tank, not just a clean puddle underneath.
Tank leaks are almost always fatal for the unit. Patching a steel tank is a temporary band-aid at best. If the leak is coming directly from the welded seams or the curved body of the tank, plan on replacement. How old is your heater? If it’s over 10-12 years old and leaking from the body, don’t waste money on repairs. Buy a new one.
| Leak Location | Likely Cause | DIY Fixability | Cost Estimate |
|---|---|---|---|
| T&P Valve | Faulty seal or high pressure | Medium (requires draining) | $15-$30 parts |
| Drain Valve | Cracked plastic or loose nut | High (easy swap) | $10-$25 parts |
| Pipe Connections | Loose threads or bad tape | High (tighten/reseal) | $5-$10 materials |
| Anode Rod Port | Bad seal or corroded threads | Medium (access issues) | $10-$20 parts |
| Tank Body | Internal corrosion/lining failure | Low (replace unit) | $500+ installed |
How to Diagnose Without Getting Soaked
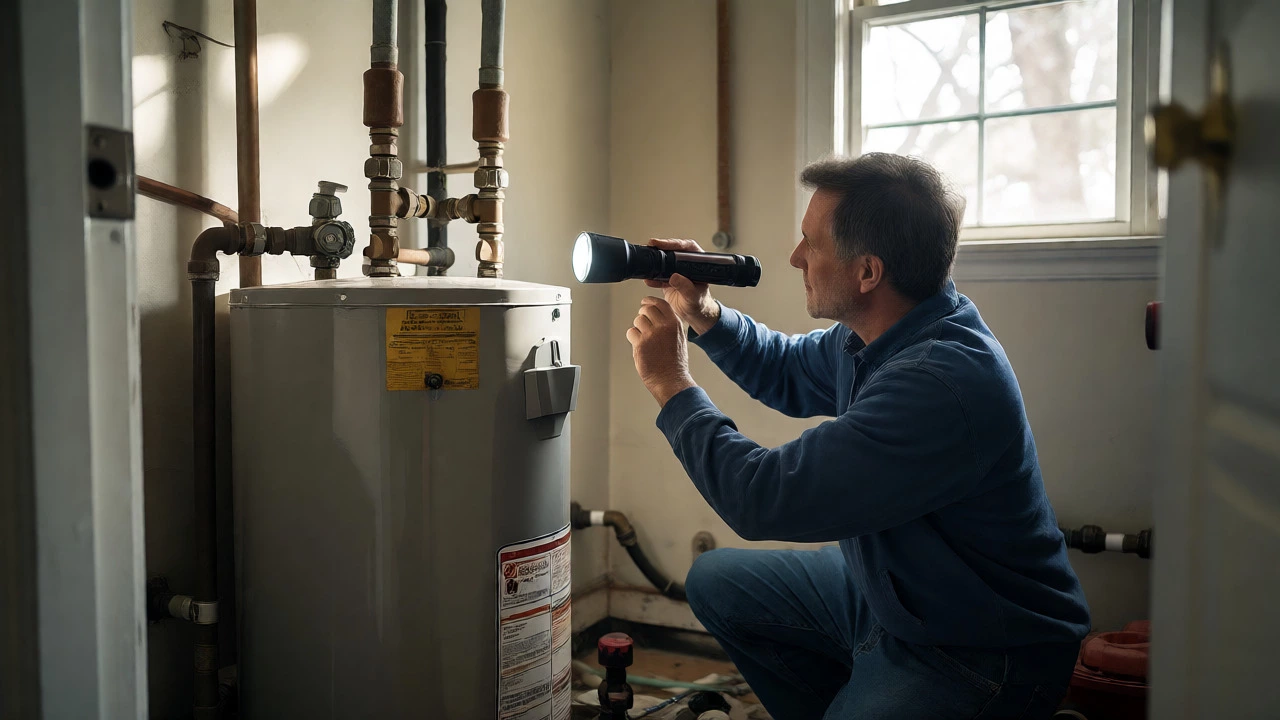
Figuring out which of these five is the culprit requires a bit of detective work. Start by drying the entire exterior of the tank with old towels. Then, place dry cardboard or newspaper underneath the suspected areas. Wait a few hours or overnight. Check which paper got wet first.
Use a flashlight to trace the path of the water. Gravity pulls leaks downward, so a leak at the top might appear to be coming from the middle. Look for the highest point of moisture. If the water is clean, it’s likely a valve or connection. If it’s rusty or brown, it’s probably internal corrosion or the anode rod area.
Don’t forget to check the expansion tank, if you have one. Many modern systems include a small blue or red tank mounted on the cold water inlet. If its bladder ruptures, it can cause pressure fluctuations that force the T&P valve to leak. While the expansion tank itself doesn’t leak onto the floor, it’s part of the system causing the symptom.
When to Call a Professional
Some jobs are straightforward, like tightening a nut. Others involve working with pressurized hot water and gas lines (if you have a gas heater). If you’re uncomfortable shutting off the water and gas, or if the leak is persistent despite your fixes, call a plumber. Gas heaters require careful handling of pilot lights and thermocouples. Electric heaters involve high-voltage elements. Safety first.
Also, consider calling a pro if you suspect the leak is related to the home’s water pressure. If your T&P valve keeps blowing off, you might need a pressure-reducing valve installed on your main line. That’s a plumbing job beyond the water heater itself.
Can I keep using my water heater if it’s leaking?
It depends on the source. A minor drip from a valve or connection can often wait a day or two while you order parts. However, if the tank body is leaking, you should turn off the power/gas and water supply immediately. Continuing to use a leaking tank risks catastrophic failure, which can flood your home and damage floors.
Why is my water heater leaking only when the hot water is running?
This often points to a faulty dip tube or an issue with the outlet pipe connection. When hot water flows, pressure dynamics change. If the leak appears only during usage, check the hot water outlet nipple and the unions connected to it. Thermal expansion during heating cycles can also exacerbate loose fittings.
Is condensation on the water heater a leak?
Sometimes, yes, but often no. Cold incoming water can cool the outside of the tank, causing humid air to condense on the surface. This looks like sweating. If the puddle disappears when you wipe it dry and doesn’t return immediately, it’s likely condensation. If the puddle grows steadily regardless of temperature changes, it’s a real leak.
How long do water heater valves last?
T&P valves and drain valves typically last 5 to 7 years. Plastic drain valves may fail sooner due to brittleness. Regular maintenance, such as annual flushing, can extend their life, but eventually, seals degrade. Replacing them preemptively during routine service is cheaper than dealing with a surprise leak.
What causes white powder around water heater leaks?
That white powder is mineral deposits, usually calcium or lime, left behind after hard water evaporates. It confirms a chronic, slow leak rather than a sudden break. The presence of significant buildup suggests the leak has been happening for weeks or months, giving you time to diagnose and fix it without panic.
Next Steps for Homeowners
Start with the easy checks. Inspect the T&P valve discharge pipe. Look at the drain valve at the base. Examine the pipe connections at the top. Dry everything, then monitor. If you find a loose nut, tighten it gently-don’t overtighten and crack the fitting. If you find a cracked valve, replace it. If the tank itself is weeping, start shopping for a replacement.
Regular maintenance prevents many of these issues. Flush your tank annually to remove sediment that accelerates corrosion. Test the T&P valve twice a year. Keep the area around the heater clear for airflow and inspection. By knowing where a water heater leak is most likely to occur, you turn a potential crisis into a manageable weekend project.