Refrigerator Troubleshooter
Select Your Refrigerator Issue
Quick Takeaways
- Start with the basics: power, settings, and door seal.
- Listen for the compressor and feel for airflow to narrow down the issue.
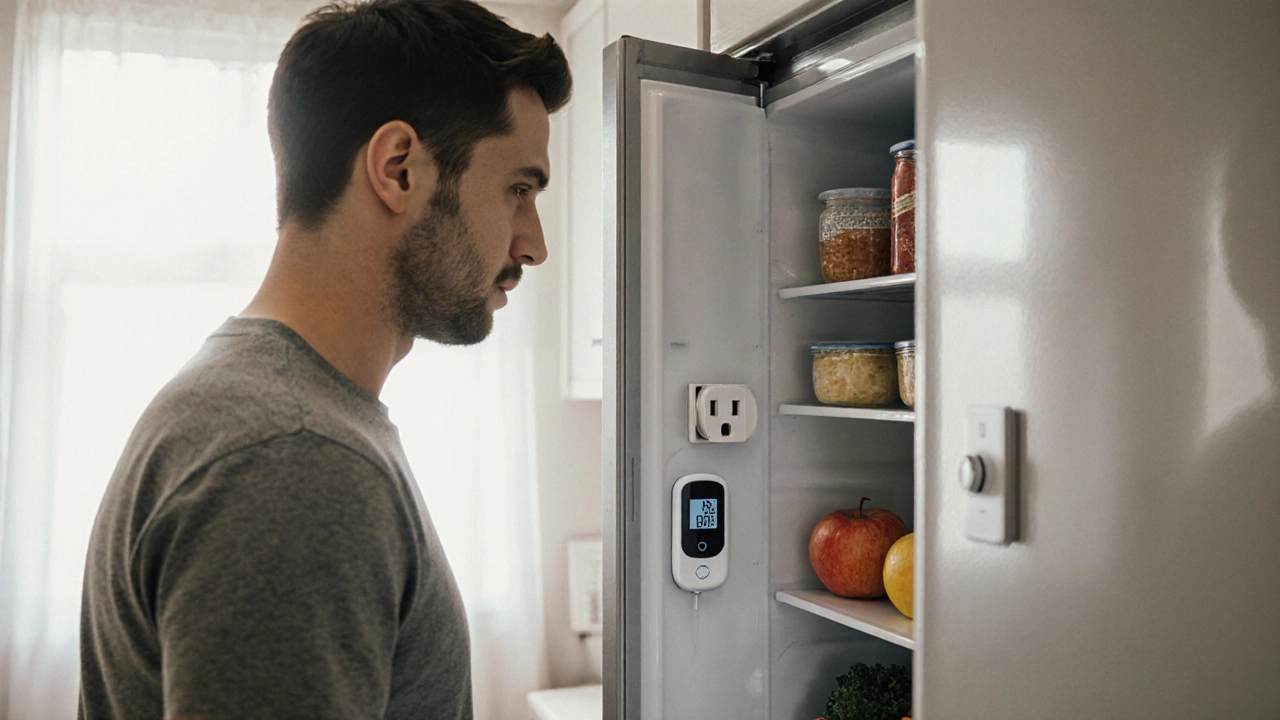
- Use a thermometer and multimeter to verify temperature and electrical components.
- Common culprits are a dirty condenser coil, a faulty thermostat, or a blocked defrost system.
- When the fix involves sealed‑system parts, call a professional.
When your fridge stops keeping food cold, panic can set in. The good news is you don’t need to guess wildly - a systematic refrigerator troubleshooting approach can pinpoint the problem in minutes. This guide walks you through every diagnostic step, from the obvious to the hidden, so you can decide whether a DIY fix is possible or it’s time to call the experts.
Refrigerator is a household appliance that removes heat from an insulated compartment to keep food and drinks cold. It works by circulating a refrigerant through a sealed system of coils, compressors, and valves. Understanding how these parts interact makes the diagnosis much easier.
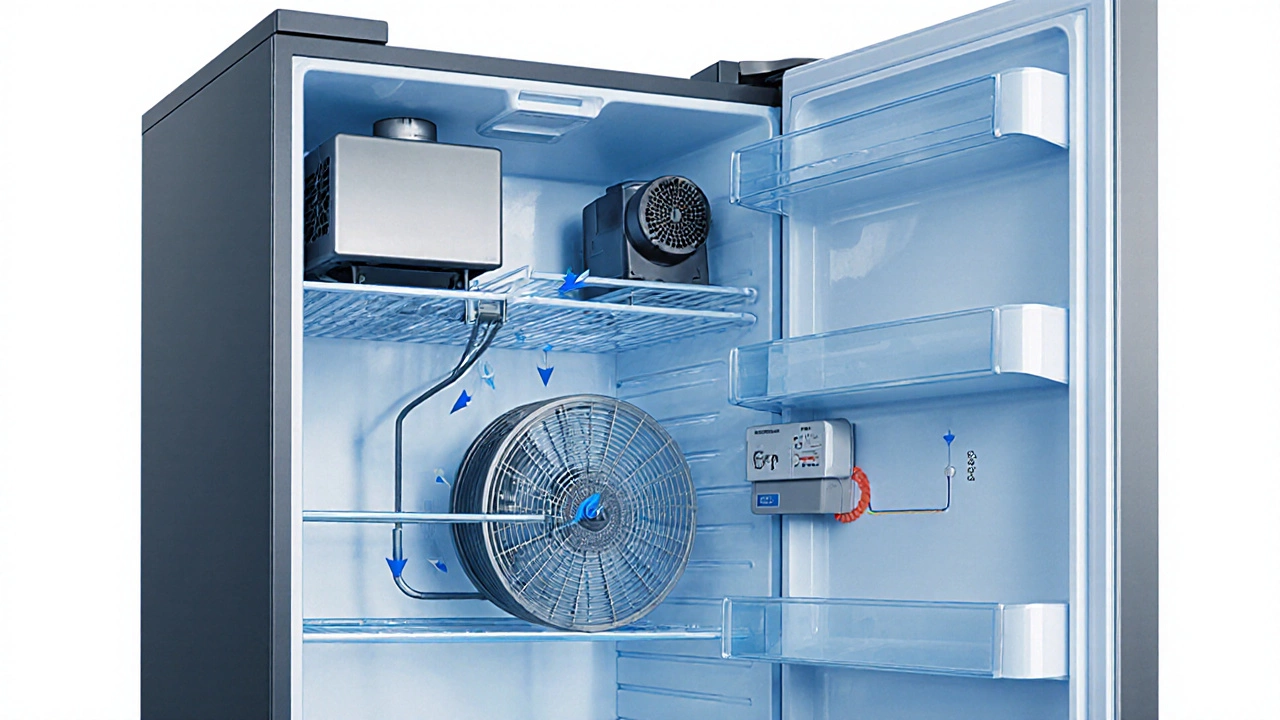
How a Refrigerator Actually Works
Before you start pulling parts apart, get a quick mental model of the cycle:
- The compressor compresses low‑pressure refrigerant gas, raising its temperature and pressure pushes the hot gas into the condenser coil.
- In the condenser coil a set of external tubes that release heat to the surrounding air, the gas cools and condenses into a liquid.
- The high‑pressure liquid travels through a capillary tube (or expansion valve) and enters the evaporator coil.
- Inside the evaporator coil the cold coil inside the fridge that absorbs heat from the interior, the liquid evaporates, pulling heat out of the compartment and creating the cold air you feel.
- The low‑pressure gas returns to the compressor, and the cycle repeats.
Two control elements keep the cycle in check: the thermostat a temperature‑sensing switch that tells the compressor when to run and the defrost timer a timer that periodically activates a heating element to melt ice buildup on the evaporator. When either of these fails, the fridge’s performance drops dramatically.
Common Symptoms and Likely Causes
| Symptom | Possible Cause | First‑check Action |
|---|---|---|
| Not cooling at all | Compressor not running | Listen for humming; feel for warm coils |
| Freezer frost > 1/2 inch | Defrost timer stuck | Manually advance timer (usually via a dial behind the fridge) |
| Temperature fluctuations | Faulty thermostat or temperature sensor | Check sensor resistance with a multimeter |
| Excessive noise | Loose condenser fan or motor bearings | Inspect fan blades for wobble |
| Water pooling at the bottom | Clogged drain tube or frozen evaporator | Remove the back panel and clear the tube |
Step‑by‑Step Diagnostic Checklist
- Verify power and settings
- Is the plug firmly in the outlet? Try another appliance in the same socket.
- Is the temperature dial set to the recommended level (usually 3‑4 for fridge, 0‑1 for freezer)?
- Listen for the compressor
The compressor sits at the back, low‑pitched humming indicates it’s running. No sound? Check the start relay (often a small plug‑in component) with a multimeter for continuity.
- Feel the condenser coil
Locate the coil (usually behind or underneath). It should be warm, not hot. If it’s covered in dust, clean it with a coil brush - a dirty coil can cause overheating and shut the compressor off.
- Check evaporator fan operation
Open the freezer door. You should hear a faint whirring fan after a few seconds. If not, the fan motor may be jammed or the motor’s wiring could be broken.
- Measure interior temperature
Place a digital thermometer in the middle shelf. Readings above 40 °F (4 °C) for fridge or above 0 °F (‑18 °C) for freezer suggest a cooling deficit.
- Inspect the door gasket
Close a dollar bill against the seal; it should not slide out easily. A cracked or loose gasket lets warm air in, forcing the compressor to work harder.
- Examine the defrost system
Manually advance the defrost timer using a screwdriver in the access hole (usually behind the kickplate). If ice melts quickly, the timer is functional; if not, the timer or defrost heater may be bad.
- Test the thermostat/temperature sensor
Locate the sensor (often a small probe on the evaporator). Remove it and measure resistance at room temperature - most sensors read around 10 kΩ. A wildly different value means replacement.
- Check the control board
If all mechanical parts check out, the electronic main board could be misreading temperature or failing to power the compressor. Look for burnt marks or loose connectors.
- Summarize findings
Match the symptom you observed with the most likely cause from the table above. If the repair involves sealed‑system components (compressor, refrigerant line, or sealed valve), stop here and call a licensed technician.
Essential Tools for the Job
- Multimeter (for checking continuity and resistance)
- Coil cleaning brush or soft vacuum attachment
- Digital refrigerator thermometer
- Screwdriver set (including a small flat‑head for the timer)
- Rubber gloves and safety glasses
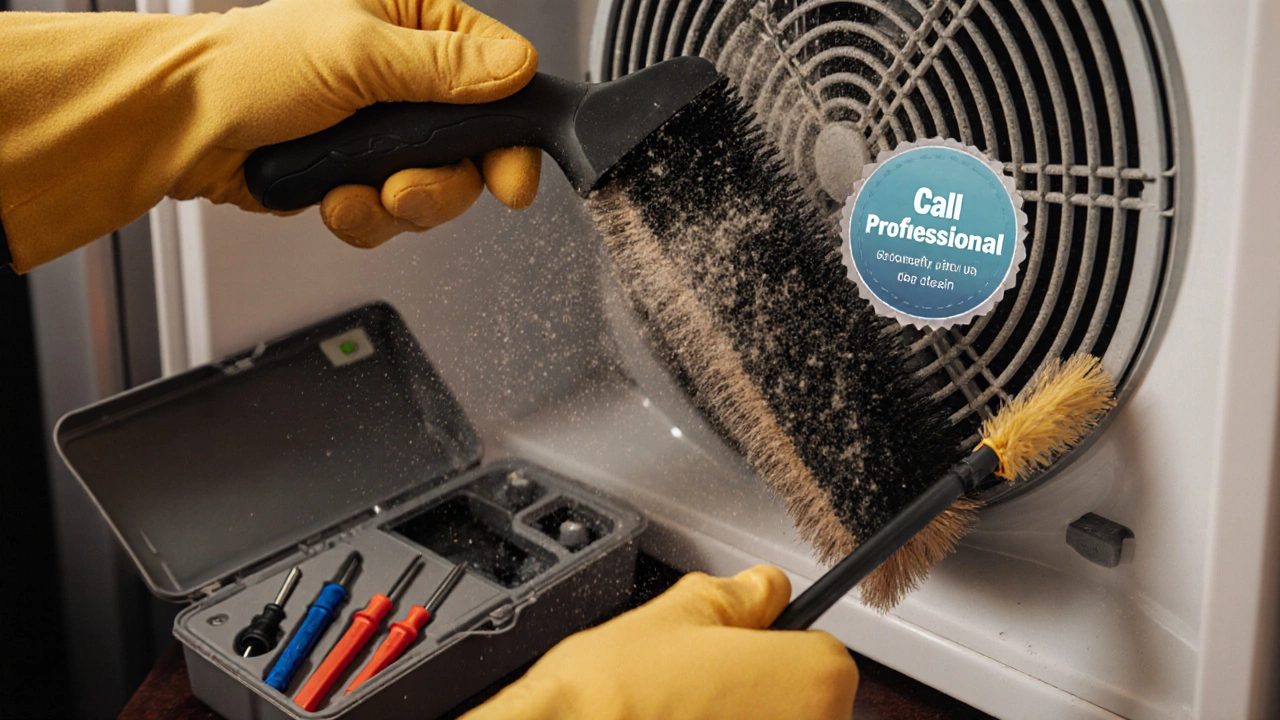
When to Call a Professional
If you encounter any of these red flags, it’s safer and cheaper in the long run to get a pro involved:
- The compressor is silent and the start relay tests good.
- You need to replace sealed‑system components - refrigerant handling requires certification.
- Electrical components show scorch marks or smell of burned plastic.
- Repeated attempts don’t improve temperature after you’ve cleared coils and fixed obvious issues.
Professional technicians have the tools (vacuum pumps, refrigerant recovery equipment) and the knowledge to avoid voiding warranties or causing dangerous leaks.
Preventive Maintenance Tips
- Clean the condenser coil every 6‑12 months.
- Wipe the interior shelves regularly to prevent moisture buildup.
- Check the door gasket monthly; replace if you see cracks or loss of flexibility.
- Keep the fridge at least 2 inches away from walls for proper airflow.
- Set the temperature controls according to the manufacturer’s recommendation - avoid “extra‑cold” settings that over‑work the system.
Final Thoughts
Diagnosing a refrigerator problem isn’t rocket science; it’s about methodically ruling out the obvious before tackling the complex. By following the checklist above you’ll save time, avoid needless part swaps, and know exactly when a licensed repairperson is needed. Keep this guide handy - the next time your fridge acts up, you’ll have a clear roadmap to a quick fix.
Why isn’t my fridge cooling but the compressor is running?
Common reasons include a clogged condenser coil, a failed evaporator fan, or a low‑charge refrigerant caused by a leak. Start by cleaning the coil, listening for the fan, and checking for ice buildup.
How can I tell if the defrost timer is bad?
Manually advance the timer with a screwdriver; if ice on the evaporator melts quickly, the timer works. If nothing changes, the timer or the heating element likely needs replacement.
What does a humming sound from the back of the fridge mean?
A steady hum is usually the compressor running. If the sound is irregular or there are clicking noises, the start relay or compressor motor may be failing.
My freezer is frosting over - should I defrost it?
Yes. Excess frost blocks airflow and reduces cooling efficiency. Unplug the fridge, let the ice melt, clean the interior, and check the defrost timer and heater before restarting.
Is it safe to replace a faulty door gasket myself?
Absolutely. Gaskets are designed for DIY replacement. Warm the old seal with a hair dryer, peel it off, clean the groove, and press the new gasket into place, ensuring a tight seal.