Durable Appliance Brands for Cookers: A Comprehensive Guide
January 3 2025Replace Oven Element: Simple Guide to Fixing Your Oven
Ever baked a cake and noticed the oven never got hot enough? Most of the time the culprit is the heating element. It’s a cheap part, but a faulty one can leave you with cold meals and a bigger electricity bill. In this guide you’ll learn the tell‑tale signs, a step‑by‑step DIY fix, and when it’s smarter to call a professional.
How to Know Your Oven Element Is Bad
First, check the basics. If the oven won’t heat at all, or only heats unevenly, the element is likely the problem. Common clues include:
- Nothing happens when you set the temperature – the oven stays cool.
- Only part of the oven gets hot – you might see a half‑cooked pizza.
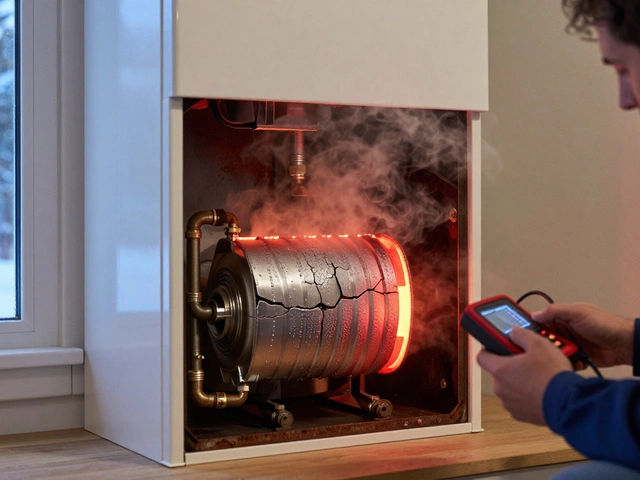
- Visible cracks, bulges, or black spots on the metal coil.
- A buzzing or humming sound when the oven is on, but no heat.
Most ovens have two elements – a bake element at the bottom and a broil element on top. If only one of them fails, you’ll usually notice a pattern: baked dishes stay lukewarm, grilled foods stay raw. A quick visual inspection (after the oven cools down) can confirm if the coil looks damaged.
Step‑by‑Step Replacement – Do It Yourself or Call a Pro
Before you start, gather these tools: a screwdriver set, a socket wrench, a pair of gloves, and the correct replacement element (check the model number on the oven’s door frame). Safety first – unplug the oven or switch off the circuit breaker.
1. Remove the old element. Open the oven door and locate the screws that hold the element in place. Usually there are two or three at each end. Loosen them, then gently pull the element out. Some models have a metal clip; release it before lifting.
2. Disconnect the wiring. You’ll see a small plug or a set of wire nuts attached to the element. Press the release tab or unscrew the nuts and pull the wires away. Take a photo if you’re unsure – it makes re‑connecting easier.
3. Install the new element. Align the new coil with the mounting holes, re‑attach the wiring exactly as it was, and tighten the screws. Make sure the element sits flat; a crooked coil can overheat and cause a fire.
4. Test the oven. Turn the power back on and set the oven to a low temperature. After a few minutes, open the door (quickly) and feel the element – it should be warm. Run a quick bake cycle to confirm even heating.
If anything feels off – sparks, odd smells, or the oven still won’t heat – stop immediately. This is where a certified gas engineer from Bedford Gas Appliance Repair Services can help. They have the right tools, safety checks, and can spot hidden issues like a faulty thermostat or wiring problems that simple element swaps won’t fix.
Even though replacing an element is straightforward, remember that ovens are connected to high‑voltage circuits. If you’re not comfortable working with electricity, it’s completely okay to call a pro. A quick call can save you from a dangerous mistake and gives you peace of mind that the job is done to code.
Bottom line: a broken oven element is a common, inexpensive fix. Spot the signs, follow the safety steps, and you’ll have your oven back to full heat in under an hour. When in doubt, let a qualified engineer handle it – it’s faster, safer, and often covered by a service guarantee.
 23 Jul
Should You Replace Your Oven's Heating Element? Repair Tips, Costs & Signs
Debating if you should replace your oven's heating element? Get real tips, exact costs, and expert advice on whether oven element repair is worth it.
Read More... 27 Mar
Replace Your Oven Element: A DIY Guide
Replacing an oven element might sound daunting, but with the right tools and guidance, it's something you can tackle on your own. This article breaks down the process into simple steps, providing practical tips and safety precautions. Learn how to identify when your oven element needs replacing and what tools you'll need to get the job done. Empower yourself to save time and money by handling this common household repair.
Read More...


