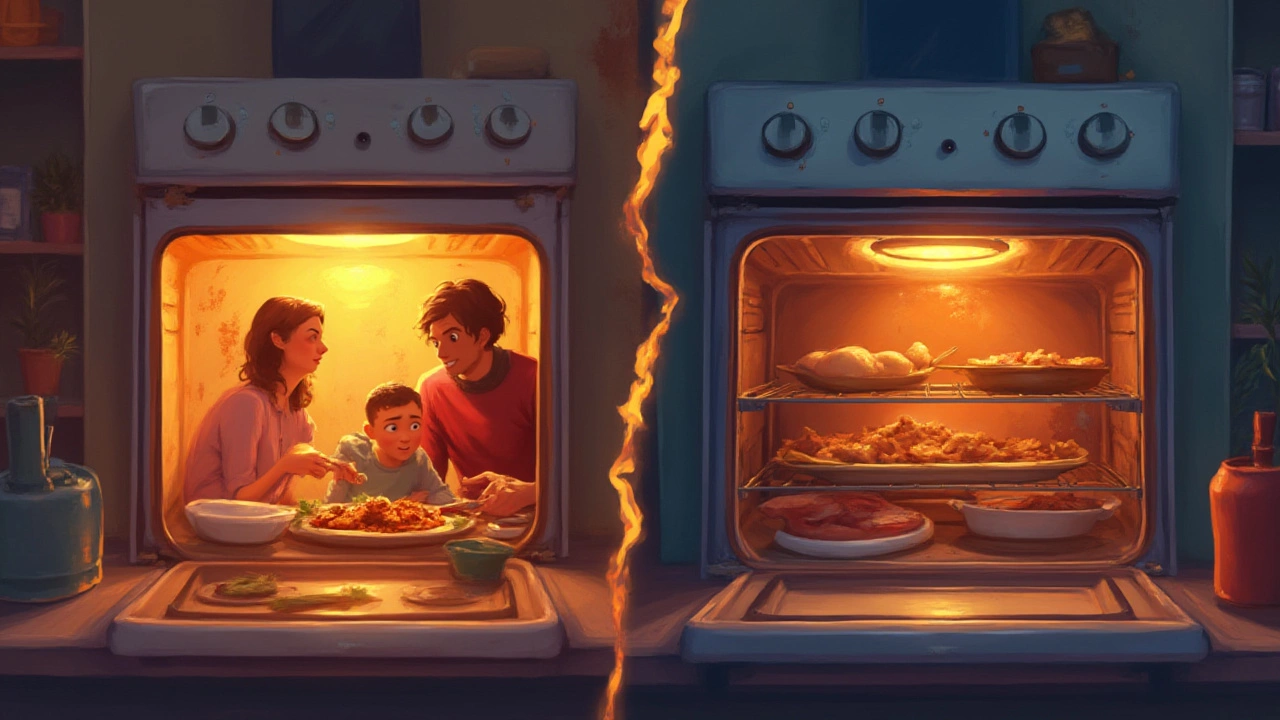
You slide in a pizza, hit the timer, and twenty minutes later—cold cheese, raw crust. Annoying, right? That’s usually your oven’s way of telling you something inside isn’t working like it used to. Nine times out of ten, it's the heating element. But before grabbing your toolbox or your phone to call a technician, you might be wondering: is it actually worth replacing the heating element in the oven, or should you just go all in on a new appliance?
How an Oven Heating Element Works (and How It Fails)
Your oven’s heating element is the literal backbone of all your baking projects. This metal coil—either at the top (broil) or bottom (bake)—uses resistance to convert electricity into heat. It might sound technical, but it just means current passes through, meets resistance, and heats up to those glorious pizza-baking temperatures.
Now, like all hardworking parts, elements wear out. Over time, the metal can crack, burn out, or corrode, especially if you love roasting big meals or you’ve had an accidental sauce overflow (no judgment—I’ve cleaned up enough of those with Maya to know it happens to everyone). Signs? Obvious ones like the oven staying cold or only heating in some spots. Others are sneakier: uneven baking, the oven taking forever to preheat, sparking, or visible blisters on the coil. Sometimes you’ll even see the element literally snap or stop glowing altogether.
It’s wild how common this is. According to stats from appliance repair services, about 30% of electric oven repairs are linked directly to a faulty heating element. And while elements usually last 5-10 years, heavy use, old wiring, or even just bad luck can shorten that lifespan quickly.
So, what actually causes the breakdown? Let’s get specific. High-heat self-cleaning cycles stress the element, quick temperature changes can cause hairline fractures, and spillage (like sticky syrups) slowly erodes the metal. If your oven runs off lower-quality power, that fluctuating voltage ramps up the chance of failure too. There's even a handy table below with the most common heating element killers:
| Cause | Details |
|---|---|
| Frequent High-Heat Use | Elements stressed by constant high temp cycles, leading to early burnout |
| Self-Clean Feature | Super high temps during self-clean can crack, warp, or burn out coils faster |
| Electric Spikes | Power surges wear down the resistance wire inside the coil |
| Food Spills | Corrosive spills (especially sugary ones) cause pitting and rust over time |
| Physical Damage | Dropped cookware or aggressive cleaning might dent or break the element |
When Replacing the Oven Heating Element Makes Sense
Here’s where most people just want a straight answer: is it worth the hassle? In a lot of cases, yes, swapping the heating element is absolutely worth it—so long as the rest of your oven is still in decent shape.
Cost-wise, heating elements are probably one of the smartest repairs you can do. A typical replacement element ranges from £20 to £60 in the UK or about $30 to $80 across the pond. Even higher-end models rarely break £100 unless you own a fancy built-in or commercial-grade oven. Paying a pro to swap it usually means a call-out charge plus labor, bringing the total bill to around £90–£150 for most jobs. Compare that to dropping £400-£900 for a new oven, and the choice gets a little clearer.
But not just about the money—there’s convenience too. The average replacement takes under an hour (even less if you’re handy or love a good YouTube tutorial). No need to rework your entire kitchen counter or wait for deliveries. You just get your evenings back for batch cookies or Sunday roasts.
Still, there are reasons to say no. If your oven's control board is acting up, the door hinge is busted, the seal leaks heat, or the unit itself is ancient and inefficient, throwing good money at a new element might not save you in the long run. Side fact? Appliance manufacturers typically keep parts available for 5-8 years post-production. If you can’t find the part easily or your oven is a discontinued dinosaur, move on.
According to a 2023 consumer appliance satisfaction survey, 60% of users felt satisfied after swapping a faulty element instead of buying a new oven. The key to those happy outcomes? Double-checking that the *oven heating element* is the actual root issue—not a faulty thermostat or blown fuse masquerading as an element problem.
Let’s go through some quick yes/no red flags for replacing vs. replacing:
- YES: Oven is less than 8 years old and mostly works, but no/bad heat
- YES: Element is visibly cracked, burnt, or doesn’t heat up
- YES: Replacement parts are easily available and affordable
- NO: Oven wiring/control board also failing, multiple other expensive faults
- NO: Outdated model without replacement parts
- NO: Oven repairs total more than 50% of new purchase price
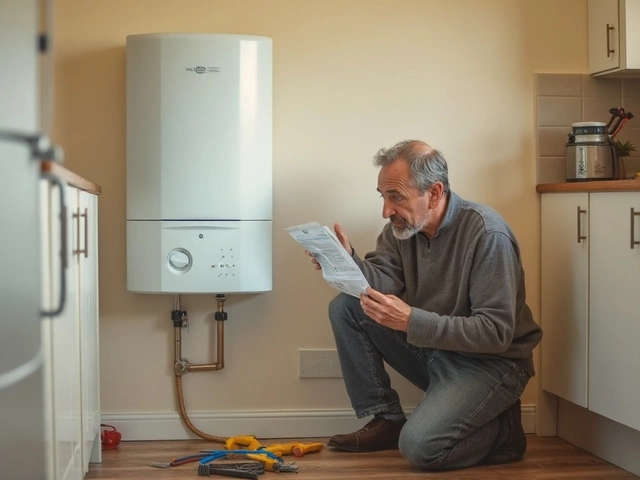
How To Diagnose (and Replace) an Oven Heating Element Safely
If you’re like me, you like to dig into these things instead of just guessing. Diagnosing a dead or dying element can often be handled at home without fancy tools—just some observation, a multimeter, and maybe a flashlight.
Start by unplugging the oven or switching it off at the fuse box (seriously, no cutting corners with electricity). Take a look at the heating element. If you see blisters, black scorch marks, or cracks, you’ve likely found the problem. For stubborn cases, set the oven to bake, give it a few minutes, and check—if the element doesn’t glow red-orange, but the oven light and fan still work, it’s probably fried.
The most accurate test? Grab a digital multimeter and set it to the lowest Ohms range. Disconnect the wires to the element (they usually have simple slip connectors). A healthy element has continuity, showing a reading between 10 and 30 ohms. If it reads infinity, the element is toast. If you get a number close to zero, there might be a short circuit. Remember, unusual readings mean the element or the wiring is kaput—not just a minor glitch.
If you’re ready to swap it out, here are the steps most ovens follow:
- Switch off the oven and unplug (or shut off power at the circuit).
- Look for screws or clips holding the element to the oven’s rear wall.
- Undo the screws/clips, carefully pull out the element, and disconnect wires.
- Slot in the new element, reverse the steps, and double-check everything is tight.
- Switch power back on and test.
Some ovens hide the element behind a metal shield, so you might need a screwdriver and patience. Keep your phone handy to snap a picture before disconnecting wires—that tip has saved me from head-scratching more than once. Newer ovens with touch panels or extra safety interlocks may need a bit more care or a call to a professional, especially if warranty is still valid.
And if in doubt? Ask a local repair tech for a diagnosis quote—many provide assessments for under £50. If it's just the element at fault, you can choose to DIY or have the pro finish it up, often on the spot.
Oven Element Replacement Cost Breakdown
Money matters, no way around it. You want to know exactly what you’re spending before the tools come out. Here’s a quick breakdown, based on real prices from UK and US suppliers, along with what you can expect if you hire a professional versus doing it yourself. (I pulled the most current numbers as of July 2025.)
| Cost Type | DIY Replacement | Professional Service |
|---|---|---|
| Heating Element | £20–£60 / $30–$80 | Included in quoted price |
| Labour | Free | £60–£100 / $65–$130 |
| Call-Out/Service Fee | Free | £30–£50 / $40–$60 |
| Total (Parts Only) | £20–£60 | — |
| Total (All In) | — | £90–£150 / $120–$200 |
What about warranty? New replacement elements almost always come with a 12-month warranty, sometimes longer if you buy directly from a reputable brand or supplier. Double-check that you’re buying the right part for your specific oven model—serial numbers and model codes matter a lot here. Messing up this step means you’ll either be stuck waiting for returns, or your oven will stay out of action longer than you’d like (not fun when you’re the family chef, trust me).
And yes, bargains exist online, but avoid suspiciously cheap third-party elements—they sometimes don’t fit right or fail quickly, landing you back at square one. Stick to manufacturer-branded or highly rated alternatives for peace of mind.
Pro Tips For Extending the Life of Your Oven (and Element)
Okay, let’s say you’ve swapped out that broken element. How do you keep the fix running, and your oven happy, as long as possible? First, avoid using the self-clean function too often. Yes, I know it feels good to zap away the grime, but those 500°C blast cycles put your new element (and the wiring) through the wringer.
Clean up spills as soon as you can. Sugary drips, cheeses, and marinades eat away at both the element and your oven floor. After every adventure with lasagna, just do a quick wipe. It’s a five-minute job that saves big repair bills later. Also, check for loose connections every so often—wobbly wires can arc and ruin the heating element fast. Every few months, inspect the element. If you see corrosion or a strange color on the metal (like rainbow tints), that means it’s taking damage and could fail again soon.
Ventilation is another unappreciated hero. Make sure your oven isn’t jammed into a corner, and the intake/output vents stay clear. Good airflow cools things down quicker and reduces wear on all the electric bits inside.
One smart trick I learned from a technician buddy: put a baking tray underneath the element if you’re cooking something likely to spill. It’ll catch the worst of the drips, protecting both the element and the bottom of your oven—all without blocking the airflow needed for even cooking.
If you’re on the hunt for an even longer-lasting fix, look for heating elements made from high-nickel alloys. These tend to stand up to repeated heating and cooling better than the bargain types you see stacked at discount stores.
Worried about frequent failures? Sometimes, your home’s wiring or inconsistent voltage is actually killing the element behind the scenes. Installing a surge protector for your kitchen outlets sounds extreme, but it helps if you’ve already lost a few appliances to unexplained burnout.
Finally, don’t ignore little problems. If food begins cooking unevenly, or preheat takes much longer, check the element first—you can often catch tiny issues before they become big, wallet-draining repairs. Your future self (and your dinner guests) will thank you for a little early action.
End of the day, the heating element is like your car’s spark plug. Ignore it and everything grinds to a halt. A little know-how, some regular care, and a smidge of DIY confidence? That’s all it takes to keep your kitchen working like a charm for years.