How Do I Know If My Freezer Is Broken? 7 Clear Signs to Watch For
December 28 2025DIY Water Heater Install: Your Step‑by‑Step Handbook
When tackling a DIY water heater install, you’re handling a core component of a home’s hot‑water system. Also known as do‑it‑yourself water heater installation, this project blends plumbing basics with basic gas or electric work. It water heater stores and heats water for taps, showers and appliances often works alongside a boiler provides central heating and can supply hot water. Knowing how a heating element converts electricity into heat inside electric tanks functions helps you avoid costly mistakes. The process requires careful planning, the right tools, and strict safety checks. Below we link the main ideas: a DIY install encompasses plumbing, electrical or gas connections; it demands proper venting and pressure testing; and it influences overall energy efficiency.
Essential Tools, Safety Gear, and Common Pitfalls
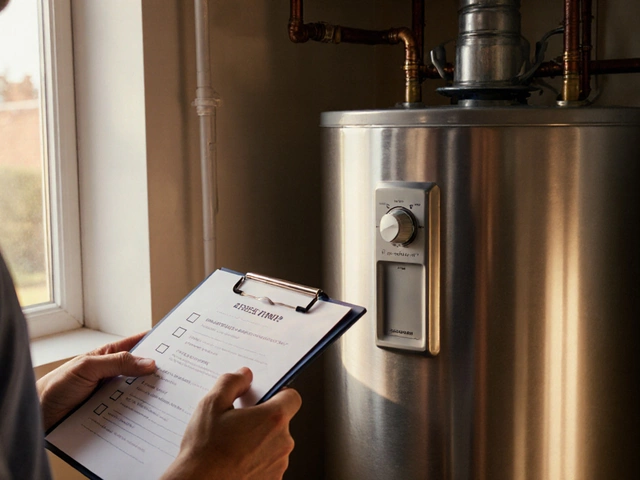
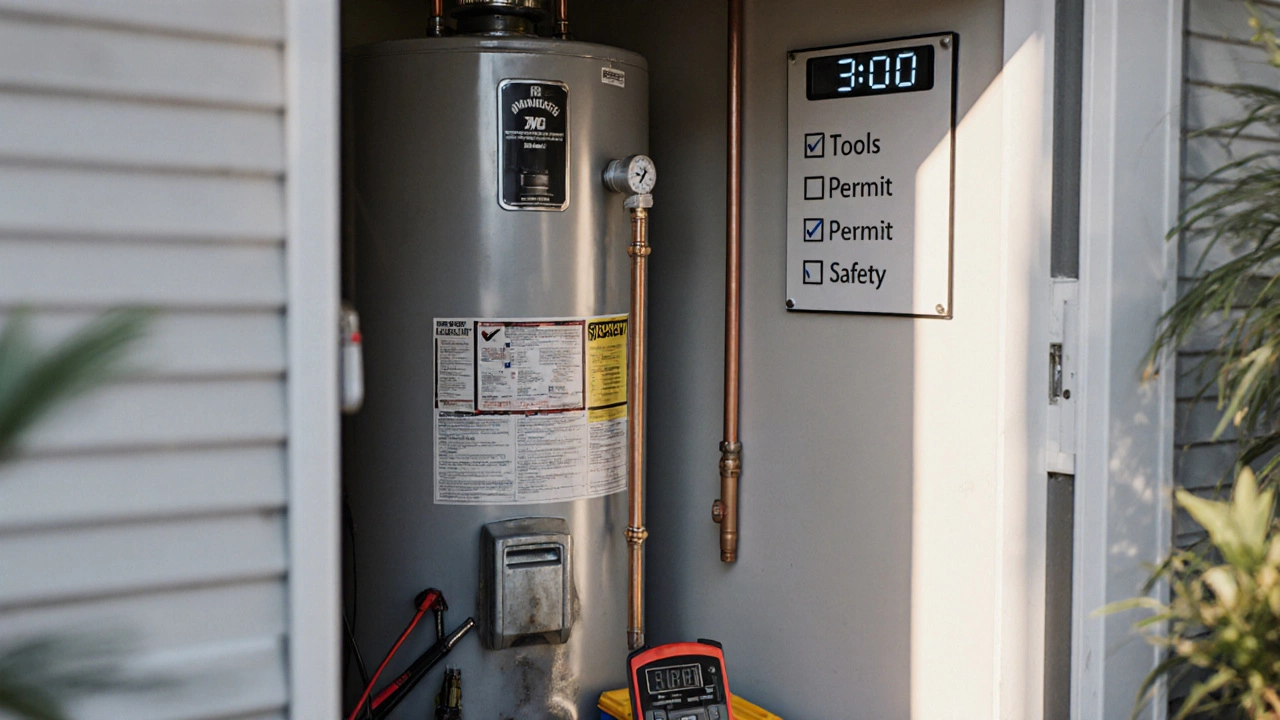
First, gather a pipe wrench, adjustable spanner, voltage tester, and – if you’re working with gas – a certified gas leak detector. A level, pipe cutter and silicone sealant round out the kit. Safety gear isn’t optional: insulated gloves, safety glasses, and a face mask protect you from hot water burns and possible gas fumes. Many homeowners skip the pressure‑test step, assuming the system will work once the connections are tight. Skipping that test can hide leaks that later cause water damage or inefficient heating. Remember, the gas engineer is licensed to verify gas line integrity and pressure settings must sign off on any gas‑related work. If you’re unsure about gas connections, it’s safer to hand the job to a professional.
Once the unit sits on its cradle, connect the cold‑water inlet, hot‑water outlet, and, for gas models, the gas line. Tighten fittings with a wrench but avoid over‑torquing, which can crack pipe threads. Run an electrical safety check: disconnect power, verify voltage, and confirm the heating element is properly grounded. After everything’s hooked up, turn on the water supply, check for drips, then restore power or gas and let the heater fire up. Watch the thermostat and temperature read‑out; the system should reach the set temperature within an hour. If you notice abnormal noises, fluctuating temps, or error codes, pause and re‑inspect connections – these are early signs of installation errors. By following these steps, you’ll seal the link between your water heater, boiler, and home’s heating network, ensuring reliable hot water without unnecessary service calls.
Below you’ll find a curated set of articles that dig deeper into each piece of the puzzle – from diagnosing a malfunctioning heating element to knowing when a boiler replacement makes sense. Use them as a toolbox to boost your confidence and finish the install safely and efficiently.
 18 Oct
How Long Does a Hot Water Heater Replacement Take?
Learn how long a hot water heater replacement should take, factors that affect timing, step‑by‑step DIY guide, and when to call a professional.
Read More...POPULAR POSTS