Hot Water Heater Replacement Time Calculator
Calculate Your Replacement Time
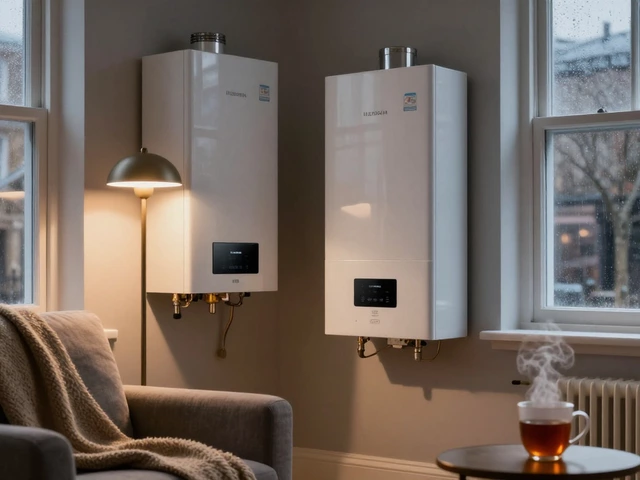
When it comes to upgrading your home’s hot water supply, a Hot water heater is the core component that stores and heats water for showers, washing machines, and the kitchen sink. Knowing how long a replacement should take helps you plan around work, family routines, and budget. Below you’ll find realistic timelines, the factors that stretch or shrink those numbers, and a step‑by‑step guide you can follow whether you’re doing it yourself or supervising a pro.
Key Takeaways
- Typical replacement time: 3‑6 hours for a straightforward electric or gas tank unit.
- Tankless models often need 4‑8 hours because of additional venting and electrical work.
- Permit acquisition, old‑unit removal, and unexpected plumbing issues can add 1‑3 hours.
- DIY projects are realistic for seasoned homeowners; otherwise, a licensed Professional plumber usually finishes within a day.
- Use the checklist at the end to keep the job on schedule.
What Influences the Replacement Duration?
Several variables decide whether the job wraps up before dinner or spills into the next day. Understanding these factors prevents surprise delays.
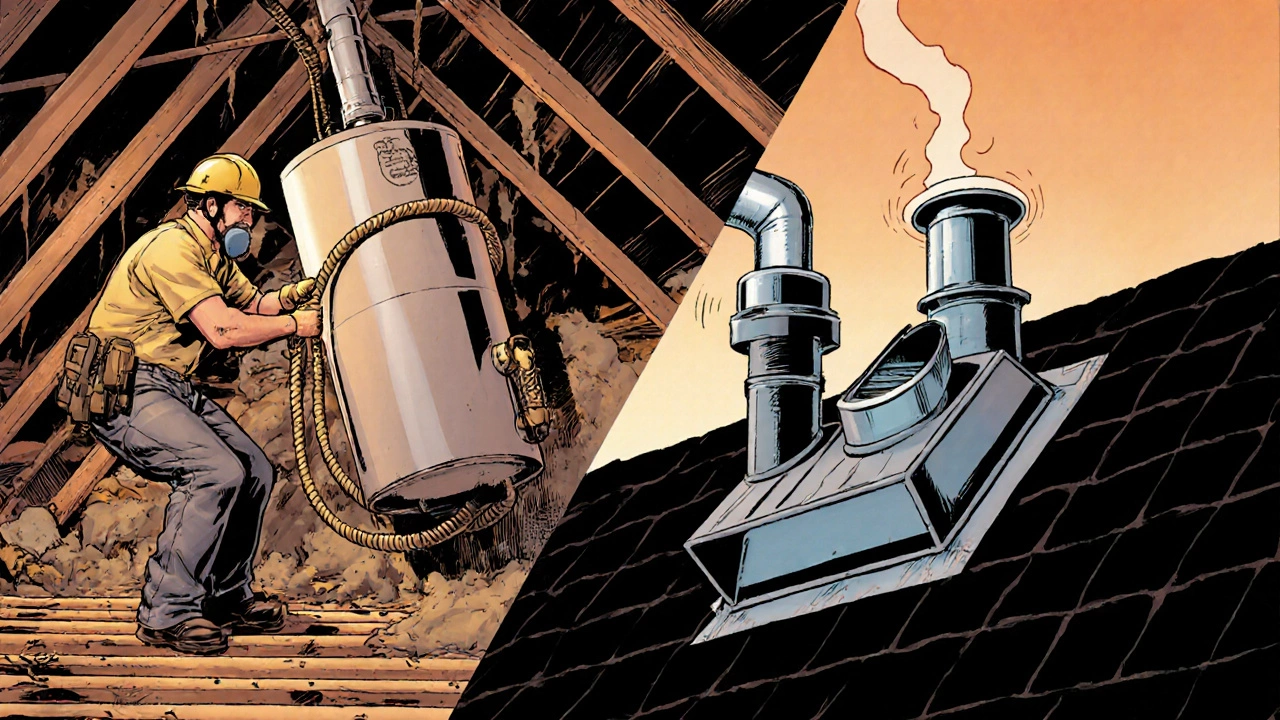
- Heater type: Electric tanks are the simplest; they only need a new power line and a water connection. Gas units add venting, and tankless models require both new gas lines and a dedicated circuit.
- Location of the existing unit: If the heater sits in a cramped attic or a tight crawlspace, moving it out and maneuvering a new one in can add 30‑60 minutes per obstacle.
- Age and condition of existing plumbing: Corroded copper or old PVC may need section replacements, which can extend the job by another hour or two.
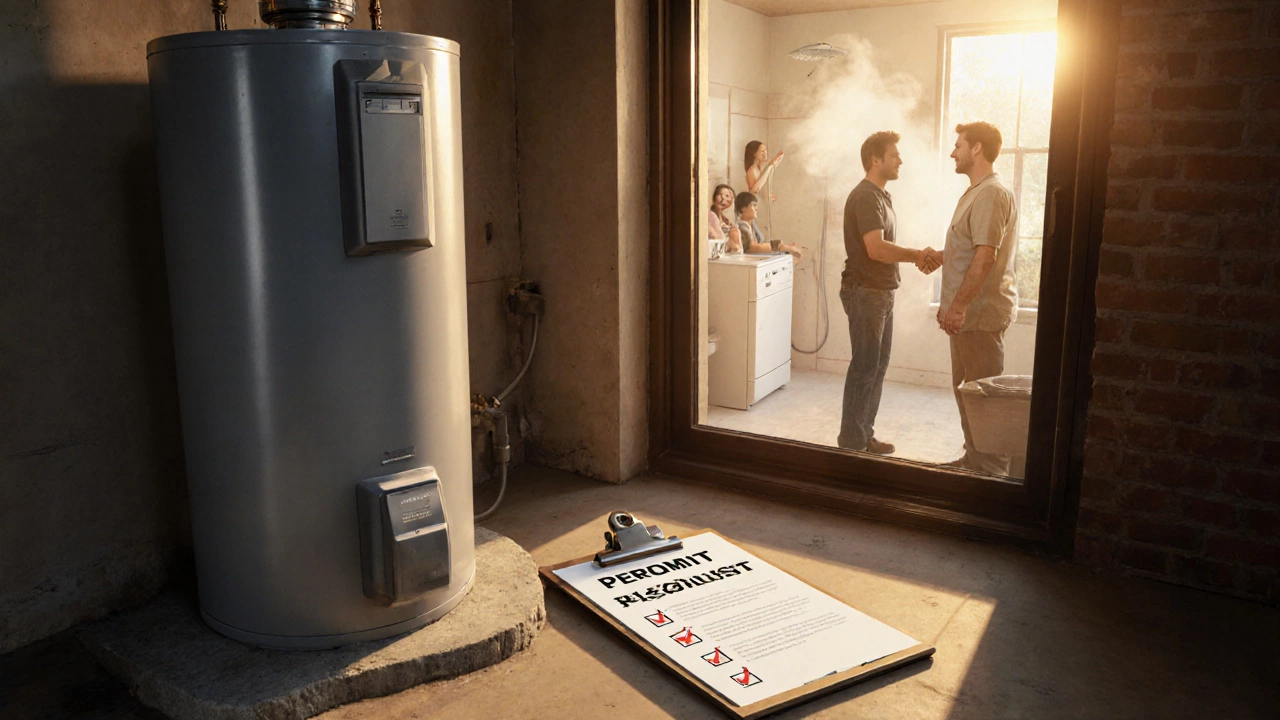
- Permit requirements: Many New Zealand local councils, including Auckland Council, require a plumbing permit for gas‑fired heaters. Securing the permit before starting saves you from stopping mid‑work.
- Skill level: A seasoned DIYer familiar with basic plumbing and electrical work can manage the core steps in under five hours. A first‑timer may need extra time for safety checks and reading manuals.
Typical Time Frames for Common Heater Types
| Heater Type | Typical Hours Needed | Key Extra Tasks |
|---|---|---|
| Electric storage tank | 3‑4 | New circuit breaker, disconnect old unit |
| Gas storage tank | 4‑6 | Vent pipe termination, gas line test |
| Electric tankless | 5‑7 | Dedicated 40‑A circuit, water‑flow sensor install |
| Gas tankless | 6‑8 | Venting kit, gas‑line upgrade, combustion air needed |
Step‑by‑Step Walkthrough of a Standard Replacement
- Gather tools and parts. You’ll need a pipe wrench, adjustable pliers, screwdrivers, a voltage tester, a bucket, pipe tape, a new Thermostat, and, if you’re swapping fuel types, the appropriate vent kit.
- Turn off power and water. Switch off the main breaker for an electric unit or close the gas supply valve for a gas unit. Shut off the cold‑water supply valve near the heater.
- Drain the old heater. Connect a garden hose to the drain valve, run it to a floor drain or outside, and open the valve. Let the water run until the tank is empty.
- Detach plumbing connections. Loosen the hot‑water outlet, the cold‑water inlet, and any recirculation line. If old fittings are corroded, cut them back with a pipe cutter and prepare fresh copper or PEX ends.
- Disconnect the power or gas. For electric heaters, remove the hot‑wire connections from the terminal block. For gas heaters, unscrew the gas line nipple and cap it with a pipe thread seal.
- Remove the old unit. With the heater empty and all connections detached, slide it out of its enclosure. Enlist a helper; a 50‑gal tank can weigh 150 lb.
- Prep the installation site. Check the floor for levelness. Install a new Expansion tank if required by local codes. Ensure the vent pipe (for gas) or the electrical conduit is correctly positioned.
- Place the new heater. Slide the new unit into place, verify it’s level, and secure any mounting brackets.
- Reconnect plumbing. Apply Teflon tape to threaded fittings, connect the cold‑water inlet, hot‑water outlet, and any recirculation line. Tighten securely without over‑torquing.
- Hook up power or gas. For electric models, connect the wires to the designated circuit breaker (usually 30 A for a 4500‑W unit). For gas models, attach the gas line, apply pipe thread compound, and install the vent termination according to the manufacturer’s specs.
- Fill and test. Open the cold‑water valve, let the tank fill, and watch for leaks at all joints. Once the tank is full, restore power or gas and set the Thermostat to the desired temperature (typically 120 °F / 49 °C).
- Final safety checks. Use a voltage tester to confirm the heater is not live before touching internal components. For gas units, run a leak detector or a soap‑solution test on all connections.
Following these steps methodically keeps the job within the 3‑6 hour window for a standard tank unit. Skipping any safety or testing step is a common reason why DIYers run over time.
Common Pitfalls That Add Hours
- Finding rusted copper. Corroded pipes often need cutting and replacement, which can tack on 30‑45 minutes per segment.
- Incorrect vent sizing. Gas heaters require a vent pipe of a specific diameter. If the existing vent is too small, you’ll need to install a larger pipe and possibly re‑seal the roof flashings.
- Power‑circuit mismatches. Using a breaker with insufficient amperage trips the circuit, forcing you to go back and install a larger breaker.
- Permit delays. In Auckland, a plumbing permit can take 1‑2 business days to process. Waiting for approval after the old heater is already removed stalls the timeline.
- Unexpected water‑pressure problems. Low pressure may require a booster pump, adding both time and cost.
When to Call a Professional
If any of these conditions apply, it’s smarter to hand the job to a licensed Professional plumber:
- You’re replacing a gas‑fired unit and are not comfortable working with gas lines.
- The existing plumbing is old, brittle, or has a history of leaks.
- Your home is in a heritage zone where modifications need council sign‑off.
- You need a Permits that you’re unfamiliar with.
Pros typically take a full day (8 hours) to complete the job, including paperwork, because they bundle the permit filing, thorough testing, and clean‑up into their service.
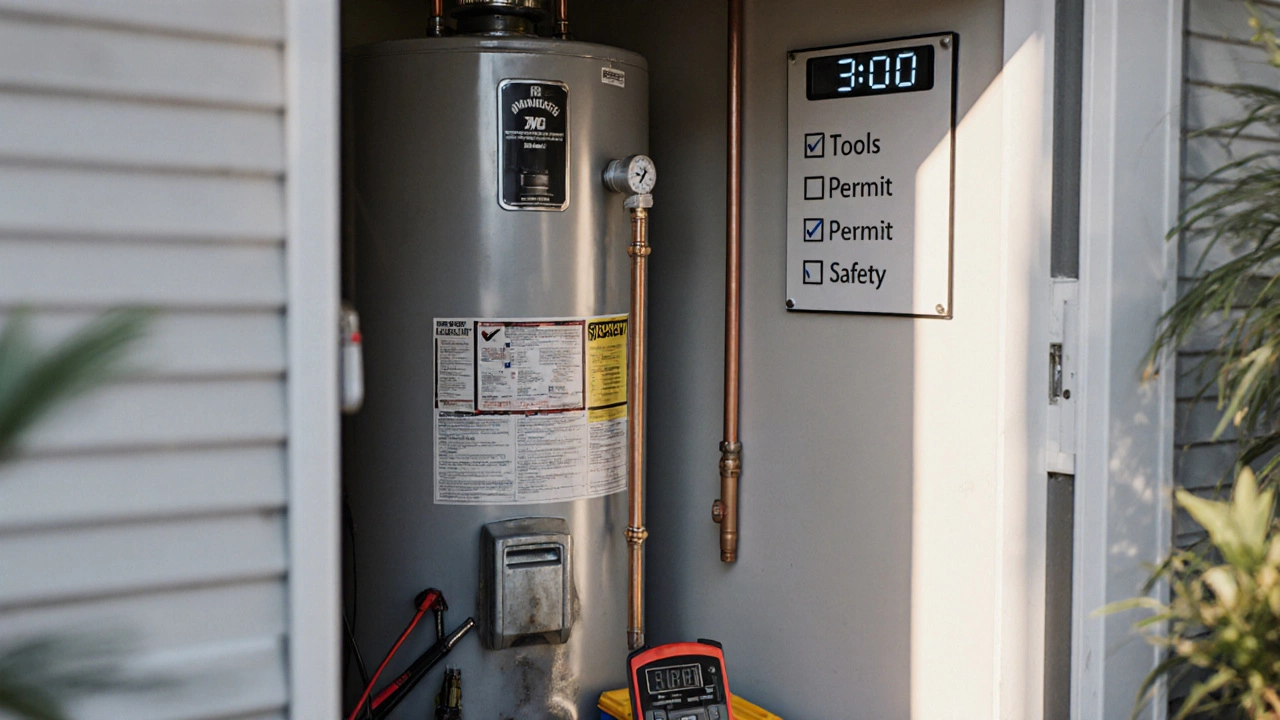
Pre‑Replacement Checklist
- Verify the new heater’s capacity matches your household’s hot‑water demand.
- Confirm you have the correct electrical rating (volts, amperage) or gas‑line size.
- Obtain any required permits from Auckland Council before the first cut.
- Gather all tools, fittings, and the new Thermostat before starting.
- Schedule a 2‑hour window when you can be home to monitor the installation.
Frequently Asked Questions
How long does a DIY hot water heater replacement usually take?
For an experienced homeowner tackling a standard electric or gas tank unit, the job typically finishes in 3‑6 hours. Adding vent work or dealing with old, corroded pipes can push it to 8 hours.
Do I need a permit to replace a water heater in Auckland?
Yes, most gas‑fired water heaters require a plumbing permit from Auckland Council. Electric tanks usually don’t need a permit, but you must still comply with the Electrical Safety Act.
What’s the biggest time‑saver when replacing a heater?
Clear the work area and have all fittings, the correct size vent, and a dedicated circuit ready before you start. Pre‑drilling any holes for venting also cuts up to an hour off the schedule.
Can I reuse the old heater’s vent pipe?
Only if the pipe is in good condition and matches the new unit’s specifications. Most professionals recommend installing a fresh vent to ensure proper draft and to meet current code.
How much should I budget for a full replacement?
A brand‑new electric tank costs NZ$800‑$1,200 plus installation, which brings the total to roughly NZ$1,300‑$1,800. Gas tanks and tankless models can run NZ$2,000‑$3,500 installed, depending on venting and permits.
With the right prep, realistic expectations, and a solid plan, you can replace your hot water heater without turning it into an all‑day saga. Whether you decide to go DIY or hire a pro, the timelines above give you a reliable benchmark for scheduling and budgeting.