Kitchen Extractor Fan Selection & Clearance Tool
Your Recommended Specs:
Enter your stove details to see recommendations...
You can definitely swap out that old vent fan, but whether you should depends on your comfort level with a few basic tools and a little bit of electrical work. Most people assume they need a licensed pro for any appliance connected to a wire, but for a standard extractor fan, the process is often just a matter of swapping one box for another. The real question isn't just 'can I,' but 'do I have the right parts and safety gear to do it without making a mess of my kitchen?'
Quick Takeaways for Your Project
- Safety First: Always kill the power at the main breaker, not just the wall switch.
- Measure Twice: Ensure the new unit fits the existing duct hole and cabinet gap.
- Check the Venting: Know if your fan vents outside or recirculates air via a filter.
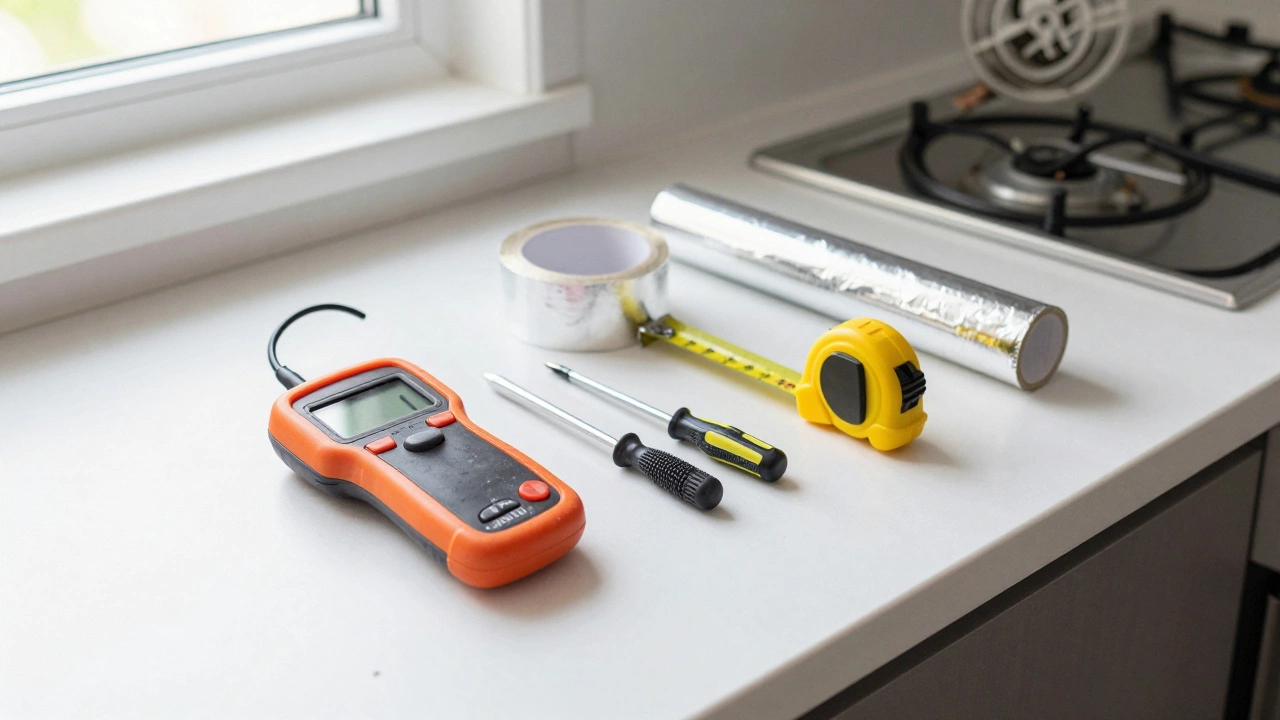
- Tool Kit: You'll need a screwdriver, a voltage tester, and possibly some foil tape.
- When to Call a Pro: If you see charred wires or need to cut new holes in your exterior wall.
Before you start ripping things out of the wall, let's get the terminology straight. When we talk about a Kitchen Extractor Fan is a ventilation system designed to remove grease, smoke, and odors from the air during cooking. Also known as a Vent Hood or Range Hood, these units range from simple wall-mounted fans to heavy-duty stainless steel islands. Understanding which one you have determines how hard the replacement will be.
Identifying Your Fan Type and Venting Path
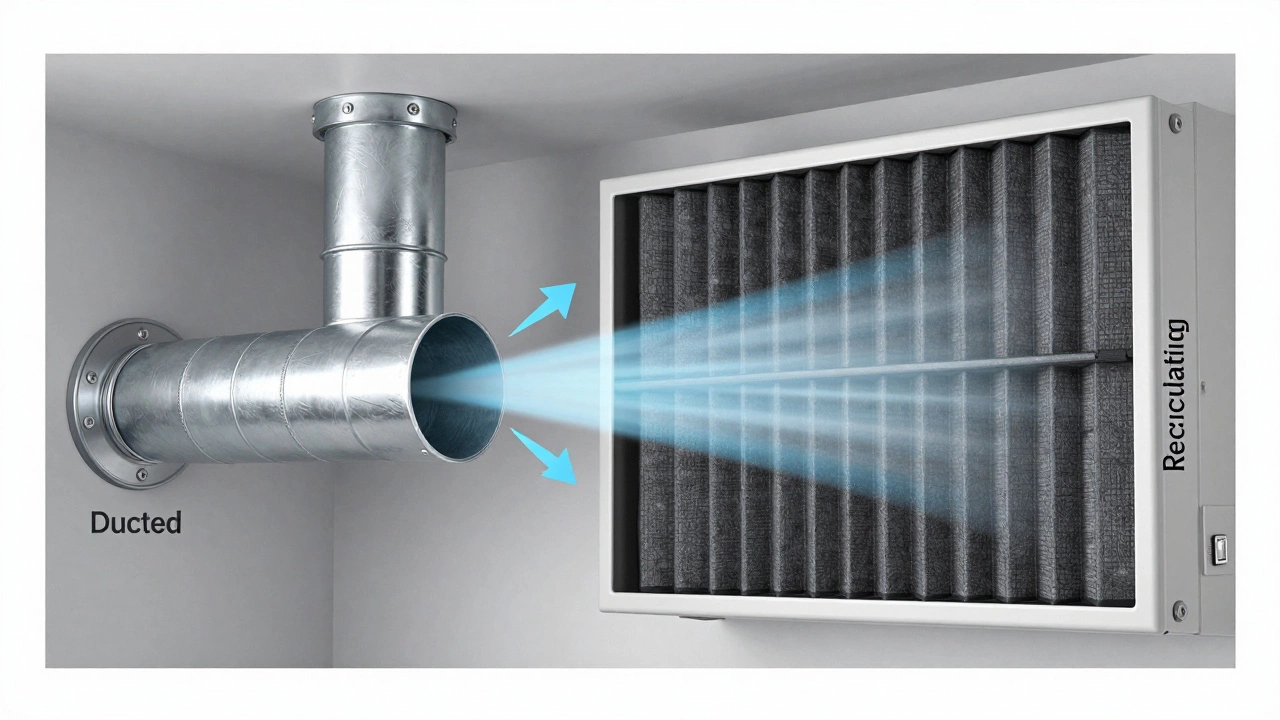
You can't just buy the first shiny hood you see at the store. You need to know where the air is actually going. There are two main types of systems: extracted and recirculating. An extracted system pushes air through a Duct-which is basically a reinforced tube-out through a wall or roof. A recirculating system uses Charcoal Filters to scrub the air and then blow it right back into the room.
If you're replacing a unit that vents outside, you must ensure the new fan's duct diameter matches your existing pipe. Common sizes are 4, 6, or 150mm. If you buy a fan with a 6-inch outlet but your wall has a 4-inch pipe, you'll be fighting with adapters and losing a lot of suction power. Check the manual for the CFM (Cubic Feet per Minute) rating. If you have a large kitchen and a powerful gas stove, a low-CFM fan will leave your house smelling like fried fish for three days.
| Feature | Ducted (Extracted) | Recirculating |
|---|---|---|
| Air Quality | High (removes moisture/smells) | Moderate (filters smells only) |
| Installation | Harder (requires ducting) | Easier (no holes needed) |
| Maintenance | Clean grease filters | Replace charcoal filters regularly |
| Energy Efficiency | Higher moisture removal | Lower impact on room temp |
Step-by-Step: Replacing Your Extractor Fan
If you've decided to tackle this yourself, follow these steps. Don't skip the safety checks-electricity and kitchen grease are a dangerous combination.
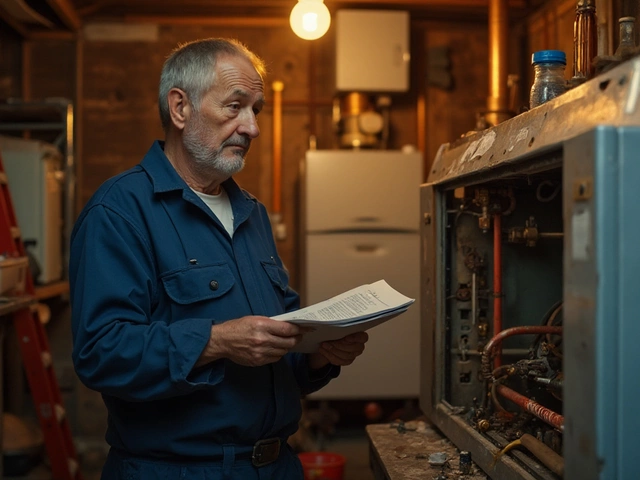
- Kill the Power: Go to your Consumer Unit (the fuse box) and flip the switch for the kitchen circuit. Do not rely on the light switch. Use a Voltage Tester to confirm the wires are dead before you touch them.
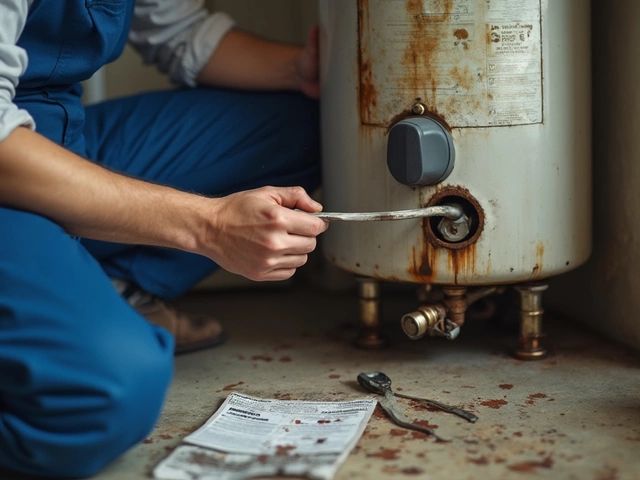
- Remove the Old Unit: Unscrew the filters and any decorative panels. Once the chassis is exposed, remove the mounting screws from the wall or ceiling. Carefully lower the unit. Be mindful of the wiring; don't just yank it out of the wall.
- Inspect the Ducting: Check the existing pipe for clogs or tears. If the duct is sagging or leaking, now is the time to fix it. Use Aluminium Foil Tape to seal any gaps. Do not use standard duct tape, as it peels off when it gets hot.
- Mount the New Bracket: Most modern fans come with a mounting template. Hold it against the wall, mark your holes, and screw in the bracket. Ensure it's level; a crooked fan looks amateur and can cause vibration noise.
- Wiring the Fan: Connect the brown (live), blue (neutral), and green/yellow (earth) wires to their corresponding terminals. If you're unsure, take a photo of the old wiring before disconnecting it. Tighten the terminal screws firmly so the wires don't slip out.
- Connect the Duct: Slide the ducting onto the fan's outlet and secure it with a metal hose clamp. A loose duct means half your cooking smells are leaking into your attic or wall cavity.
- Final Test: Power back up the circuit and fire up the fan. Test all speeds and the light. If it vibrates excessively, you might need to add rubber gaskets to the mounts.
Avoiding Common DIY Pitfalls
The biggest mistake people make is ignoring the "capture area." If your new hood is too small for your stovetop, the steam will just drift around the edges, condensing on your cabinets and leading to mold. A good rule of thumb is that the hood should be at least as wide as the widest burner on your stove.
Another common slip-up is the mounting height. If you hang the fan too high, it loses its effectiveness. If you hang it too low, you'll be hitting your head on it every time you boil pasta. For electric stoves, 24 to 30 inches is usually the sweet spot. Gas stoves need a bit more clearance (usually 30 to 36 inches) to avoid the risk of the filters catching fire from high flames.
Lastly, don't forget the filters. Some people install a new fan and forget to put the Baffle Filters in. These are the metal mesh screens that stop grease from clogging the motor. Without them, your brand new motor will be coated in sticky oil within a month, significantly shortening its lifespan.
When You Absolutely Need a Professional
While replace kitchen extractor fan tasks are often DIY-friendly, there are red flags that mean you should put the screwdriver down. If you open your wall and find an outdated "knob-and-tube" wiring system or frayed, crumbling insulation on the wires, stop immediately. This is a fire hazard that requires a certified electrician.
Similarly, if you're moving from a recirculating fan to a ducted one, you'll need to cut a hole through your exterior wall. Unless you're comfortable using a core drill and sealing the outside of your house against rain and wind, this is a job for a pro. A poorly sealed external vent can let in cold drafts or, worse, allow pests to enter your kitchen.
How long does it usually take to replace an extractor fan?
For a basic replacement where the wiring and ducting are already in place, it typically takes 1 to 3 hours. If you have to modify the ducting or move the mounting position, expect it to take a full afternoon.
Can I use a recirculating fan if I don't have a vent?
Yes, that's exactly what they are for. Just make sure you buy a model specifically designed for recirculating air. You'll need to replace the charcoal filters every 3 to 6 months to keep the air fresh, as they eventually become saturated with odors.
Why is my new extractor fan so much louder than the old one?
This usually happens for two reasons: either the fan has a higher CFM (more power), or the ducting is too narrow for the new motor, causing a "bottleneck" effect that increases noise. Check that your duct is straight; sharp bends in the piping create turbulence and extra noise.
What is the best material for kitchen ducting?
Rigid PVC or galvanized steel is best. While flexible foil ducting is easier to install, it has a ribbed interior that traps grease and restricts airflow. If you must use flexible ducting, keep the runs as short and straight as possible.
Do I need a permit to replace my kitchen fan?
In most cases, a "like-for-like" replacement doesn't require a permit. However, if you are adding a new vent hole through an external wall or changing the electrical circuit, check your local building codes as some regions require an inspection for ventilation and fire safety.
Next Steps for Your Kitchen Upgrade
Once the fan is up and running, create a maintenance schedule. Grease buildup isn't just gross; it's a fire risk. Set a calendar reminder to wash your metal grease filters in hot soapy water every single month. If you have a recirculating model, mark your calendar to swap the charcoal filters twice a year.
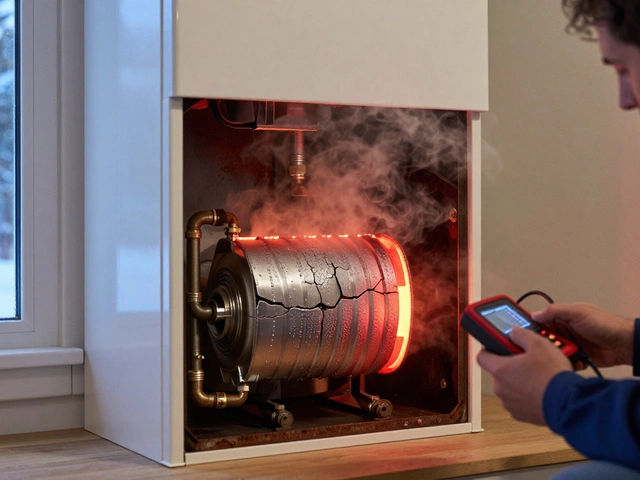
If you noticed that your old fan failed because of a burnt-out motor, check if your ducting was clogged. A blocked vent forces the motor to work harder, causing it to overheat and die prematurely. Cleaning your external vent cover of bird nests or lint can double the life of your new investment.