Boiler Installation Mess Estimator
Estimated Impact
Key Takeaways for Your Installation
- Dust and debris are inevitable, but heavy mess depends on pipe relocation.
- Drain-down of the system involves liquid waste that needs careful handling.
- Protective coverings (dust sheets) are the best defense against stains.
- Expect some drilling and cutting if you're upgrading to a more efficient model.
- Professional installers usually handle the cleanup, but a quick vacuum helps.
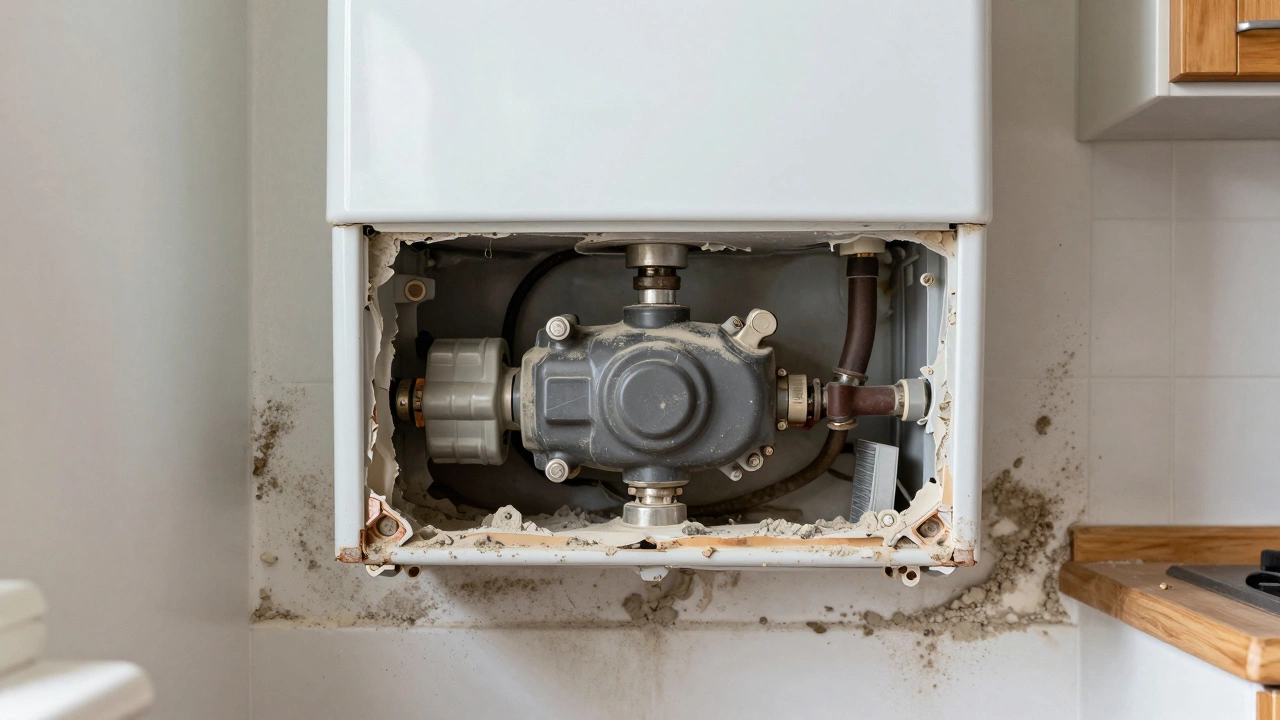
The Reality of Boiler Removal
Before the new unit goes up, the old one has to go. This is where the first bit of mess happens. Boiler replacement is the process of removing an outdated or broken heating unit and installing a modern, energy-efficient alternative. When the old unit is disconnected, there's often a buildup of grime, rust, and old insulation behind the chassis that's been hiding for a decade. As soon as that metal box leaves the wall, you'll likely see a layer of grey dust and perhaps some old sealant that has crumbled over time.
One of the messiest parts is the "drain-down." To remove the old boiler, the engineer has to empty the water from your Central Heating System. While most of this goes down a drain, an accidental spill or a leaky valve can leave a puddle of murky, black-tinted water on your floor. This water is often filled with magnetite and sludge, which can stain light-colored carpets if not caught immediately.
When Installation Gets Complicated
If you're doing a simple "like-for-like" swap-meaning the new boiler is the same size and in the same spot as the old one-the mess is minimal. However, if you're moving the boiler to a different wall or upgrading from a traditional boiler to a Combi Boiler (which combines a boiler and a hot water cylinder into one unit), things get a bit more chaotic. Moving a unit requires rerouting pipes, which means drilling through walls and potentially cutting into floorboards.
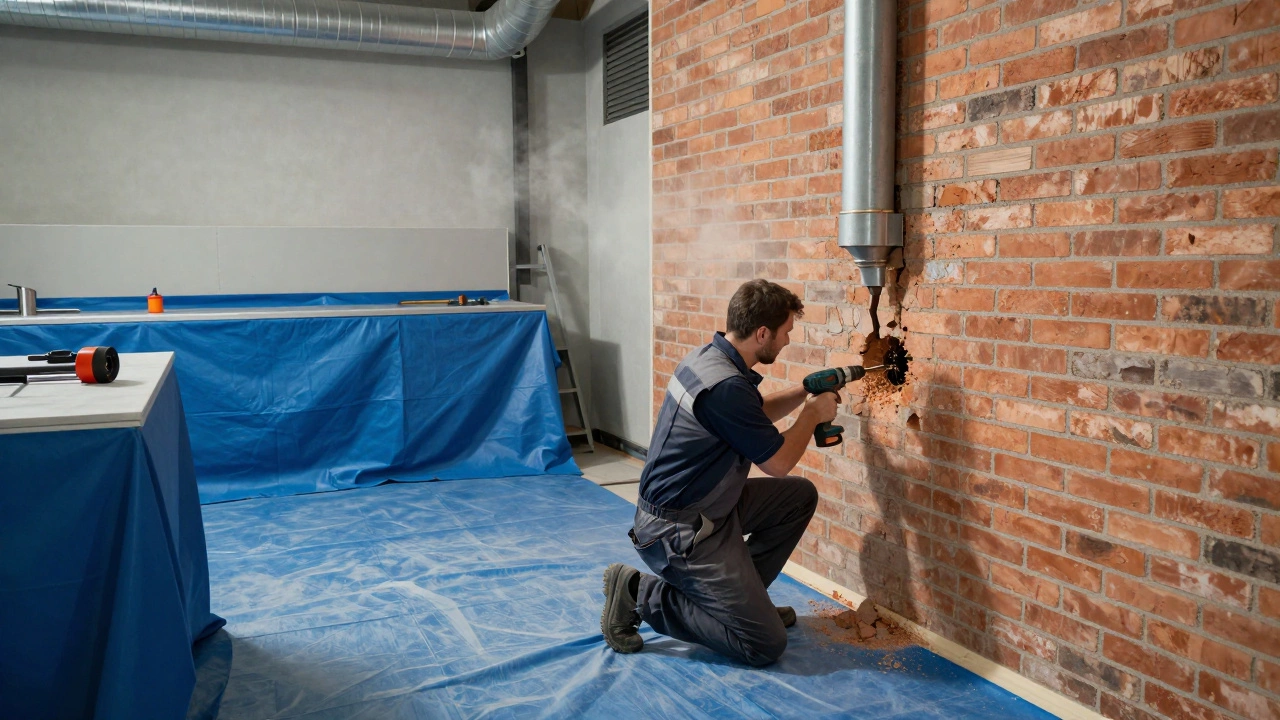
Drilling creates "brick dust," a fine, abrasive powder that gets everywhere. If the installer isn't using a vacuum attachment on their drill, this dust will settle on your countertops, inside your drawers, and across your flooring. Then there's the matter of the flue. The flue is the pipe that vents combustion gases outside. If the new boiler requires a different flue position, you might see a hole being cut through an external wall, which sends a shower of masonry debris onto your garden or driveway.
| Scenario | Mess Level | Primary Source of Mess | Duration of Cleanup |
|---|---|---|---|
| Like-for-Like Swap | Low | Surface dust, old sealant | 15-30 Minutes |
| System Upgrade (e.g., Combi) | Medium | Pipework changes, drilling dust | 1-2 Hours |
| Relocation to New Room | High | Floorboard lifting, wall chasing | Half Day |
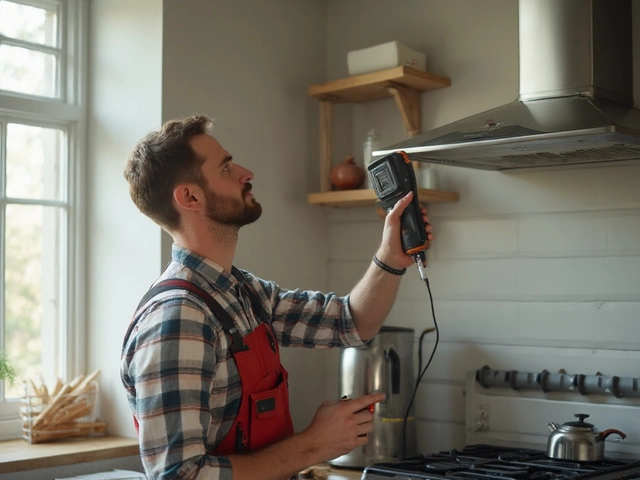
Who Handles the Mess?
In a professional setup, the Gas Safe Engineer (or your local certified equivalent) is responsible for the installation and a basic level of cleanup. A reputable pro will bring heavy-duty dust sheets and shoe covers. If you see an installer walking into your house with muddy boots and no plan to cover your furniture, that's a red flag. They should be using drop cloths to protect your walkways and perhaps even plastic sheeting for the immediate area around the boiler.
However, "basic cleanup" usually means sweeping up the big chunks of debris and removing the old boiler. It rarely means deep-cleaning your house. You should still expect to do some vacuuming and dusting once the engineer leaves. If they had to cut into your walls or floors, the "making good" part-plastering and painting-is often a separate job unless you've hired a full-service renovation crew.
Pro Tips to Minimize the Chaos
You can significantly reduce the stress of a boiler day with a few simple steps. First, clear the area. Remove any knick-knacks, towels, or kitchen appliances from the immediate vicinity of the boiler. This gives the installer more room to work and prevents your favorite blender from getting coated in brick dust.
If you have a particularly plush carpet, don't rely solely on the installer's sheets. Lay down some old towels or a cheap plastic tarp in the high-traffic areas between the front door and the boiler location. This prevents footprints and accidental drips from soaking into the fabric.
Ask your installer about a Power Flush. While this is more about the inside of the pipes than the outside of the house, it's a crucial step. A power flush removes all the old sludge and debris from your radiators. If you install a brand new boiler without flushing the system, that old gunk can migrate into your new unit, potentially damaging it or reducing its efficiency from day one.
Dealing with the Aftermath
Once the boiler is fired up and the engineer has signed off on the safety checks, you'll be left with the cleanup. Start with a vacuum-but use a filter that can handle fine dust, otherwise, you'll just blow the particles back into the air. Wipe down hard surfaces with a damp cloth to catch the remaining residue. If there's a smell of burnt dust or a slight metallic odor in the air, don't panic; this is common when a new heating element heats up for the first time.
If the installation involved relocating pipes, you might find a few gaps in your walls. A small tube of acrylic sealant or some quick-dry filler can fix these in minutes. If the engineer had to lift floorboards, check that they've been nailed back securely so you don't have a "squeaky' board' as a permanent reminder of your upgrade.
Will my house smell like gas during the replacement?
No, you shouldn't. The gas supply is shut off at the meter or the isolation valve before any work begins. Once the new boiler is connected, the engineer performs a tightness test to ensure there are no leaks before turning the gas back on. If you do smell gas at any point, notify the engineer immediately.
How long does the messy part actually last?
For a standard swap, the messiest part (removal and drilling) usually takes about 2 to 4 hours. The rest of the day is spent on plumbing connections, electrical wiring, and testing. If you're relocating the boiler, the "messy phase" can extend over two days.
Do I need to move my furniture?
Yes. Clear a path from the front door to the boiler and move any furniture within a 3-foot radius of the unit. This prevents accidental damage and makes the process faster for the technician.
Can I clean up the sludge from the pipes myself?
If there was a spill, use a wet-vac or absorbent paper towels. Avoid rubbing the sludge into the carpet, as the iron oxide (magnetite) can act like a dye. Use a mild detergent and cool water to blot the area.
Is it worth paying extra for a "clean install" service?
Some companies offer a premium service that includes professional cleaning and wall repair. If you have high-end flooring or a very tight schedule, it's worth it. Otherwise, a standard Gas Safe engineer's basic cleanup is usually sufficient for most homeowners.
What to do if things go wrong
Sometimes, a "simple" replacement reveals a hidden disaster, like rotten joists or leaking pipes inside a wall. If your installer tells you they need to break through more plaster or lift more floors than expected, ask for a specific explanation of why. This is often where the mess escalates from "dusty" to "construction site." In these cases, insist on additional plastic sheeting and a clear plan for how they intend to patch the damage.
If you find a leak after the installers leave, don't try to fix it with tape. Turn off the isolation valve and call the company back immediately. Most reputable installers provide a guarantee on their workmanship, and a leak caused by a loose fitting is their responsibility to fix quickly and cleanly.