Oven Heating Element Cost Calculator
Calculate Your Oven Element Replacement Cost
Get an accurate estimate for your oven heating element replacement based on your specific situation.
Estimated Replacement Cost
Select your options to see your estimate
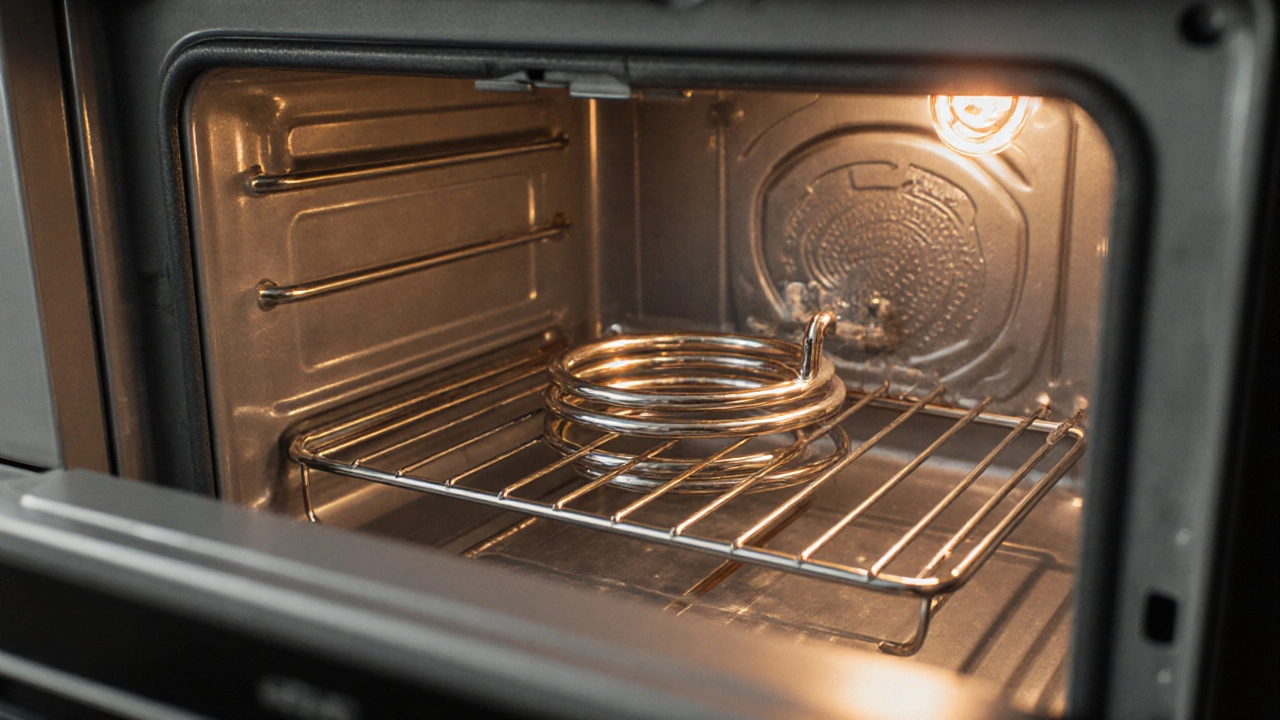
When your electric oven stops heating, the culprit is often the heating element is a metal coil that converts electricity into radiant heat, allowing the oven cavity to reach baking temperatures. Knowing how much you’ll pay to replace it can save you from surprise invoices and help you decide whether to call a professional or roll up your sleeves.
Typical price range in 2025
Across Auckland and the wider NewZealand market, the total cost to replace a heating element usually lands between NZ$150 and NZ$350. The spread reflects three main components:
- Part price - most standard elements run NZ$80‑NZ$160, while high‑end brands can be NZ$200 or more.
- Labor charge - a qualified appliance technician typically bills NZ$70‑NZ$120 per hour, and most jobs take 0.5‑1hour.
- Service call fee - many firms add a flat NZ$30‑NZ$50 fee for the trip, which is sometimes waived if you proceed with the repair.
When you add these up, a budget‑friendly replacement sits near the NZ$150 mark, while a premium brand with a busy technician can push the bill toward NZ$350.
Factors that push the price up or down
Not every oven is created equal, and a few variables can swing the final number dramatically:
- Oven type - convection ovens often have two elements (top and bottom), meaning you might need to replace both, doubling parts cost.
- Brand and model year - older or niche models (e.g., built‑in wall ovens from 2005) sometimes require a specialty part that costs up to NZ$250.
- Warranty status - if your appliance is still covered by a manufacturer’s warranty, the part may be free and labor might be subsidised.
- Location - technicians in remote areas of the North Island may charge extra travel fees, whereas central Auckland rates stay on the lower end.
- DIY readiness - having the right tools (multimeter, screwdriver set, safety gloves) can shave off the labor charge entirely.
DIY vs. professional repair: A cost comparison
| Item | DIY (NZ$) | Professional (NZ$) |
|---|---|---|
| Heating element | 80‑160 | 80‑200 |
| Tools (if not owned) | 30‑50 (one‑time) | 0 (included in labor) |
| Labor | 0 | 70‑120 |
| Service call fee | 0 | 30‑50 |
| Total | 110‑210 (plus one‑time tool cost) | 180‑370 |
If you already own basic tools, the DIY route can be up to NZ$150 cheaper. However, the professional path offers peace of mind: the technician will test the oven’s thermostat, check wiring integrity, and guarantee the work for 12months.
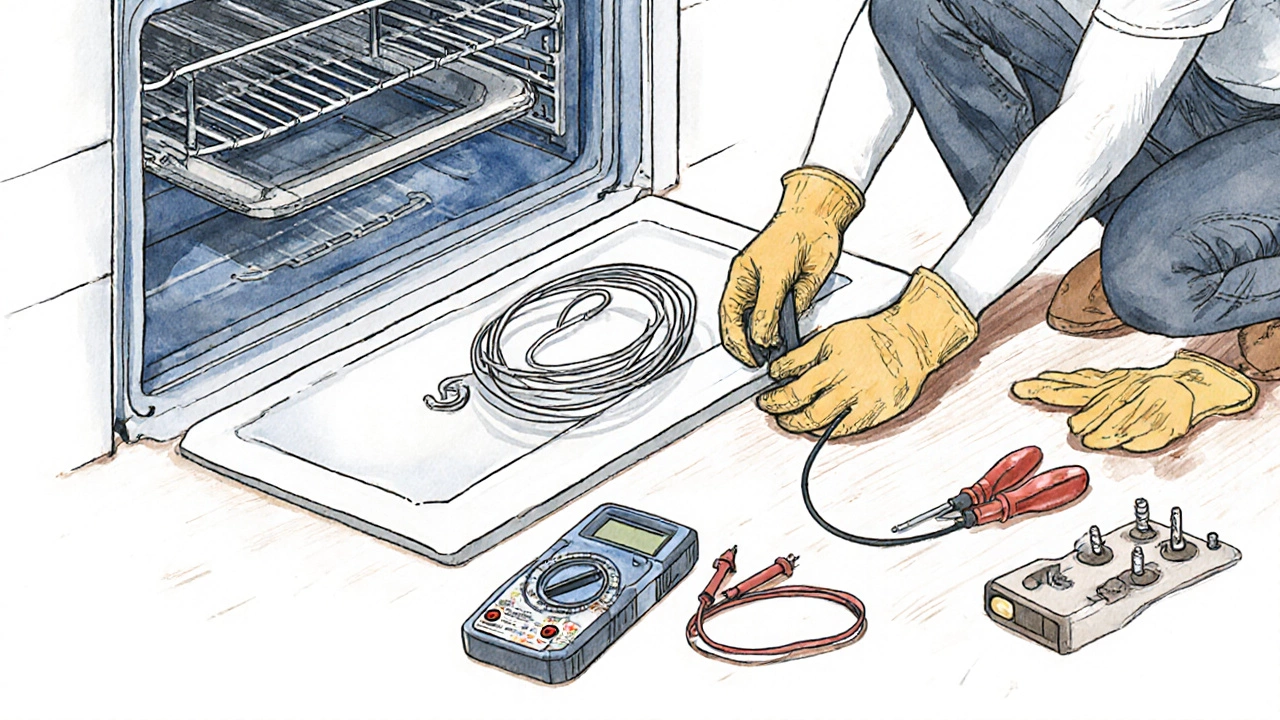
Step‑by‑step guide for a DIY replacement
Before you start, make sure you have the right safety gear and a clear workspace. Here’s a practical checklist:
- Turn off power at the circuit breaker. Electrical safety is non‑negotiable; a live oven can cause serious injury.
- Remove the oven racks and locate the element. In most models it’s secured with two or three screws and a spring‑loaded clip.
- Take a photo of the wiring configuration. This tiny visual reference saves guesswork when you reconnect the new part.
- Disconnect the element’s wire connectors. Use a multimeter to verify the element is dead before handling it.
- Unscrew the old element and lift it out. Be careful; the coil can be fragile and may break if you apply too much force.
- Match the new element’s part number. Most ovens list it on the back panel; otherwise, cross‑reference the make and model on the manufacturer’s website.
- Slide the new element into place, re‑attach the screws and spring clip, then reconnect the wires according to the photo you took.
- Restore power, set the oven to 180°C, and watch for even heating. Use an oven thermometer to confirm it reaches the set temperature within a few minutes.
If any step feels shaky, pause and call a local technician. A miswired element can overheat, tripping the circuit breaker or worse.
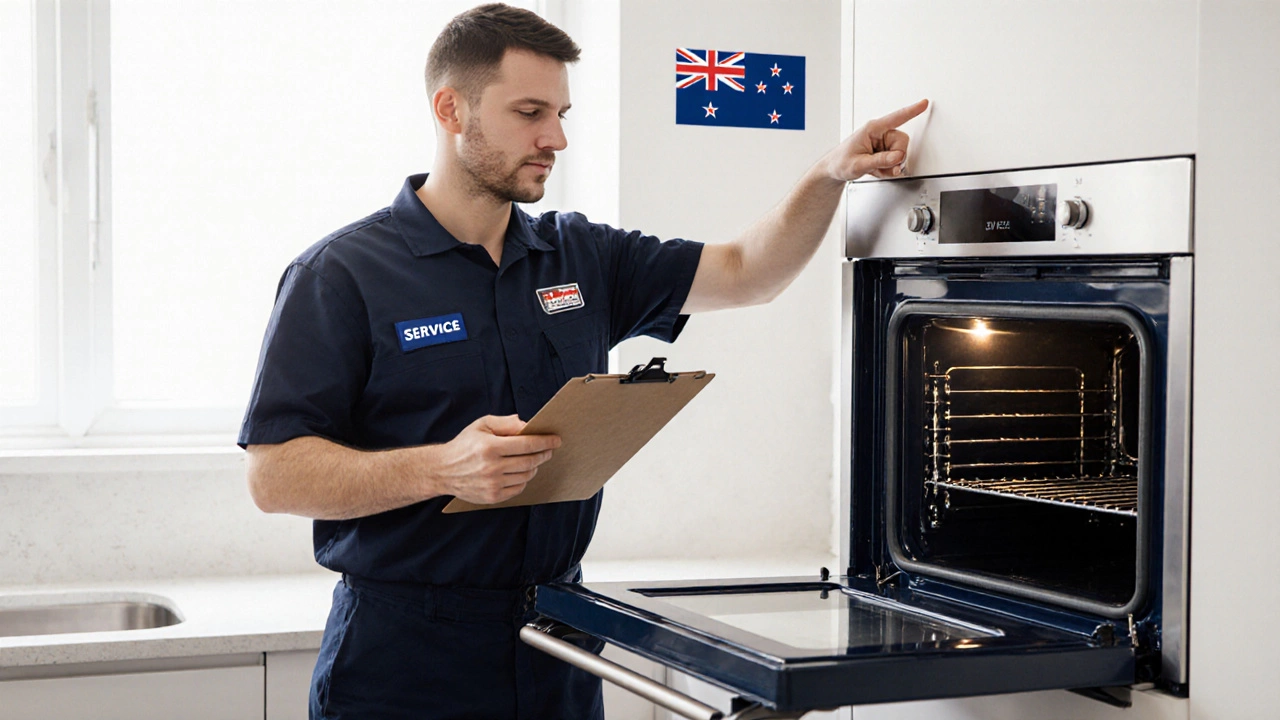
How to choose a reputable appliance technician
When you decide professional help is the safer bet, use these criteria to weed out fly‑by‑night services:
- Check for a current registration number with the NewZealand Electrical Workers Registration Board (EWRB). A valid licence shows the technician meets safety standards.
- Read recent customer reviews on local forums such as TradeMe or Facebook community groups. Look for comments specifically about oven repairs.
- Ask for a written quote that breaks down part cost, labor, and any extra fees. Transparent pricing prevents hidden charges later.
- Confirm the technician offers a warranty on both parts and labour. A 12‑month guarantee is common for heating elements.
- Inquire about their experience with your oven brand. Brands like Bosch, Samsung, and Fisher & Paykel have proprietary element designs that some technicians handle better than others.
Once you have a shortlist, call each shop, describe the fault, and request a price range. Most will give a ballpark figure (e.g., NZ$180‑NZ$220) before a site visit.
Common pitfalls and how to avoid them
Even seasoned DIYers trip over these traps:
- Buying the wrong part - always verify the part number against the oven’s model. A mismatched element can cause uneven heating or blow a fuse.
- Skipping the safety check - never work on a live appliance. A quick test with a multimeter after unplugging ensures no residual voltage.
- Over‑tightening screws - the element needs a little give for thermal expansion. Overtightening can crack the coil over time.
- Ignoring the thermostat - a failing thermostat often mimics a bad element. Test the thermostat resistance; if it’s out of spec, replace it together with the element.
- Not resetting the circuit breaker - after installation, flip the breaker off for 30seconds, then on again. This resets any tripped safety devices.
By watching these details, you’ll keep the repair cost from ballooning into another service call.
Bottom line: What should you expect to spend?
Summing up, the average homeowner in Auckland will pay around NZ$250±NZ$100 for a full professional replacement, while a competent DIYer can keep the out‑of‑pocket expense under NZ$200 - plus a one‑time tool investment. If your oven is still under warranty, contact the manufacturer first; you might get the part free and only pay for labor, or even get a total free repair.
Frequently Asked Questions
How do I know if the heating element is the problem?
If the oven heats unevenly, stays cold at the set temperature, or shows an error code related to the element, it’s a strong sign. A quick continuity test with a multimeter (reading close to 0Ω indicates a short, infinite resistance indicates a broken coil) confirms the fault.
Can I use a universal heating element?
Universal elements exist, but they must match the voltage (220‑240V for NZ), wattage rating, and physical size of your original part. Mismatches can cause under‑heating or overload the oven’s wiring, so it’s safest to order the exact OEM part number.
Is it worth repairing an older oven?
If the oven is less than 10years old and otherwise functional, a NZ$200‑NZ$300 repair is usually cheaper than buying a new unit (which starts around NZ$900 for a basic electric model). For appliances over 15years, consider the energy‑efficiency gap before spending on a repair.
Do I need a gas safety inspection after replacing the element?
No. Heating elements are strictly electrical, so only an electrical safety check applies. If you have a combined gas‑electric oven, the gas system remains untouched.
How long will a new heating element last?
A quality OEM element typically lasts 7‑10years under normal use. Frequent high‑temperature broiling or using the oven for long roast cycles can shorten that life span.