Appliance Standard Explained: What It Means for Your Home Appliances
October 12 2025Kitchen Appliance Installation: What You Need to Know Before You Start
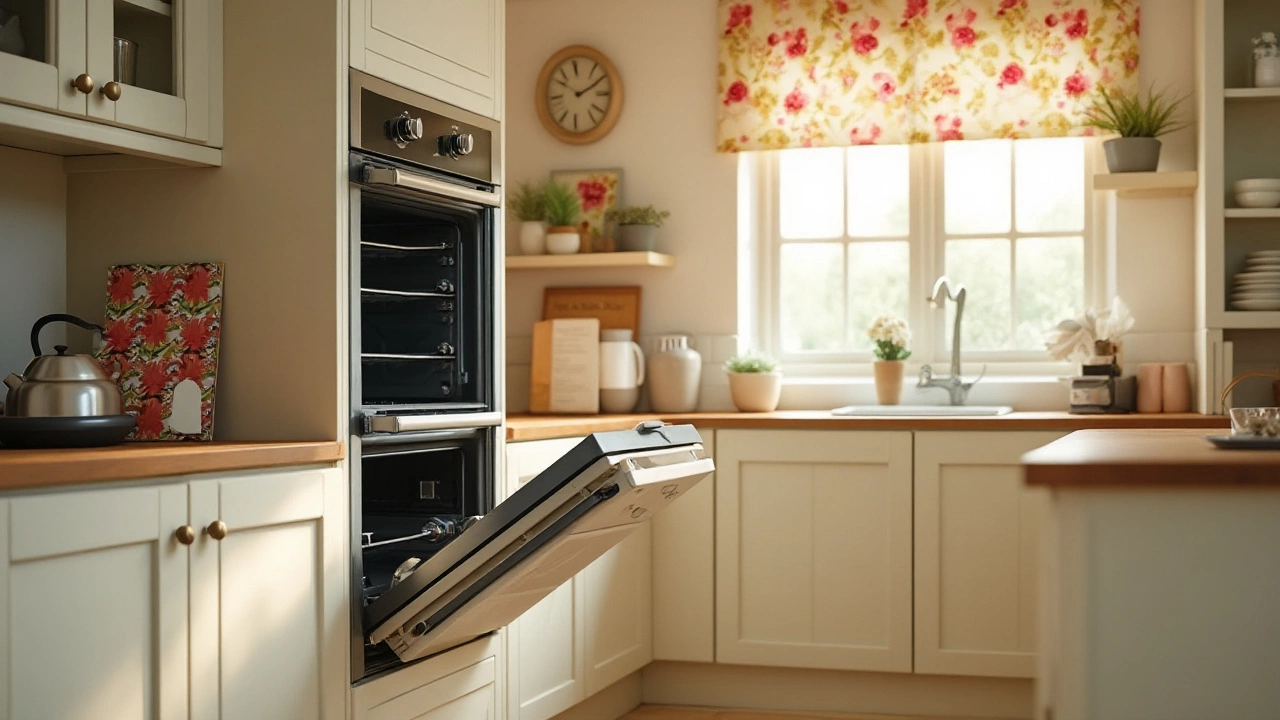
Thinking about fitting a new oven, dishwasher or extractor fan? A smooth installation isn’t magic – it’s about planning, safety and knowing when to call a pro. Below we break down the basics so you can avoid costly mistakes and keep your kitchen running safely.
Plan the Layout and Check Connections
First, measure the space where the appliance will sit. Take note of height, width and depth, then compare with the manufacturer’s dimensions. Look at the nearest water, gas and electricity points. If you’re adding a gas stove or boiler, the pipework must meet local regulations – a certified gas engineer is mandatory.
Tip: Lay a cardboard cut‑out of the appliance on the floor. It shows instantly if you’ve got enough clearance for doors, drawers and ventilation.
Gather the Right Tools and Materials
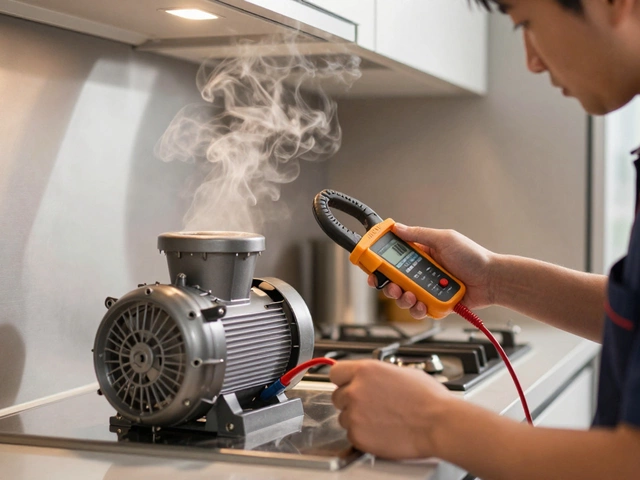
Most installations need a screwdriver set, adjustable wrench, a level, and a drill with the right bits. For gas work, you’ll need a leak‑testing kit and pipe‑thread sealant approved for gas. Keep a bucket, towels and a flashlight handy – water leaks and loose connections are easier to spot early.
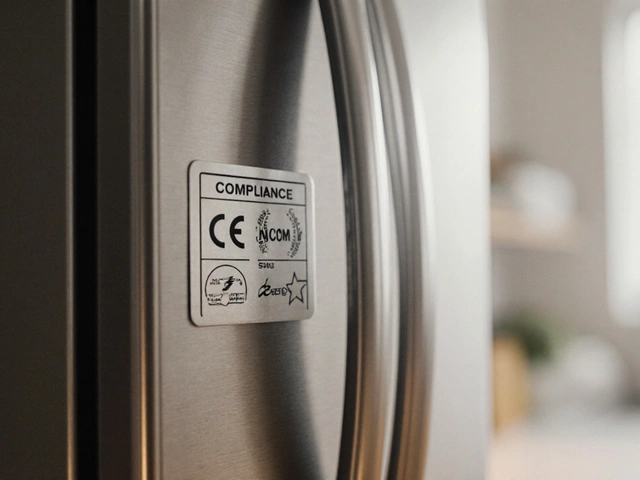
Don’t forget the manuals. They list specific clearances, required venting and electrical ratings. Skipping that step can void warranties and cause safety hazards.
Once you’ve got the space, tools and paperwork sorted, you can start the actual installation. Here’s a quick rundown for the most common kitchen appliances.
Oven or Cooktop: Turn off the electricity at the consumer unit. If it’s a gas model, shut the gas supply and bleed the line. Position the unit, level it, then connect the gas or power cable using the supplied connector. Double‑check that the flame is blue and steady before you use it.
Dishwasher: Connect the water inlet hose to the tap, making sure the washer‑ball valve is secure. Attach the drain hose to the sink’s waste pipe or a dedicated air gap. Plug the power cord into a grounded socket. Run a short test cycle to watch for leaks.
Extractor Fan or Rangehood: Most fans need a power outlet and a duct that vents to the outside. Secure the duct with foil tape (no cloth tape) and keep the run as short as possible to maintain suction. Turn the fan on and listen for smooth operation – any rattling may mean the fan isn’t mounted firmly.
Refrigerator: Leave the fridge upright for at least four hours before plugging it in; this lets the coolant settle. Position it away from heat sources, level it, and attach the water line if you have a built‑in ice maker. Check the door seals for a snug fit.
If at any point you feel unsure – especially with gas connections – pause and call a certified engineer. In Bedford, our gas engineers handle everything from boiler to stove installs, ensuring everything meets Building Regulations.
After the appliance is in place, run a final safety check: verify no drips, confirm the appliance is level, and test all functions. Keep the installation manuals for future reference and warranty claims.
Remember, a well‑done installation saves you time, money and headaches down the road. Whether you’re a DIY enthusiast or just getting started, follow these steps and you’ll have a kitchen that works safely and efficiently.
 4 Jan
4 Jan
Replacing an Electric Oven: Tips and Challenges
Replacing an electric oven can be daunting if you're unprepared. This article explores the steps involved in replacing an electric oven, factors to consider, and when to call a professional. You'll learn valuable tips to safely and effectively install a new oven that fits your home and needs.
Read More...POPULAR POSTS
Who to Call for an Extractor Fan Repair in Auckland?
February 19 2026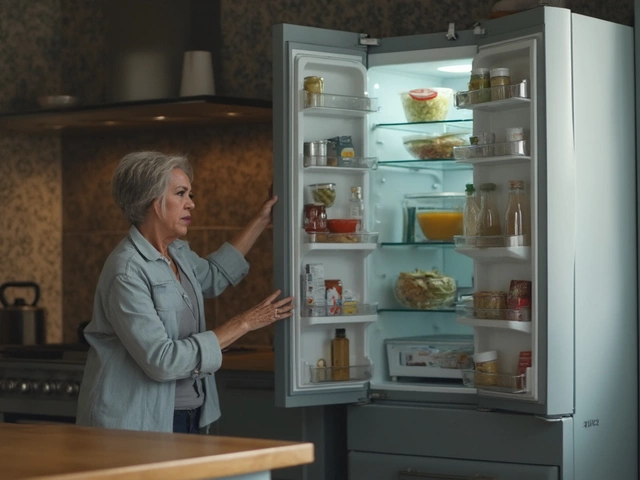
Fridge Repair: What Usually Fails in a Fridge?
June 19 2025
Is It OK Not to Have an Extractor Fan? What You Need to Know
December 7 2025
Can Kitchen Extractor Fans Be Repaired Effectively?
February 27 2025