Step-by-Step Guide to Resetting Your Hot Water Heater Safely
November 28 2024DIY Oven Installation: Simple Steps to Get Your New Oven Up and Running
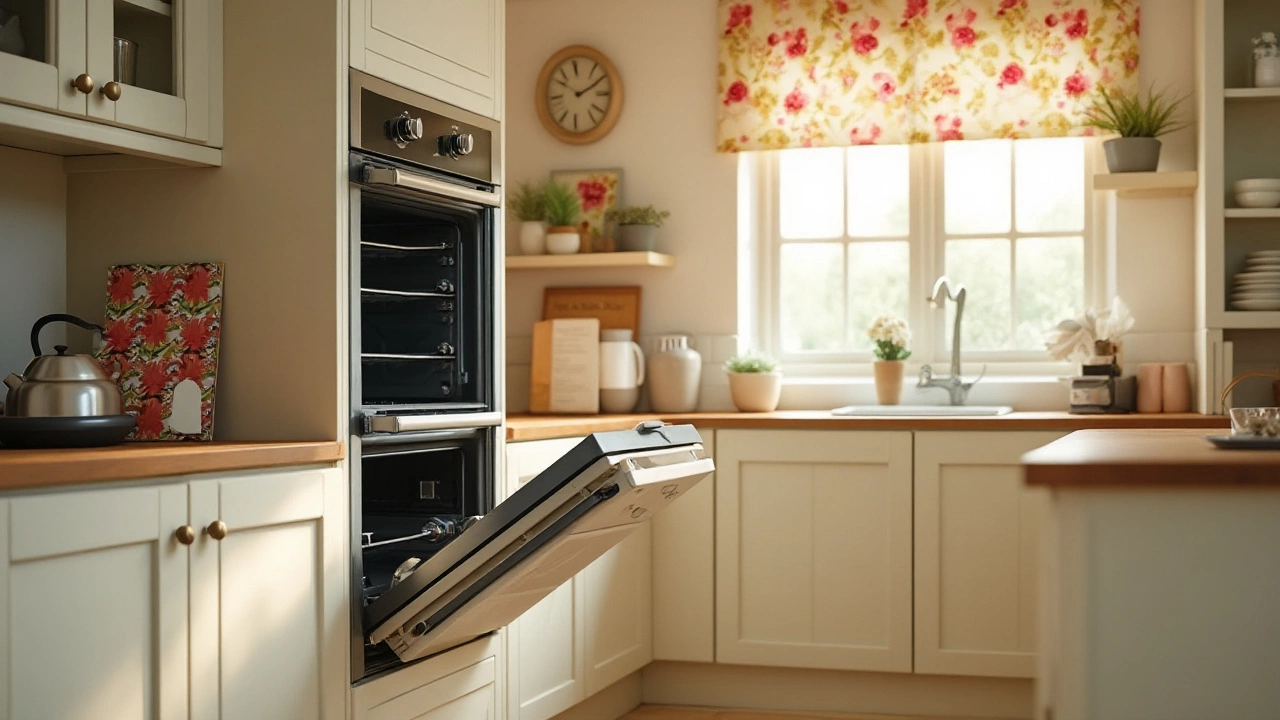
Got a brand‑new oven and want to save the call‑out fee? Installing an oven yourself isn’t rocket science, but you do need to follow a few safety rules and have the right tools. This guide walks you through everything you need – from unboxing to the final test – so you can enjoy that fresh‑cooked smell without a hassle.
Tools and Prep You’ll Need
Before you start, gather a basic toolkit: a screwdriver set (flat‑head and Phillips), an adjustable wrench, a level, a drill (if you need to mount a bracket), and a tape measure. You’ll also want a voltage tester if the oven is electric, or a pipe wrench and flexible gas line for a gas model. Make sure the area around the old appliance is clear and the floor is clean – a tidy workspace makes the job faster and reduces accidents.
Next, turn off power at the consumer unit for an electric oven, or shut the gas supply at the valve for a gas oven. Double‑check with a tester – you don’t want any live wires or gas flowing while you work. If you’re unsure about the gas shut‑off, it’s safer to call a certified gas engineer.
Step‑by‑Step Installation Process
1. Remove the old oven. Unscrew the mounting brackets, pull the appliance out, and disconnect the power cord or gas line. Keep the old screws – you’ll need them for the new unit.
2. Check the dimensions. Measure the width, depth, and height of the cut‑out. Compare those numbers with the new oven’s specifications. If the new model is larger, you may need to enlarge the cavity or adjust the surrounding cabinetry.
3. Fit the mounting brackets. Most ovens come with pre‑drilled holes that line up with your existing brackets. Secure the brackets using the supplied screws and a level to make sure the oven sits straight.
4. Connect the utilities. For electric ovens, plug the cord into a dedicated 240 V outlet or connect the wiring according to the manual – usually black to live, white to neutral, and green to earth. For gas ovens, attach the flexible gas hose to the supply valve and the oven inlet, then test for leaks with a soap‑water solution. Bubbles mean a leak; tighten the connection and test again.
5. Slide the oven into place. Gently push it back into the cut‑out, making sure the door opens freely and the front isn’t rubbing the cabinet. Tighten the mounting screws securely.
6. Power up and test. Turn the electricity or gas back on and run the oven through a heating cycle. Watch for any error codes and confirm the temperature matches the dial.
If everything works, you’re done. Clean up the area, store your tools, and enjoy your first home‑cooked meal.
Remember, safety comes first. If at any point you feel unsure – especially with gas connections – call a qualified engineer. A quick professional check can prevent costly problems down the line.
Now that you’ve got the basics, you can tackle most oven installs with confidence. Keep this guide handy for future projects, and you’ll save time, money, and the headache of a missed appointment.
 4 Jan
4 Jan
Replacing an Electric Oven: Tips and Challenges
Replacing an electric oven can be daunting if you're unprepared. This article explores the steps involved in replacing an electric oven, factors to consider, and when to call a professional. You'll learn valuable tips to safely and effectively install a new oven that fits your home and needs.
Read More...


