Extractor Fan Troubleshooter
Select the symptom you are experiencing to get a step-by-step diagnosis and recommended fix.
You turn on the switch, but instead of that satisfying hum pulling steam out of your kitchen, you get silence. Or worse, a grinding noise that sounds like a blender trying to crush rocks. It’s frustrating when your extractor fan fails to remove moisture and odors effectively, leading to foggy mirrors and lingering cooking smells. Before you call a professional or buy a new unit, there is a good chance you can fix it yourself in under thirty minutes.
Most extractor fan issues stem from three main culprits: lack of maintenance, electrical faults, or mechanical wear. By following a logical troubleshooting process, you can identify the root cause and often save significant money on service calls. This guide walks you through the exact steps to diagnose and repair common problems, ensuring your ventilation system works as hard as you do.
Safety First: Power Isolation
Never start tinkering with an electrical appliance while it is live. The first rule of extractor fan repair is to cut the power completely. Locate your home’s circuit breaker panel and find the switch labeled for the bathroom or kitchen ventilation. Flip it to the "Off" position.
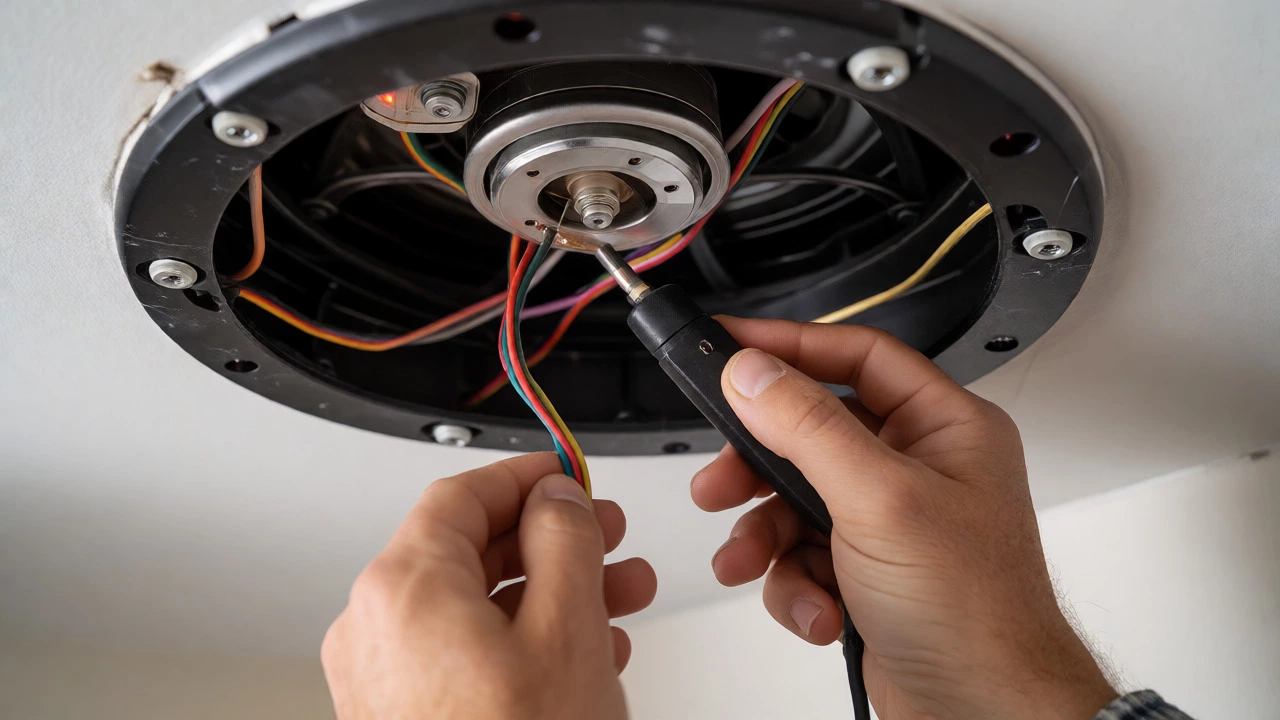
To be absolutely sure the current is gone, use a non-contact voltage tester on the wires inside the fan housing before touching anything. If the tester lights up, the power is still on, and you need to check if another breaker controls the unit. Working with electricity without isolating it risks shock or shorting out the motor, turning a simple fix into a costly disaster.
Cleanliness Check: The Most Common Fix
Before diving into complex diagnostics, look at the obvious. Over time, grease from cooking and dust from the air build up on the fan blades and filter. This buildup weighs down the motor, causing it to slow down, overheat, or stop entirely. In kitchens, this is especially prevalent because fat particles stick to surfaces much more aggressively than dry dust.
- Remove the cover: Most units have clips or screws holding the front grille. Take it off carefully.
- Inspect the filter: If you see thick grime, soak the metal mesh filter in hot soapy water with a degreaser (like dish soap) for an hour.
- Wipe the blades: Use a damp cloth to clean the fan impeller. Be gentle; plastic blades can snap if forced.
- Check the housing: Vacuum out any loose debris inside the casing.
Once everything is dry, reassemble the fan and test it. Often, simply removing the weight of accumulated grease restores full airflow. If the fan was noisy due to imbalance, cleaning usually resolves the vibration.
Diagnosing Noise Issues
If your fan runs but makes strange noises, the type of sound tells you exactly what is wrong. You don’t need a degree in engineering to decode these acoustic clues.
| Noise Type | Likely Cause | Quick Fix |
|---|---|---|
| Rattling | Loose screws or unbalanced blades | Tighten all fasteners; clean blades |
| Grinding | Bearing failure or debris obstruction | Replace bearings or clear duct |
| Whining | Motor winding issue or low lubrication | Apply oil or replace motor |
| Humming (no spin) | Seized motor or bad capacitor | Check capacitor or free stuck shaft |
A rattling sound is almost always mechanical looseness. Check the mounting brackets against the ceiling or wall joists. If the fan vibrates excessively, the rubber isolation mounts might have hardened and cracked over time, transferring every rotation directly into your structure. Replacing these cheap rubber grommets can quiet things down significantly.
Grinding suggests physical contact. Turn off the power and reach inside (carefully) to see if something is hitting the blades. Sometimes, a piece of insulation or a stray wire gets sucked into the intake. If nothing is visible, the motor bearings are likely shot. On cheaper models, bearing replacement isn't worth the labor cost; you’ll likely need a new motor or unit.

The Fan Won’t Start: Electrical Diagnostics
If the fan is silent and doesn’t even try to move, the problem is electrical. Here is where we separate user-fixable issues from those requiring a pro.
1. Check the Switch
Is the wall switch faulty? Try wiggling it. If the fan flickers on and off, the switch contacts are worn. Replace the switch-it’s a ten-minute job if you know how to handle basic wiring.
2. Test the Capacitor
Many extractor fans use a start capacitor to provide the initial torque needed to spin the motor. If the capacitor fails, the motor will hum loudly but won’t rotate. You can test this with a multimeter set to capacitance mode. If the reading is far below the microfarad (µF) rating printed on the capacitor’s side, replace it. These parts cost less than $10 and are widely available online.
3. Inspect Wiring Connections
Vibration over years can loosen wire nuts or terminal screws. Open the junction box and ensure the live (brown), neutral (blue), and earth (green/yellow) wires are tight. Corroded connections can also interrupt the flow of power. Clean off any green oxidation with a wire brush and reconnect.
Airflow Problems: Blocked Ducts
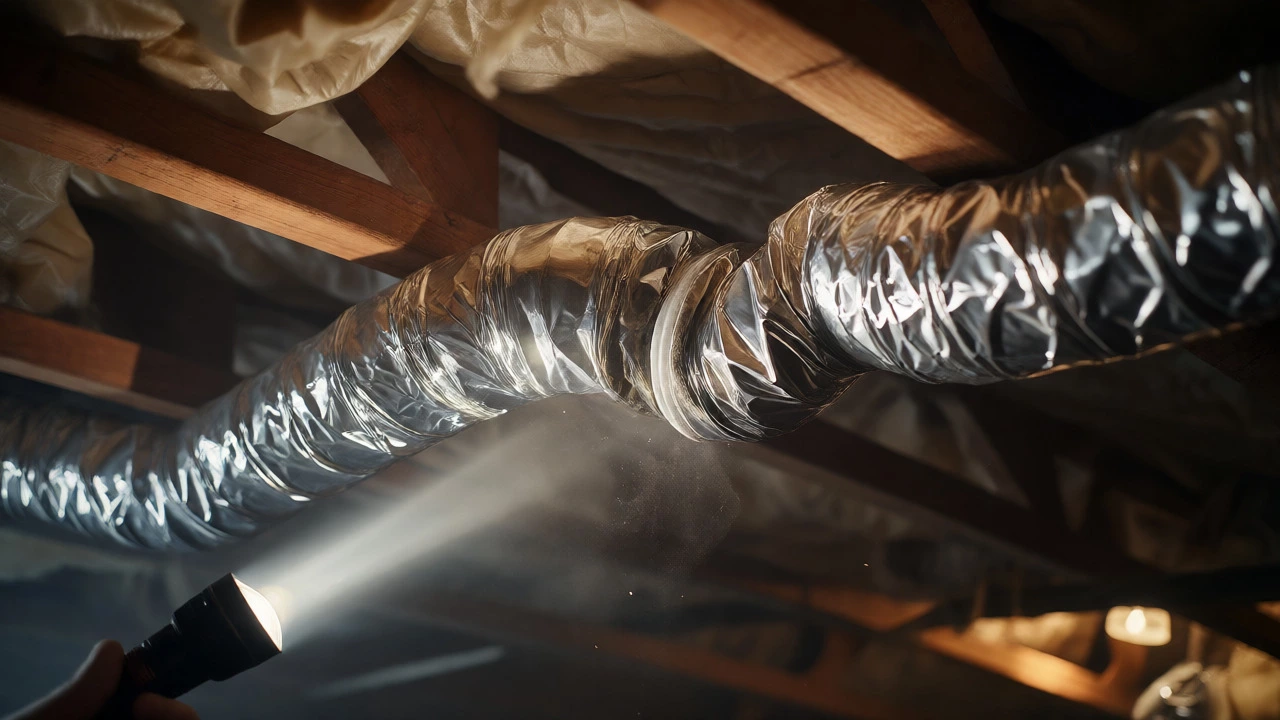
Your fan might run perfectly, spinning at full speed, yet fail to ventilate the room. This points to a restriction in the exhaust path. Extractor fans rely on moving air through a duct pipe that leads outside the building. If this pipe is crushed, kinked, or blocked, the fan just circulates stale air.
Go outside and look at the external vent cap. Does a tissue flutter when held near it while the fan is running? If not, the blockage is internal. Common causes include:
- Kinks: Flexible foil ducts often bend sharply in attics or cabinets, collapsing the diameter.
- Backdraft Dampers: Many vents have flaps that open when the fan runs. If these are stuck shut by rust or paint, air cannot escape.
- Nesting: Birds or rodents sometimes build nests in unused vent pipes during spring.
Use a flexible brush kit designed for dryer vents to snake through the ductwork. If the duct is rigid PVC, you may need to disassemble sections to clear the clog. Ensure the external flap moves freely by hand.
When to Call a Professional
While many fixes are DIY-friendly, some scenarios warrant expert help. If you smell burning plastic or see smoke coming from the motor housing, stop immediately. This indicates overheating windings, which can lead to fire hazards. Also, if your home has aluminum wiring (common in houses built between the 1960s and 1970s), consult an electrician before making changes, as improper connections can be dangerous.
Similarly, if the fan is integrated into a complex HVAC system or requires cutting into structural beams to access the motor, the labor cost might exceed the price of a standard replacement unit. Always weigh the repair effort against the age of the appliance. Fans older than 10-15 years are often more efficient to replace than repair, given advancements in energy efficiency and noise reduction.
Frequently Asked Questions
Why does my extractor fan make a loud humming noise but not spin?
This is typically caused by a failed start capacitor or a seized motor bearing. The capacitor provides the initial boost to get the motor turning. If it's dead, the motor tries to start but lacks torque, resulting in a hum. Try gently pushing the fan blade with a stick (while powered off, then on) to see if it starts spinning; if it does, the capacitor is likely the culprit.
How often should I clean my extractor fan?
For kitchen fans used daily, clean the filters and blades every 3 to 6 months. Bathroom fans generally require cleaning once a year unless they are located near heavy dust sources. Regular cleaning prevents grease buildup, which reduces motor strain and improves airflow efficiency.
Can I use WD-40 on my extractor fan bearings?
It is better to use a dedicated light machine oil or silicone-based lubricant. WD-40 is primarily a solvent and penetrant; while it cleans, it evaporates quickly and does not provide long-term lubrication. Applying proper oil ensures the bearings stay smooth and quiet for longer.
What size duct should I use for my extractor fan?
Always match the duct diameter to the fan outlet size, typically 4 inches (100mm) or 6 inches (150mm). Using a smaller duct restricts airflow and increases noise. Keep the duct run as straight and short as possible to maximize performance.
Is it safe to run an extractor fan continuously?
Yes, most modern fans are designed for continuous operation. However, running them unnecessarily wastes energy. For bathrooms, run the fan for 20-30 minutes after showering to remove humidity. For kitchens, run it during and shortly after cooking to clear smoke and odors.