Water Heater Element Diagnostic Tool
Identify Your Symptoms
Select the issue you are currently experiencing with your water heater.
Multimeter Resistance Test
Set your multimeter to Ohms (Ω). Touch one probe to each of the two center terminals on the element.
Diagnostic Result
There is nothing worse than stepping into a shower and getting blasted with ice-cold water. If your hot water tank has stopped delivering heat, the first thing most people suspect is the heating element, which is the internal component in an electric water heater responsible for raising the temperature of the stored water. It’s often the culprit, but how do you know for sure? Is it just a tripped breaker, or has the element actually failed?
Diagnosing a bad heating element doesn’t require a degree in engineering, but it does require caution and a few basic tools. In this guide, we’ll walk you through the tell-tale signs of failure, how to safely test the element yourself, and when it’s time to call a professional.
The Warning Signs of a Failing Heating Element
Before you grab your screwdriver, look at the symptoms. A failing element rarely announces its departure with a bang; it usually gives subtle clues over time. Recognizing these early can save you from a sudden cold-water crisis.
- No hot water at all: This is the most obvious sign. If both your upper and lower elements are dead, or if the thermostat controlling them has failed, you’ll get nothing but cold water from the tap.
- Hot water runs out quickly: Electric water heaters typically have two elements-an upper one that heats the top layer of water and a lower one that heats the bottom. If the lower element fails, you might get a small amount of hot water initially (from the top tank), but it will run out faster than usual because the bulk of the water isn’t being heated.
- Strange noises: While popping and rumbling sounds are often caused by sediment buildup on the element itself, they indicate the element is working harder than it should. Over time, this stress can lead to burnout.
- Rust-colored water: If you see rust in your hot water taps, the sacrificial anode rod may be depleted, allowing the tank to corrode. However, a severely corroded element can also contribute to discoloration and leaks.
- Tripping circuit breakers: If your breaker trips every time you turn on the water heater, there could be a short circuit in the element, causing it to draw excessive current.
If you’re experiencing any of these issues, especially the lack of hot water, it’s time to investigate further. But remember: electricity and water are a dangerous mix. Always prioritize safety.
Safety First: Preparing to Inspect Your Water Heater
Before touching anything inside your electric water heater, which is a storage-type appliance that uses electricity to heat and store domestic hot water, you must eliminate the risk of electrocution. Here’s the non-negotiable checklist:
- Turn off the power: Locate your home’s main electrical panel and switch off the circuit breaker dedicated to the water heater. Don’t just turn off the thermostat dial on the unit; cut the power at the source.
- Verify the power is off: Use a non-contact voltage tester at the access panels on the water heater to ensure no electricity is flowing to the terminals.
- Shut off the cold water supply: Turn the valve on the cold water inlet pipe to stop new water from entering the tank.
- Drain some water: Attach a garden hose to the drain valve at the bottom of the tank and run it to a floor drain or outside. Open the valve to lower the water level below the element you plan to inspect. This prevents scalding and makes removal easier.
- Let it cool: Wait at least an hour for the remaining water and metal components to cool down. Even lukewarm water can cause burns if sprayed under pressure.
Once these steps are complete, you can remove the access panels and insulation blankets covering the thermostats and elements. You’ll see two sets of wires connected to terminal blocks-one for the upper element and one for the lower.
Visual Inspection: What to Look For
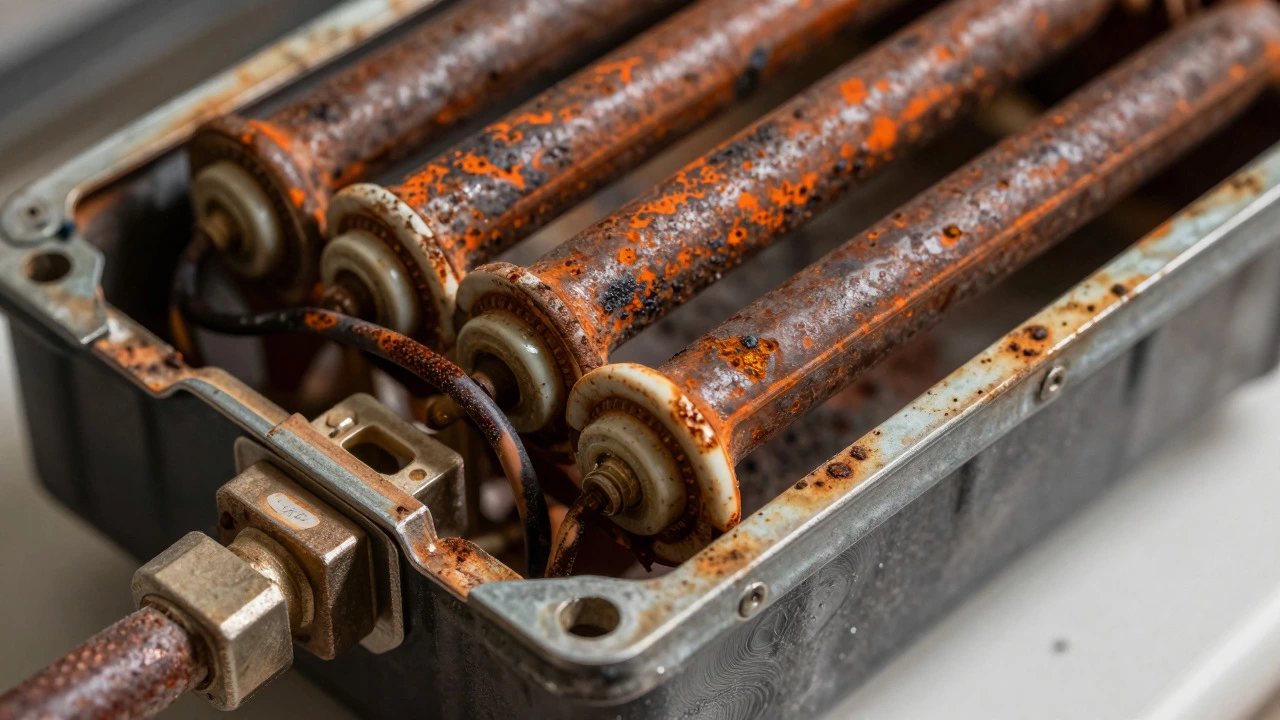
Even before testing with tools, a visual inspection can reveal obvious problems. Take a close look at the heating element assembly, which consists of a metal sheath containing a resistive wire coil, sealed with ceramic insulators and threaded into the tank via a mounting flange.
- Burnt or discolored wires: Check the wiring connections at the terminal block. Blackened or melted plastic indicates overheating or a loose connection, which can damage the element over time.
- Corrosion on the flange: The metal ring holding the element in place should be clean. Heavy rust or mineral deposits suggest leakage around the seal, which can eventually destroy the element.
- Visible cracks or holes: While rare, physical damage to the element’s metal casing can occur due to extreme thermal shock or impact during previous repairs.
If everything looks physically intact, don’t rule out failure yet. Internal breaks in the resistive coil won’t show up visually. That’s where a multimeter comes in.
Testing the Element with a Multimeter
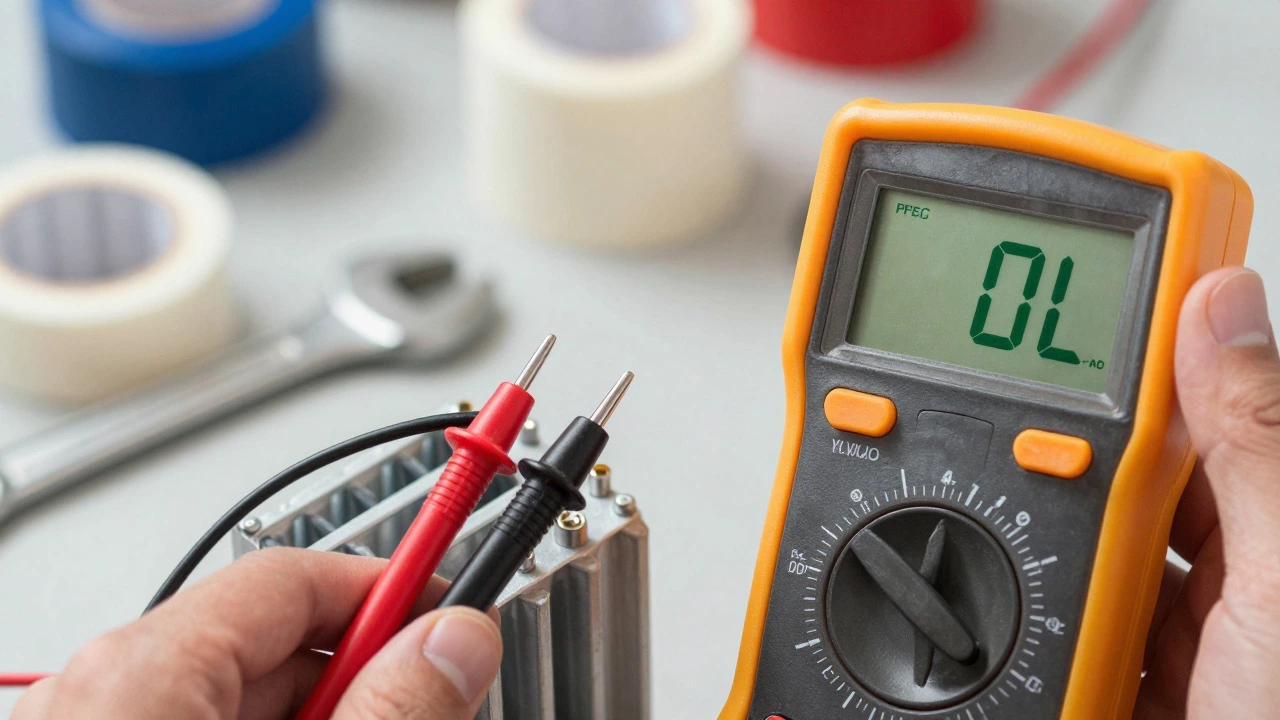
A multimeter, which is an electronic measuring instrument that combines several measurement functions in one handheld device, including voltage, current, and resistance, is the definitive tool for diagnosing a bad element. Most homeowners can perform this test in under ten minutes.
Here’s how to do it correctly:
- Disconnect the wires: Carefully remove the wires from the terminal screws on the element. Label them or take a photo so you can reconnect them properly later.
- Set the multimeter: Switch your multimeter to measure resistance (Ohms, Ω). Set it to the lowest range, usually 200Ω or 2kΩ.
- Touch the probes: Place one probe on each of the two center terminals of the heating element. Ignore the ground terminal (usually green or bare copper) for now.
- Read the value: A healthy heating element will show a resistance between 9.5Ω and 16Ω, depending on its wattage. For example, a 4500-watt element typically reads around 10-11Ω. A 5500-watt element will read closer to 8-9Ω.
- Interpret the result:
- If the reading is infinite (displayed as "OL" or "1"), the element is open-circuited and dead.
- If the reading is zero or very low (below 5Ω), there’s a short circuit, and the element is faulty.
- If the reading falls within the expected range, the element itself is likely fine, and the problem may lie with the thermostat or wiring.
This simple test eliminates guesswork. If your element reads "OL," you’ve found your problem.
Checking for Ground Faults
Another critical test involves checking for a ground fault, which occurs when the heating element’s internal coil touches the metal casing, sending electricity into the water. This is dangerous and can trip GFCI breakers.
- Keep the multimeter set to Ohms.
- Place one probe on either of the center terminals.
- Place the other probe on the metal mounting flange or the green ground screw.
- Read the display. A good element will show infinite resistance (no continuity) between the terminal and the ground. If you get any reading other than infinity, the element has grounded out and must be replaced immediately.
Finding a ground fault explains why your breaker keeps tripping. It’s not just an inconvenience; it’s a safety hazard.
Replacing a Bad Heating Element
If your tests confirm the element is bad, replacement is straightforward but requires care. You’ll need a direct replacement part-match the wattage, voltage, and thread size (usually 3/4-inch NPT) exactly.
- Remove the old element: Use a large adjustable wrench or channel-lock pliers to loosen the mounting nut. Pull the element straight out. Be prepared for some water to spill out.
- Clean the opening: Scrape away any old Teflon tape or corrosion from the tank threads. This ensures a tight seal for the new element.
- Prepare the new element: Wrap the threads of the new element with fresh PTFE (Teflon) tape, winding it clockwise so it doesn’t unravel during installation.
- Install the new element: Screw it in by hand first to avoid cross-threading, then tighten with the wrench. Don’t overtighten, as this can crack the ceramic insulators.
- Reconnect the wires: Follow your earlier photo or labels to attach the wires to the correct terminals. Tighten the screws securely.
- Refill the tank: Close the drain valve, turn the cold water supply back on, and open a hot water faucet somewhere in the house to let air escape. Wait until steady water flows from the faucet before closing it.
- Restore power: Once the tank is full, replace the access panels and insulation, then turn the circuit breaker back on.
Wait about 30-60 minutes for the water to heat up, then check the temperature at the tap. If it’s warm, your repair was successful.
When to Call a Professional
While DIY repair saves money, some situations demand expert help. Call a licensed plumber or electrician if:
- You’re uncomfortable working with electricity or heavy appliances.
- The tank is leaking from the bottom or seams, indicating catastrophic failure.
- The thermostat is stuck or unresponsive after replacing the element.
- You suspect gas line issues (for hybrid or gas-electric combo units).
- Your water heater is more than 10-12 years old and showing multiple signs of wear.
In Auckland, where hard water is common, mineral buildup accelerates element failure. Regular maintenance, such as flushing the tank annually, can extend the life of your heating elements significantly.
How long does a hot water heater element last?
A typical heating element lasts between 3 to 10 years, depending on water quality, usage frequency, and maintenance. In areas with hard water like Auckland, limescale buildup can reduce lifespan to 3-5 years without regular descaling.
Can I replace just one heating element?
Yes, you can replace only the faulty element. Most electric water heaters have independent upper and lower elements, so if one fails, the other can still function until repaired. Ensure the replacement matches the original wattage and voltage specifications.
Why does my water heater trip the breaker?
Tripping breakers are often caused by a short circuit in the heating element, a failed thermostat, or loose wiring. A grounded element sends excess current to the earth, triggering the breaker as a safety measure. Test the element for ground faults using a multimeter.
Is it safe to test a water heater element while powered?
No, never test a heating element while the unit is powered. Always disconnect electricity at the circuit breaker and verify with a voltage tester before touching any terminals. Working on live components risks severe electrocution.
What causes a heating element to fail prematurely?
Premature failure is usually due to dry firing (running the element without water), sediment buildup insulating the element and causing overheating, or voltage spikes damaging the internal coil. Regular tank flushing and using surge protectors can mitigate these risks.