Bathroom Extractor Fan Servicing Checklist & Estimator
Enter your bathroom usage details below to calculate the recommended cleaning frequency and get a tailored maintenance checklist.
Usage Assessment
Recommended Action Plan
Fill out the form to see your personalized schedule.
Cleaning Frequency:
Essential Tools Needed:
- • Phillips head screwdriver
- • Vacuum with brush attachment
- • Old toothbrush & soapy water
- • Microfiber cloth
- • Step ladder
Nothing kills the vibe of a fresh shower faster than a bathroom extractor fan that sounds like a dying lawnmower or fails to clear the steam. You step out, the mirror is foggy, and the air feels heavy. That’s not just annoying; it’s a sign your ventilation system is struggling. Most people ignore their fans until they stop working entirely, but servicing them takes about twenty minutes and can double their lifespan. If you’re in Auckland or anywhere else with high humidity, keeping this unit clean isn’t optional-it’s essential for preventing mold.
Why Your Extractor Fan Needs Regular Attention
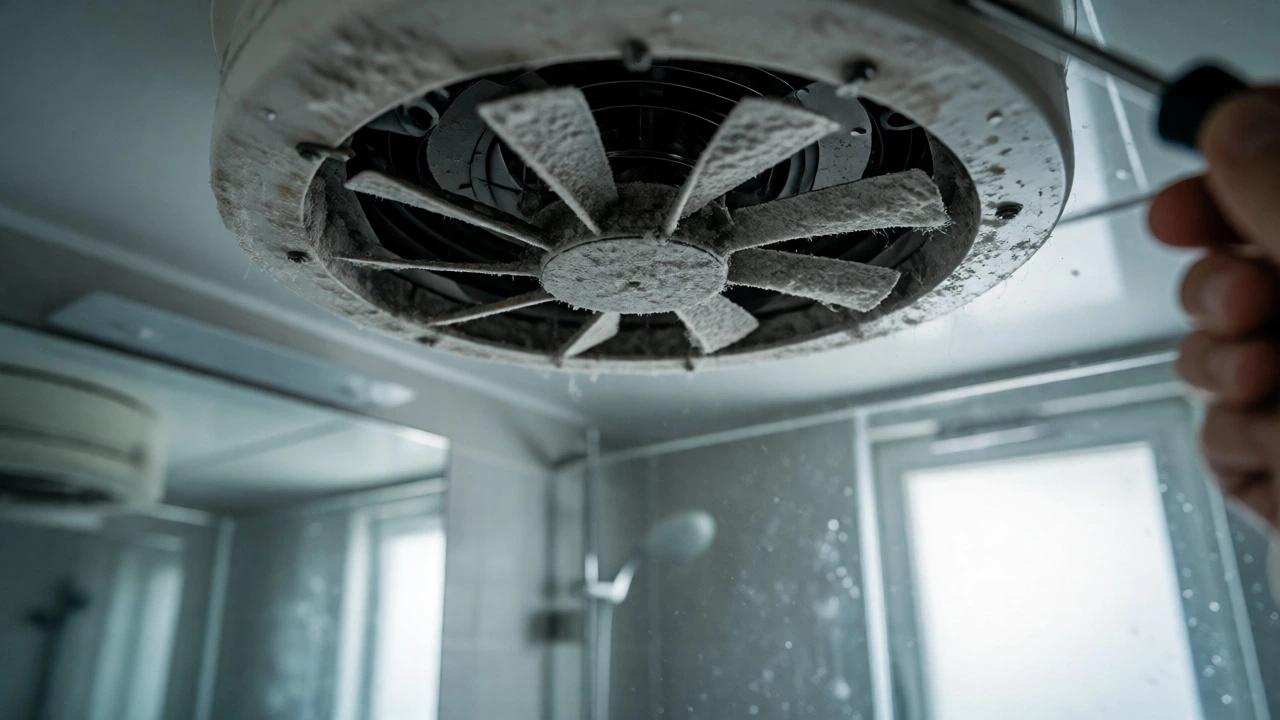
Think of your extractor fan as the lungs of your bathroom. Its job is simple: suck out moist, stale air and push it outside. But here’s the catch-every time you shower, tiny particles of skin, hair products, and dust get pulled into the intake. Over months, this builds up a thick layer of grime on the blades and the motor housing. This buildup does two bad things. First, it weighs down the blades, making the motor work harder and louder. Second, it blocks airflow, meaning the fan runs longer to achieve the same result, wasting electricity and burning out the motor prematurely.
In New Zealand homes, where we often have enclosed bathrooms without windows, this issue is amplified. Without natural cross-ventilation, your mechanical fan is doing all the heavy lifting. If you skip cleaning it for a year, you might find that the fan has seized up completely. Replacing a whole unit costs more than a tube of silicone sealant and a screwdriver. So, let’s look at how to actually do the job right.
Safety First: Power Off Before You Start
You wouldn’t change a lightbulb while standing in a puddle, right? Same logic applies here. Before you touch anything, go to your switchboard and turn off the circuit breaker that controls the bathroom lights and fan. It’s usually labeled clearly, but if not, flip the main power off to be safe. Wait a few minutes after turning it off. Capacitors inside some older fan motors can hold a charge even when disconnected from the mains. Touching live wires by accident is painful and dangerous, so treat every wire as hot until you’ve verified otherwise.
Gather your tools now. You’ll need a sturdy step ladder, a screwdriver (usually Phillips head), a vacuum cleaner with a brush attachment, an old toothbrush, warm soapy water, and a microfiber cloth. If your fan has a duct leading outside, you might also want a long flexible brush or a leaf blower on reverse if you’re feeling fancy, though a damp rag usually suffices for standard residential setups.
Removing the Cover and Cleaning the Blades
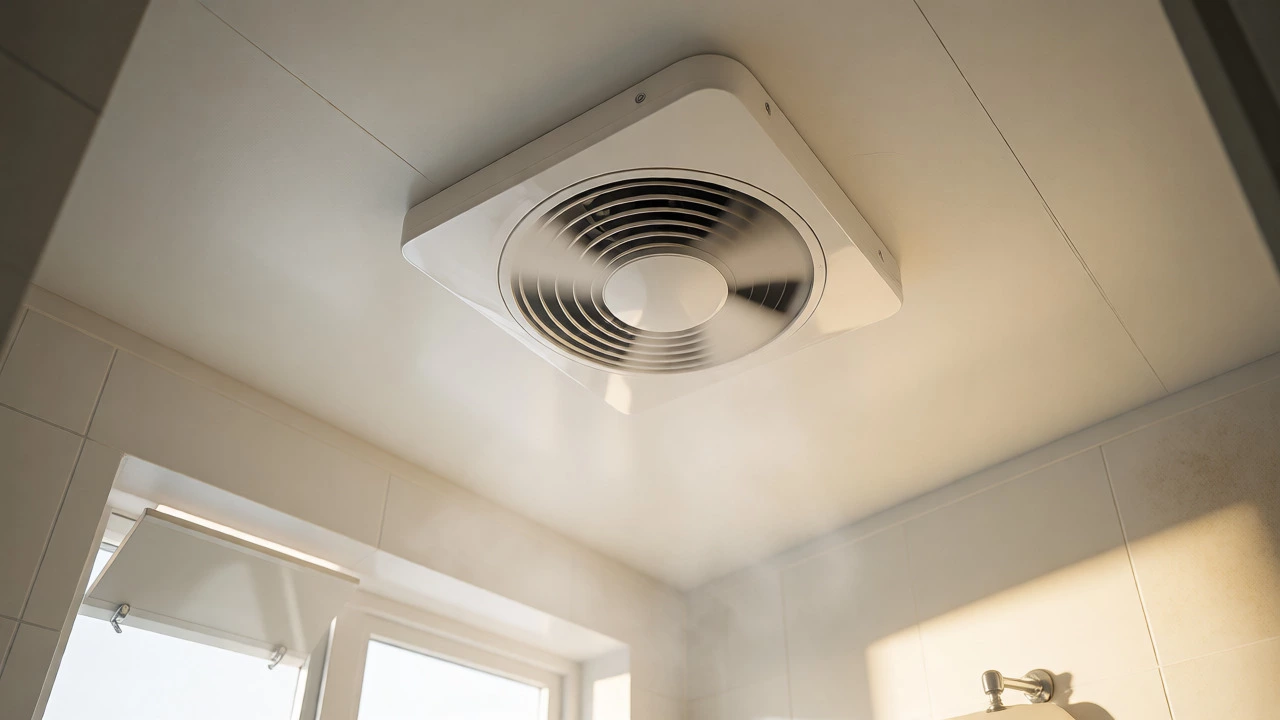
Most modern ceiling-mounted fans have a cover that snaps or screws off. Look for small clips on the sides or screws around the perimeter. Gently pry the cover away. Be careful-it’s often made of thin plastic that cracks if you force it. Once the cover is off, set it aside. Now you see the real culprit: the impeller or fan blades. They are likely coated in a grey, fuzzy mat of dust and lint.
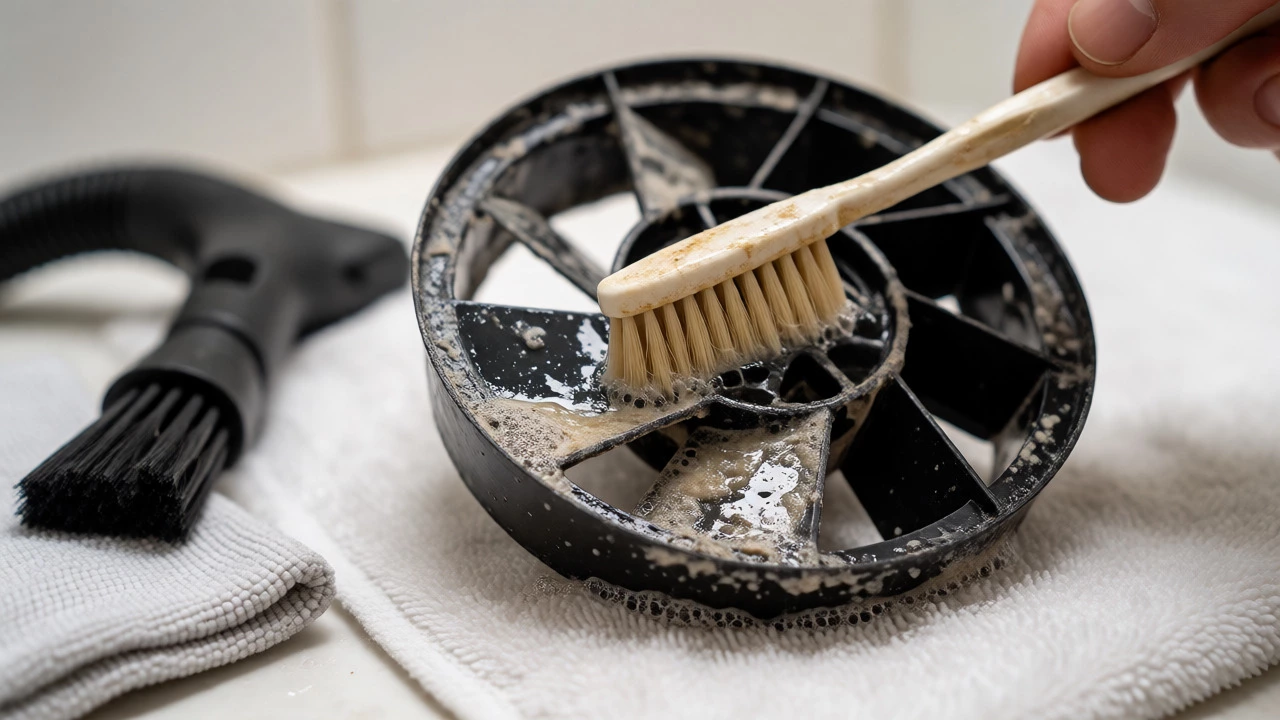
Use your vacuum cleaner with the brush attachment first. Run it over the blades to remove the loose debris. Don’t press too hard; you don’t want to bend the blades out of balance. For the sticky residue that remains, dip your toothbrush in warm soapy water and scrub each blade individually. Pay attention to the edges where dust tends to cake. Wipe them down with the microfiber cloth. If the blades are heavily corroded or cracked, consider replacing just the impeller kit rather than the whole fan. Many manufacturers sell these replacement parts cheaply.
| Symptom | Likely Cause | Quick Fix |
|---|---|---|
| Loud grinding noise | Dust buildup on bearings or unbalanced blades | Clean blades; lubricate bearings if accessible |
| Weak suction | Blocked filter or clogged ductwork | Clean intake grille; check external vent flap |
| Fan doesn't start | Tripped breaker or faulty capacitor | Check switchboard; test capacitor with multimeter |
| Persistent smell | Mold growth inside housing or backdraft | Disinfect interior; install backdraft damper |
Tackling the Duct and External Vent
Cleaning the inside is only half the battle. If the air can’t get out, it won’t come in. Trace the path from the fan housing to the outside wall or roof. In many homes, this is a flexible aluminum duct or a rigid PVC pipe. Check the connection points. Have they come loose? Is there a gap where hot, moist air leaks into the attic space instead of exiting? Seal any gaps with foil tape-never use regular duct tape, which dries out and falls off in heat.
Go outside and locate the exhaust vent. It usually has a flap or louvers that open when the fan runs. Birds love to build nests here, and spiders weave webs across the slats. Clear away any cobwebs, leaves, or bird droppings blocking the exit. If the flap is stuck shut due to rust or paint, gently free it. A blocked external vent creates backpressure, forcing the fan to work twice as hard. In coastal areas like Auckland, salt spray can corrode metal flaps, so rinse them with fresh water occasionally.
Checking the Motor and Electrical Connections
With the cover off and blades clean, take a quick look at the motor assembly. Is it spinning freely? Give the shaft a gentle spin with your finger. It should move smoothly with no resistance or grinding sound. Some older models have oil ports for lubrication. If yours does, add one drop of lightweight machine oil-not WD-40, which attracts more dirt-to the bearing point. Modern sealed motors don’t need this, so don’t try to force oil into them.
Inspect the wiring connections. Vibrations from years of running can loosen terminal screws. Tighten them carefully. Look for any signs of scorching or melted insulation on the wires. If you see black marks or brittle plastic, the fan may be overheating, indicating a failing motor or incorrect voltage. At this stage, if the motor hums but doesn’t turn, the capacitor might be dead. Replacing a capacitor is a cheap fix ($10-$20) but requires basic electrical knowledge. If you’re unsure, call a licensed electrician.
Reassembly and Testing
Once everything is dry and clean, put the cover back on. Ensure it sits flush against the ceiling to prevent air leakage around the edges. Turn the power back on at the switchboard. Flip the bathroom light switch to activate the fan. Listen closely. The noise should be significantly quieter. Watch the blades-they should rotate evenly without wobbling.
To test effectiveness, hold a piece of toilet paper near the intake grille. The suction should pull it firmly against the mesh. If it barely moves, you still have a blockage somewhere in the duct. Repeat the external vent check. Also, verify that the timer (if equipped) shuts off after the set duration. If the fan runs continuously, the internal thermostat or timer relay might be faulty, requiring professional repair.
Preventive Habits for Long-Term Performance
Servicing annually is good, but daily habits matter more. Always run the fan during showers and for at least 15-20 minutes afterward. This ensures all moisture is expelled before condensation settles on walls. Keep the area around the intake clear of towels or toiletries that might restrict airflow. Avoid spraying aerosol hairsprays or perfumes directly under the fan, as the oils coat the blades and trap dust faster.
If you notice the fan getting noisy again within six months, reconsider your usage patterns. Are you taking extremely hot, steamy showers? Consider installing a humidity-sensing switch that automatically activates the fan when moisture levels rise. These smart switches cost little and save you the mental load of remembering to turn the fan on. They ensure optimal ventilation without manual intervention, extending the life of your unit significantly.
How often should I clean my bathroom extractor fan?
For most households, cleaning once every 6 to 12 months is sufficient. However, if you have pets, smoke indoors, or take very long hot showers, you should clean it every 3 to 6 months. Visible dust buildup on the grille is a clear indicator that it’s time for a deeper clean.
Can I wash the extractor fan blades in the dishwasher?
It depends on the material. Plastic blades are often safe for a top-rack dishwasher cycle on low heat. However, always check the manufacturer’s instructions first. Metal blades or those with attached bearings should never go in the dishwasher, as the high heat and water pressure can damage the motor mount or cause corrosion. Hand washing with warm soapy water is the safest method for all types.
My fan is loud but works fine. Should I replace it?
Not necessarily. Loudness is often caused by dust imbalance or worn bearings rather than total failure. Try cleaning the blades and checking for loose screws first. If the noise persists after cleaning, the bearings may be worn out. For older units, replacement is often more cost-effective than repairing the motor, especially if energy-efficient models are available.
What happens if I don't service my extractor fan?
Neglect leads to reduced efficiency, higher electricity bills, and potential motor burnout. More importantly, poor ventilation causes excess moisture to linger, promoting mold and mildew growth on walls and ceilings. This can damage paint, wallpaper, and structural elements over time, leading to much more expensive home repairs than a simple fan service.
Do I need a professional to service the fan?
For routine cleaning of the cover, blades, and visible ductwork, you can definitely do it yourself. You only need a professional if you suspect electrical faults, such as the fan not starting despite power being on, or if the ductwork is inaccessible (e.g., deep in the ceiling cavity). Licensed electricians are required for any wiring changes or new installations.