Refrigerator Troubleshooter
Check Power & Electrical
Verify plug, outlet, and circuit breaker status.
Temperature Settings
Confirm thermostat levels and check for 'Demo Mode'.
Condenser Coils
Inspect for dust buildup on back or bottom grille coils.
Door Seals (Gaskets)
Perform the dollar bill test for air leaks.
Airflow Vents
Ensure food isn't blocking internal cold air vents.
Listen for Noises
Identify buzzing, clicking, or screeching sounds.
Analysis Complete
Based on your checks...
There is nothing more stressful than opening your refrigerator and realizing the milk has turned sour or the ice cream is melting into a puddle. It happens to everyone, usually at the worst possible time-right before a dinner party or during a hot summer week in Auckland. Before you panic or call for expensive refrigerator repair, there are several simple checks you can perform yourself. Often, the issue isn't a broken compressor but something as mundane as a dirty coil or a closed door.
Quick Summary: Key Takeaways
- Power First: Ensure the fridge is plugged in and the circuit breaker hasn't tripped; this solves 30% of "dead" fridge issues.
- Temperature Settings: Verify the thermostat is set correctly (3-5°C for fridge, -18°C for freezer) and hasn't been accidentally bumped.
- Airflow Matters: Check that vents inside the fridge aren't blocked by food, restricting cold air circulation.
- Dirty Coils Kill Efficiency: Condenser coils covered in dust act like a blanket, causing the compressor to overheat and shut down.
- Door Seals Leak Cold: The dollar bill test reveals if worn gaskets are letting warm air in, forcing the fridge to work overtime.
Step 1: Confirm Power and Electrical Connections
It sounds obvious, but it’s the most common oversight. Did the power cord get kicked out? Is the outlet dead? Start by checking if other appliances in the kitchen work. If the toaster works but the fridge doesn’t, look behind the fridge. In tight kitchens, the plug often gets pushed away from the socket when you slide the unit back against the wall.
If the plug is secure, check your home's circuit breaker or fuse box. Look for a switch that is in the middle position or labeled "Kitchen." If it has tripped, reset it. If it trips again immediately, stop. This indicates a short circuit within the fridge or your home wiring, which requires a professional electrician. Don't keep resetting it-you could start an electrical fire.
Also, listen closely. A healthy fridge makes a low hum or a gentle clicking sound when the compressor cycles on. If it’s completely silent, the problem is likely electrical (power supply, control board, or overload protector). If you hear humming but no cooling, the compressor might be struggling to start, which leads us to the next steps.
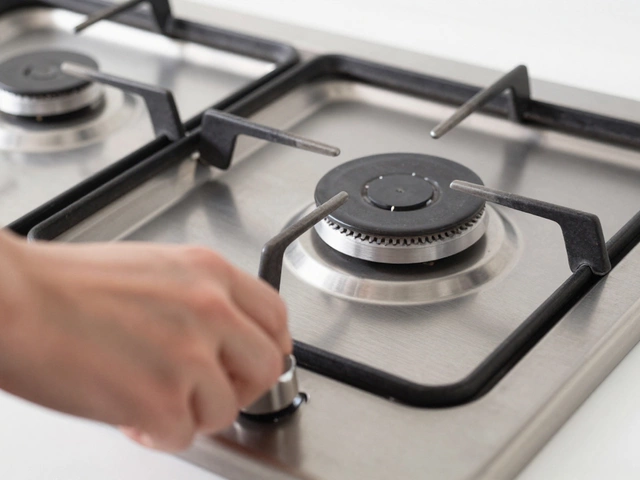
Step 2: Check the Thermostat and Temperature Settings
Sometimes, the fridge is working perfectly fine, but the settings have drifted. Kids bumping knobs, accidental resets after a power outage, or simply forgetting how cold you set it can lead to confusion. Open the fridge and locate the temperature control dial or digital display.
| Component | Ideal Temperature Range | Why It Matters |
|---|---|---|
| Fresh Food Compartment | 3°C to 5°C (37°F to 41°F) | Slow bacterial growth without freezing delicate produce. |
| Freezer Compartment | -18°C or lower (0°F or lower) | Preserves food quality and safety for long-term storage. |
| Dairy Drawer | 1°C to 3°C (34°F to 37°F) | Coldest zone for highly perishable items like meat and cheese. |
If your fridge has a digital control panel, ensure it’s not in "Demo Mode" or "Vacation Mode." Some modern smart fridges enter a low-power state that turns off the cooling system to save energy. Check the user manual or the brand’s website to see how to exit these modes. If you recently moved the fridge, remember that it takes 24 hours to reach stable temperatures. Give it time before assuming it’s broken.
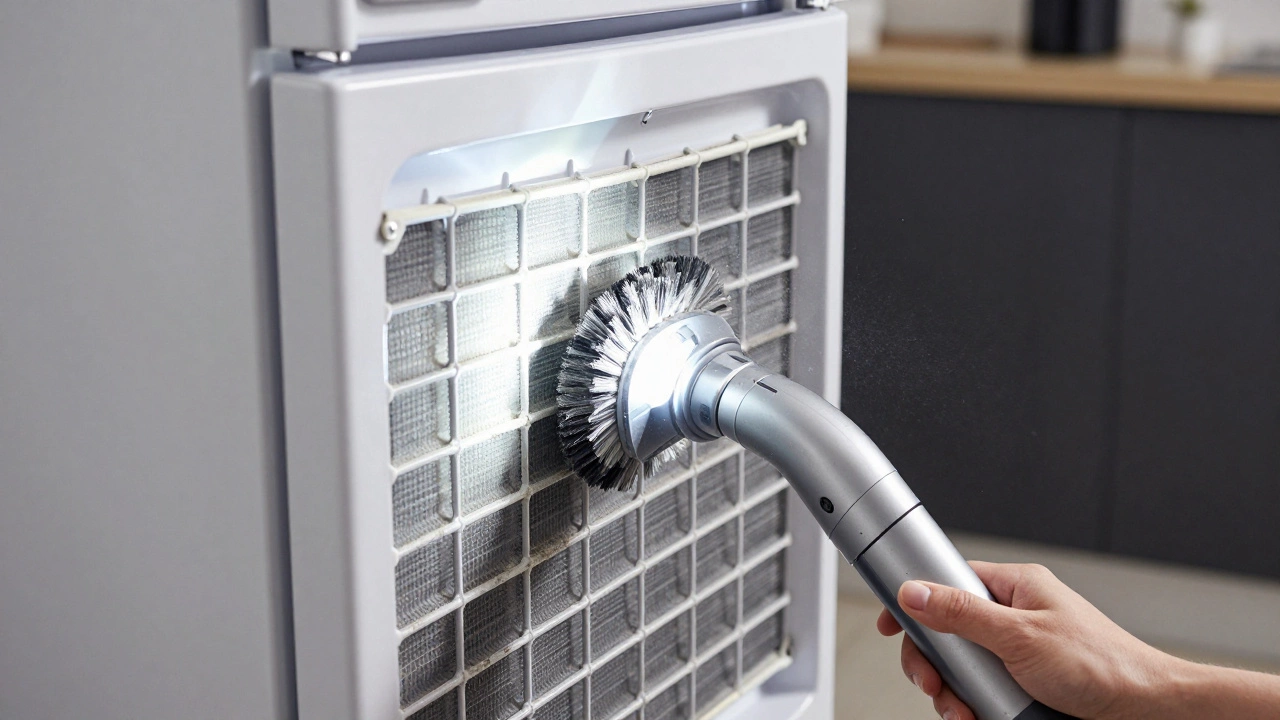
Step 3: Inspect the Condenser Coils
This is the number one reason refrigerators stop cooling efficiently. Condenser coils are the heat-exchange components located either on the back of the fridge or along the bottom front grille. Their job is to release the heat absorbed from inside the fridge into the room. When they’re covered in dust, pet hair, and grime, they can’t dissipate heat.
Think of it like wearing a thick wool sweater while running a marathon. Your body overheats because the heat can’t escape. Similarly, a clogged coil causes the compressor to overheat. To protect itself, the compressor’s overload protector will trip, shutting off the cooling system entirely. The fridge sits there, looking innocent, but it’s essentially having a heatstroke.
To fix this, unplug the fridge and pull it away from the wall. Use a vacuum cleaner with a brush attachment or a specialized coil brush to gently remove debris from the coils. Be careful not to bend the thin fins, as this reduces airflow further. Clean coils annually, or every six months if you have pets. You’ll be amazed at how much quieter and colder your fridge becomes after this simple maintenance.
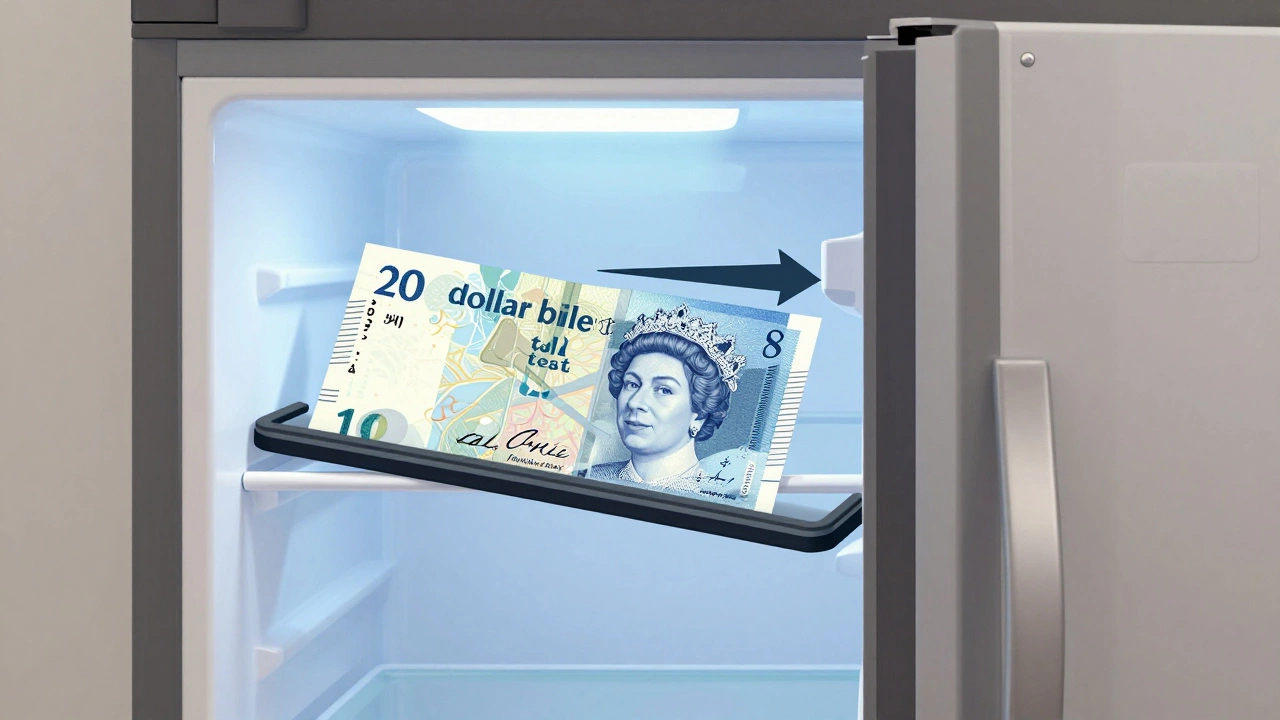
Step 4: Examine the Door Gaskets (Seals)
A refrigerator works by maintaining a sealed environment. If warm air leaks in, the fridge has to run constantly to compensate. Eventually, the compressor wears out or freezes up. The door gaskets-the rubber seals around the edges-are prone to wear and tear, especially if you slam the doors frequently.
Perform the "dollar bill test." Close the fridge door on a dollar bill (or any piece of paper) so that half of it sticks out. Try to pull the bill out. If it slides out easily with little resistance, your seal is weak. Repeat this test around all four sides of the door. Weak spots mean cold air is escaping.
You can often clean the gaskets with warm soapy water to restore their grip. If they’re cracked, torn, or warped, they need replacement. Replacing gaskets is a DIY-friendly task that costs significantly less than repairing a burnt-out compressor caused by air leakage.
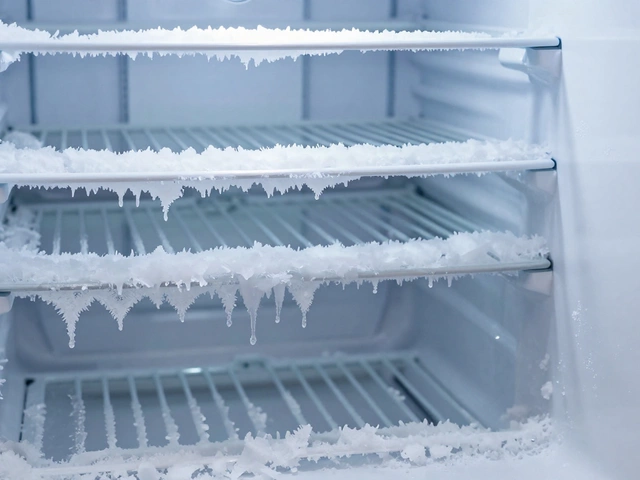
Step 5: Check for Blocked Air Vents
Inside the refrigerator, cold air flows from the freezer compartment through specific vents into the fresh food section. If you’ve stacked boxes of cereal or bags of frozen vegetables directly in front of these vents, you’ve created a blockage. The cold air can’t circulate, leading to warm spots in the fridge while the freezer remains icy.
Rearrange your food items to ensure clear pathways for airflow. Avoid overpacking shelves, as this also restricts air movement. Additionally, check the evaporator fan (if accessible). If the fan blades are obstructed by ice buildup, the fan won’t spin, and cold air won’t distribute. Ice buildup on the evaporator coils usually points to a defrost system failure, such as a faulty defrost heater, timer, or sensor.
Step 6: Listen for Unusual Noises
Sound is a powerful diagnostic tool. Pay attention to what the fridge is doing:
- Loud Buzzing: Could indicate a failing compressor or a dirty condenser coil.
- Clicking: Normal if it happens occasionally (thermostat cycling). Continuous clicking suggests the compressor relay is trying to start but failing.
- Gurgling or Bubbling: Usually normal; this is the sound of refrigerant flowing through the lines.
- Squealing or Screeching: Indicates a worn motor bearing in the fan or compressor.
If you hear a loud click followed by silence, and the fridge doesn’t cool, the start relay might be bad. This is a small, inexpensive part that can often be replaced without calling a technician. However, if you’re uncomfortable handling electrical components, skip this step.
When to Call a Professional
While many issues are DIY-friendly, some require expert intervention. Call a certified appliance repair technician if:
- The compressor is hot to the touch but not cooling.
- You suspect a refrigerant leak (indicated by oil stains near the coils).
- The control board displays error codes you can’t resolve.
- The fridge is under warranty (DIY repairs may void coverage).
In Auckland, where humidity can affect appliance performance, regular maintenance is crucial. Ignoring minor issues can lead to major breakdowns, costing hundreds of dollars in parts and labor. By following these steps, you can often extend the life of your refrigerator and avoid unnecessary expenses.
How do I know if my refrigerator compressor is bad?
A bad compressor often presents with signs like the fridge not cooling despite running continuously, unusual buzzing or clicking noises, or the compressor being excessively hot to the touch. If the fridge is silent and doesn't cool, check power first. If it hums but doesn't cool, the compressor may be failing or the start relay may be defective.
Can a dirty condenser coil make the fridge stop working?
Yes. Dirty condenser coils prevent heat dissipation, causing the compressor to overheat. The overload protector will then shut off the compressor to prevent damage, resulting in a non-cooling fridge. Cleaning the coils often resolves this issue immediately.
What should I do if my fridge is making a loud buzzing noise?
Loud buzzing can indicate a failing compressor, a dirty condenser coil, or loose panels vibrating. First, clean the coils and ensure the fridge is level. If the noise persists and cooling is poor, the compressor may need replacement by a professional.
Is it safe to use a hairdryer to melt ice on evaporator coils?
It is not recommended. Using a hairdryer can damage the plastic components and copper tubing due to uneven heating. Instead, unplug the fridge, remove food, and let it thaw naturally. Place towels underneath to catch water. Once thawed, identify why the defrost system failed.
How often should I clean the condenser coils?
Clean the condenser coils at least once a year. If you have pets or live in a dusty area, clean them every six months. Regular cleaning improves efficiency, reduces energy bills, and extends the lifespan of the compressor.