Extractor Fan Repair Decision Calculator
Not sure if you should fix your noisy fan or replace the whole unit? Enter your details below to get a personalized recommendation.
Financial Breakdown:
- Estimated Repair Cost: $0
- Estimated Replacement Cost: $0
- Potential Savings: $0
There is nothing quite like the sound of a kitchen extractor fan that sounds like a dying helicopter. You turn it on to clear out the smoke from your stir-fry, and instead of a gentle hum, you get a grinding, screeching, or buzzing noise that vibrates through your cabinets. Most people panic and think the whole unit needs replacing. But here’s the good news: in about 80% of cases, you don’t need a new fan. You just need a new motor.
Replacing the motor is one of the most straightforward DIY repairs you can do in your kitchen. It saves you hundreds of dollars compared to buying a brand-new unit, and it’s usually done in under an hour. But before you start unscrewing things, you need to know if your fan actually has a replaceable motor. Some cheap, low-profile fans are sealed units where the motor is riveted or glued in place. If yours is a standard box-type or ceiling-mounted fan, you’re likely in luck. Let’s walk through exactly how to swap that motor out without calling a handyman.
Is Your Fan Worth Repairing?
Not every broken fan deserves a second chance. Before you head to the hardware store, take five minutes to assess the situation. This isn’t just about saving money; it’s about safety and efficiency.
First, check the age. If your extractor fan is over 10 years old, the plastic housing might be brittle. Opening it up could cause cracks that make reassembly impossible. Second, look for signs of water damage. If the motor housing is rusted or there are green corrosion marks on the terminals, moisture has gotten inside. New motors won’t last long if the environment is still wet. Fix the leak first.
Finally, consider the cost ratio. A replacement motor typically costs between $30 and $60 NZD. A basic new extractor fan starts around $80-$100. If your current fan has unique dimensions, expensive filters, or a fancy light kit integrated into it, repairing is almost always cheaper. If it’s a generic white box from a big-box store and you have easy access to a replacement, sometimes swapping the whole unit is faster. But for most built-in or wall-mounted units, motor replacement is the smart financial move.
Gathering the Right Tools and Parts
You don’t need a workshop full of tools. In fact, you probably already own everything required. The key here is preparation. Don’t start disassembling until you have the correct replacement part in hand.
Here is what you’ll need:
- A Phillips-head screwdriver (usually #2).
- A flathead screwdriver (for prying off covers).
- Wire strippers or small scissors.
- Electrical tape or wire nuts (if not using plug-and-play connectors).
- A multimeter (optional, but great for testing).
- The replacement motor itself.
The hardest part is finding the right motor. There is no universal "standard" extractor fan motor. They vary by voltage (usually 240V in New Zealand), amperage, RPM, and physical mounting holes. Take the old motor out completely before going to buy the new one. Bring it with you to the shop, or measure it precisely. Note the diameter of the shaft, the length of the casing, and the position of the mounting tabs. If you can find the model number on the label of the original motor, snap a photo of it. That’s your golden ticket.
Safety First: Power Is Not Optional
This might sound obvious, but I’ve seen plenty of DIYers get zapped because they thought switching off the wall switch was enough. It’s not. The switch cuts power to the light or the fan speed, but depending on your wiring, live current might still be present at the terminal block, especially if the switch is single-pole and wired incorrectly.
Go to your main electrical panel (switchboard). Find the circuit breaker labeled "Kitchen," "Ventilation," or "Fan." Flip it to the OFF position. Then, go back to the kitchen and try to turn on the fan. It shouldn’t spin. Test the light too. To be absolutely safe, use a non-contact voltage tester on the wires inside the unit once you open it up. Never assume a wire is dead just because the switch is off.
Step-by-Step: Replacing the Motor
Once the power is confirmed off, you’re ready to work. The process varies slightly depending on whether you have a wall-mounted ducted fan, a ceiling cassette, or an under-cabinet recirculating fan. However, the core logic remains the same.
1. Access the Unit
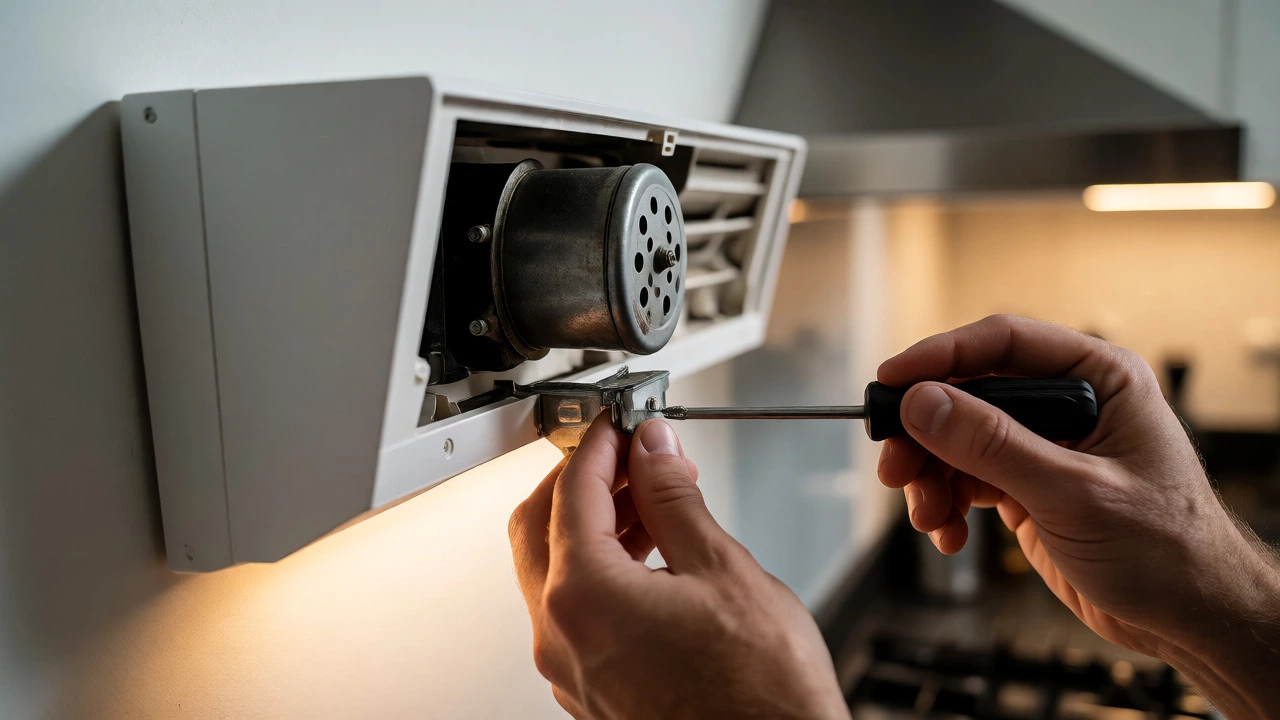
For under-cabinet models, you usually need to remove the grease filter first. Pull it down and set it aside. Behind the filter, you’ll see screws holding the cover plate or the motor assembly. Remove these. For ceiling fans, you may need to lower the entire grille. Use a step ladder-don’t stand on a wobbly chair. Stability is crucial when working overhead.
2. Disconnect Wiring
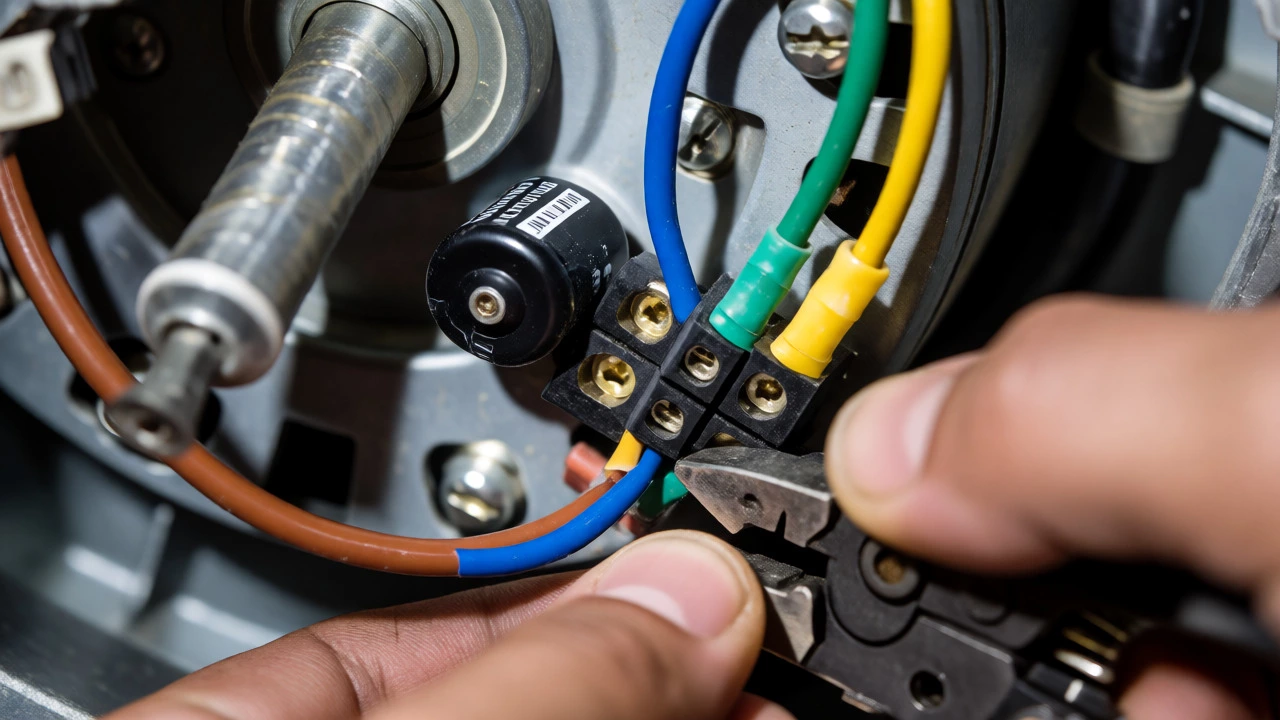
Locate the junction box or terminal block where the house wiring connects to the fan. Most modern fans use quick-release plugs (white plastic connectors). Press the tab and pull them apart gently. Do not yank the wires. If your fan uses screw terminals, loosen the screws, note which color wire goes where (take a picture!), and disconnect them. Common colors in NZ are Brown (Live), Blue (Neutral), and Green/Yellow (Earth).
3. Remove the Old Motor
The motor is usually held in place by two or three screws attached to the fan housing or the impeller (the blower wheel). Sometimes the impeller is press-fitted onto the motor shaft. If it is stuck, don’t force it with pliers, as you might crack the plastic blades. Instead, hold the impeller steady and unscrew the motor mount. Once free, lift the motor out. Be careful-the capacitor (a small black cylinder attached to the motor) might still have a residual charge, though it’s rarely dangerous at this scale.
4. Install the New Motor
Clean the area while you’re in there. Grease buildup is common and can hinder airflow. Wipe down the interior with a degreaser. Now, fit the new motor. Align the mounting holes carefully. Tighten the screws securely but don’t overtighten, as you can strip the plastic threads. Ensure the impeller spins freely by giving it a gentle push. It should rotate smoothly without hitting the housing walls.
5. Reconnect and Test
Reattach the wiring. If you used quick-plugs, ensure they click firmly into place. If you used screw terminals, tug lightly on each wire to confirm it’s secure. Wrap any exposed copper with electrical tape if necessary. Put the cover back on, reinstall the filter, and restore power at the switchboard.
Troubleshooting Common Post-Repair Issues
You’ve put it all back together, flipped the switch, and… silence? Or maybe it hums but doesn’t spin? Don’t panic. Here are the usual culprits.
| Symptom | Likely Cause | Quick Fix |
|---|---|---|
| Fan does not turn on at all | Loose connection or blown fuse | Check switchboard breaker; reseat wire connectors |
| Fan hums but doesn't spin | Impeller blocked or seized bearing | Remove impeller and clean thoroughly; check for debris |
| Fan runs but vibrates loudly | Motor not seated correctly or unbalanced impeller | Tighten mounting screws; ensure impeller is centered on shaft |
| Burning smell | Wrong motor spec or short circuit | Turn off immediately; verify motor amperage matches original |
If the fan hums but won’t start, the issue is often mechanical, not electrical. Check if the blades are rubbing against the housing. Even a millimeter of misalignment can cause this. Also, ensure you didn’t accidentally pinch a wire during reassembly, which could cause a partial short.
Maintenance Tips to Extend Motor Life
You’ve done the hard work. Now keep it running smoothly. The number one killer of extractor fan motors is grease. When grease coats the motor windings, it acts as insulation, causing the motor to overheat and burn out prematurely. It also gums up the bearings, increasing friction.
Clean your filters monthly. Yes, monthly. If you cook heavily, do it bi-weekly. While the filters are soaking in hot soapy water, wipe down the visible parts of the motor housing with a damp cloth. Avoid spraying water directly onto the motor body.
Also, run the fan for 10-15 minutes after cooking finishes. This clears out lingering moisture and steam, preventing condensation from forming inside the motor casing. Moisture leads to rust, and rust leads to failure. It’s a simple habit that doubles the lifespan of your components.
Can I replace just the bearings instead of the whole motor?
Technically yes, but practically no. Most modern extractor fan motors are sealed units. Replacing bearings requires pressing them out and installing new ones, which demands specialized tools and precision. Given that a new motor costs roughly the same as a bearing kit plus your time, replacing the whole motor is more reliable and easier for DIYers.
What size motor do I need for my kitchen extractor fan?
There is no single standard size. You must match the voltage (typically 240V AC in NZ), the amperage rating, and the physical dimensions (mounting hole spacing and shaft diameter). Always bring the old motor to the store or provide its exact model number to ensure compatibility.
Why does my new motor smell like burning?
A slight smell of hot varnish is normal for the first few hours of operation as the new motor breaks in. However, a strong acrid burning smell indicates overheating. This usually means the motor is undersized for the load, the impeller is obstructed, or there is a wiring fault. Turn it off and inspect immediately.
Do I need an electrician to change an extractor fan motor?
In New Zealand, homeowners are generally permitted to perform minor electrical repairs like replacing a plug or changing a fixed appliance component, provided they isolate the power correctly. If you are uncomfortable working with live wires or if your local council regulations require a licensed electrician for fixed appliance connections, hire a pro. Safety comes first.
How much does it cost to replace an extractor fan motor?
The part itself typically ranges from $30 to $70 NZD depending on the brand and power rating. If you hire a professional, expect to pay $100-$150 including labor and call-out fees. DIY replacement keeps the cost strictly to the price of the part.