If your cooker won’t heat up, smells like burning, or has uneven cooking, you don’t need to replace it right away. Many common cooker problems can be fixed with basic tools and a little know-how. In Auckland, where winters get chilly and meals are often cooked at home, a broken cooker can throw off your whole routine. But before you call a technician or buy a new one, try these simple fixes.
Check the power first
Before you assume something’s broken inside, make sure the cooker is getting power. Start by checking the circuit breaker. A tripped breaker is the most common reason a cooker suddenly stops working. Go to your fuse box, find the circuit labeled "cooker" or "kitchen," and flip it off and back on. If it trips again right away, there’s a serious fault - stop and call a professional.
Next, test the outlet. Plug in a lamp or toaster to see if it works. If the outlet is dead, the problem isn’t the cooker - it’s your home’s wiring. Older homes in Auckland, especially those built before 1990, sometimes have outdated circuits that can’t handle modern appliances. If you’re renting, notify your landlord. If you own the place, consider having an electrician check the circuit load.
Inspect the heating elements
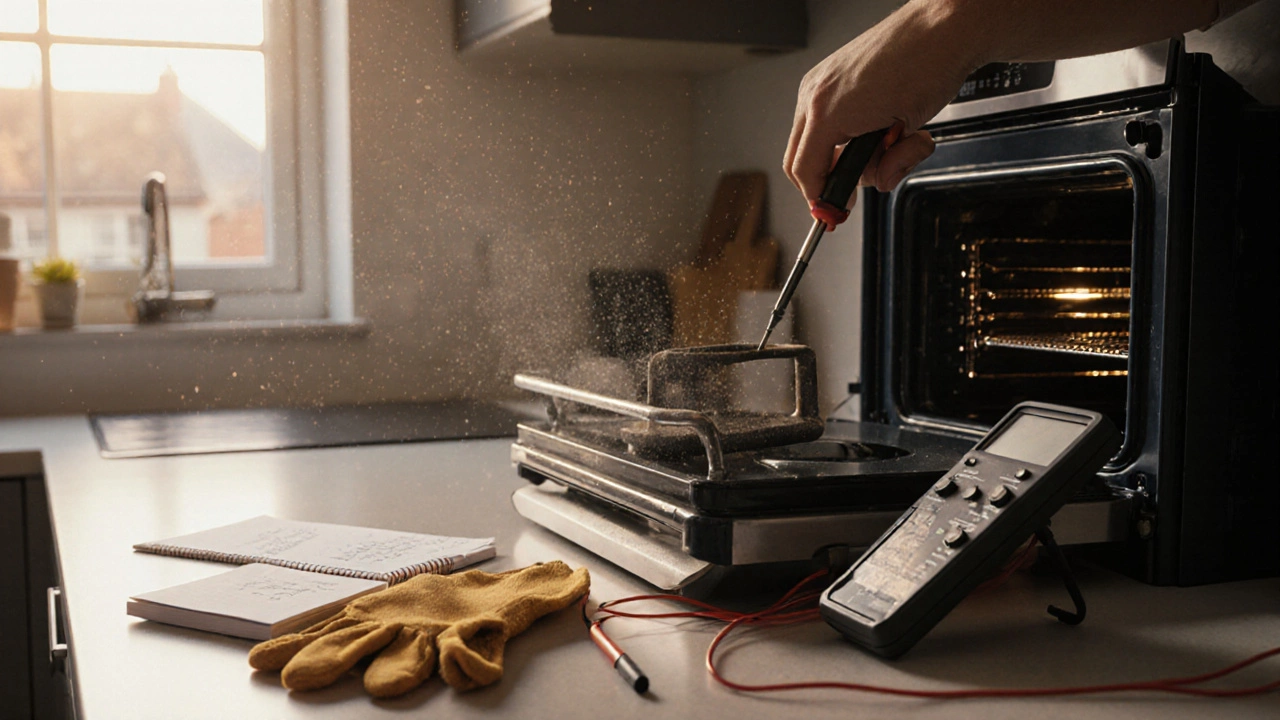
Most cooker issues come down to failed heating elements. The main oven element is usually at the bottom, and the grill element is at the top. When they burn out, they stop glowing red when turned on. Look for visible damage: blistering, cracks, or blackened spots. If you see any, the element needs replacing.
To replace it, turn off the power at the breaker. Remove the screws holding the element in place - usually two at the back. Pull the element forward gently. You’ll see two wires connected to terminals. Take a photo before unplugging them so you know where they go. Disconnect the wires and install the new element. Reconnect the wires exactly as they were, screw it back in, and turn the power on. Test it by setting the oven to 180°C for 10 minutes.
Replacement elements cost between $40 and $80 for most models. Brands like Smeg, Bosch, and Zanussi use standard parts that are easy to find online. Make sure you match the wattage and shape exactly. A 2000W element won’t work if your cooker needs 2500W.
Test the thermostat
If your oven heats but doesn’t reach the right temperature, the thermostat might be faulty. You might notice food burning on the bottom but staying raw on top, or the oven cycling on and off too often.
Thermostats don’t usually fail completely - they drift out of calibration. You can test it with an oven thermometer. Place it in the center of the oven, set the cooker to 180°C, and wait 20 minutes. If the thermometer reads 160°C or lower, the thermostat is off. Some models allow you to recalibrate them using a dial or digital setting. Check your manual for instructions. If recalibration doesn’t help, replace the thermostat. It’s a small, round device usually mounted on the oven wall or behind the control panel. Replacement costs around $60.
Check the door seal
A damaged door seal is easy to miss but causes big problems. If the seal is cracked, brittle, or has gaps, heat escapes. This makes the oven work harder, increases your electricity bill, and leads to uneven cooking. You might notice the oven door feels hotter than usual or the kitchen gets noticeably warm while cooking.
To check the seal, close the door on a piece of paper. Try to pull it out. If it slides out easily, the seal isn’t holding. Replace it by peeling off the old one and sticking the new one in place. Most seals come with adhesive backing. Make sure the new seal matches your cooker model - brands like Hotpoint and Whirlpool have different profiles. A new seal costs under $30 and can cut your energy use by up to 15%.
Listen for the fan
If you have a convection cooker, the internal fan helps circulate heat. If the fan isn’t spinning, the oven will heat unevenly. Turn the cooker on to a high setting and listen. If you hear a humming noise but no airflow, the fan motor is likely stuck or broken.
To fix it, unplug the cooker and remove the back panel. Locate the fan - it’s usually at the rear, behind a cover. Check if the blades are blocked by grease or debris. Clean them with a damp cloth. If the blades spin freely but the motor doesn’t run, the motor needs replacing. Fan motors cost between $50 and $90. You’ll need to disconnect two wires and swap the old unit for the new one. Always match the voltage and RPM rating.
Reset the control board
Modern cookers with digital displays sometimes freeze or show error codes like E1, F3, or Err. These are often software glitches, not hardware failures. Try a hard reset: turn off the power at the breaker for 10 minutes. Then turn it back on. This clears temporary errors in the control board.
If the error code returns, look up the code in your manual or search for your cooker model + error code online. Common codes include:
- E1 - Temperature sensor fault
- F3 - Overheating or fan failure
- Err - General control board issue
If resetting doesn’t work and the error persists, the control board may need replacing. This is more complex and costs $120-$200. Unless you’re comfortable with electronics, leave this to a technician.

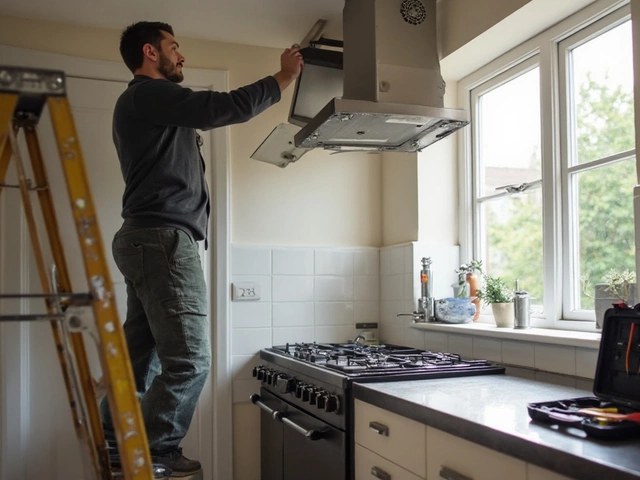
When to call a professional
Some problems aren’t DIY fixes. Call a certified appliance technician if:
- You smell gas (even a faint odor) - this means a gas cooker has a leak
- The cooker sparks or smokes when turned on
- The control panel is completely dead after a reset
- You’re uncomfortable working with electrical wiring
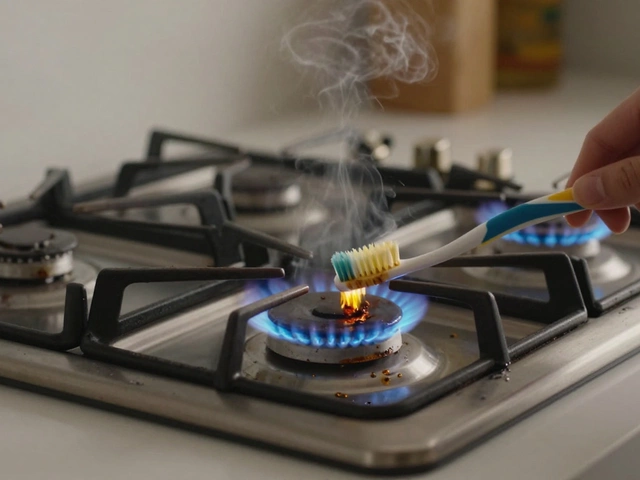
Gas cookers require a licensed gas fitter. Never attempt to fix gas lines yourself - it’s dangerous and illegal in New Zealand without certification. If you have a gas cooker and it won’t ignite, check the spark igniter first. Sometimes it’s just clogged with food grease. Clean it gently with a toothbrush and baking soda paste. If that doesn’t help, call a pro.
Prevent future damage
Once your cooker is fixed, take steps to keep it running longer:
- Wipe spills immediately - baked-on grease stresses heating elements
- Use oven liners to catch drips and reduce cleaning
- Don’t slam the door - it damages seals and hinges
- Run the self-clean cycle only when necessary - it wears out components faster
- Check the door seal every six months
A well-maintained cooker lasts 10-15 years. Most people replace theirs after 8 years because they think it’s broken - but often, it just needs a $50 part and 30 minutes of time.
What to do if you can’t find the right part
If you’re unsure about your cooker model, look for the serial plate. It’s usually inside the door frame, on the back, or under the cooktop. Write down the model number and brand. Search for it online - sites like Appliance Parts Warehouse or SpareParts.co.nz have searchable databases. If you’re stuck, take a photo of the part and ask in local Facebook groups like "Auckland Appliance Repair Swap" - someone there has probably fixed the same model.
Never buy generic parts that don’t match the exact model. A wrong element can overheat and damage your cooker’s wiring. Always use manufacturer-approved replacements.
Can I repair a cooker myself if I’ve never done it before?
Yes, if you’re careful. Replacing a heating element, thermostat, or door seal doesn’t require special skills - just patience and attention to detail. Always turn off the power first. Watch a YouTube video for your exact model before starting. Most repairs take less than an hour. If you feel unsure at any point, stop and call a professional.
Is it cheaper to repair or replace a damaged cooker?
Repair is almost always cheaper unless your cooker is over 12 years old. A new cooker costs $800-$2000. Most repairs cost under $150, including parts. Even if you pay a technician $120 to fix the element, you’re still saving hundreds. Only replace it if multiple parts are failing or if it’s no longer energy efficient.
Why does my cooker smell like burning when I turn it on?
A slight burning smell the first time you use the oven after cleaning is normal - it’s just dust burning off. But if the smell lasts more than 10 minutes or smells like plastic or rubber, something’s overheating. Check for food debris stuck behind the element or melted plastic near the wiring. If you see smoke, turn it off immediately and unplug it.
How long do cooker heating elements usually last?
Most elements last 5-10 years, depending on use. Heavy daily cooking, frequent self-cleaning cycles, and spills that bake onto the element shorten their life. If your element burns out after only 2 years, check if you’re using the wrong type of cookware - metal pans with rough bottoms can scratch the element surface over time.
Can a damaged cooker be dangerous?
Yes. Faulty wiring, gas leaks, or cracked elements can cause fires or electric shocks. Never ignore sparking, smoke, or gas smells. Even if the cooker seems to work, a damaged component can fail suddenly. If you’re unsure, get it checked - safety is more important than saving money.