Electric Oven Heating Element Cost Estimator
Use this tool to estimate the total cost of replacing your electric oven heating element based on your oven's brand, wattage, and whether you're doing it yourself or hiring a professional.
Electric oven heating element is a resistive coil that converts electricity into heat, enabling bake and broil functions in a household oven. When it fails, the oven can’t reach target temperatures, leaving you with undercooked meals. Understanding the electric oven heating element cost means looking beyond the price tag - you need to factor in parts, labour, brand compatibility, and safety considerations.
What Exactly Fails in an Electric Oven?
Most ovens have two main coils: a bake element (located at the bottom of the oven cavity) and a broil element (mounted at the top). Either can burn out due to prolonged high‑temperature use, voltage spikes, or simply age.
Other components that often get blamed but are actually "symptoms" include the thermostat (controls oven temperature set‑point) and the thermal fuse (shuts down power when overheating occurs). While they can affect performance, the core culprit is usually the resistive coil.
Key Drivers Behind the Replacement Cost
- Part price: Varies by brand, wattage (usually 2500‑3500W), and whether it’s an OEM or third‑party unit.
- Labor rate: Professional technicians charge anywhere from NZ$70 to NZ$120 per hour in Auckland.
- Location: Urban centers have higher parts markup than regional stores.
- Warranty status: If your oven is still under a manufacturer warranty, the part may be free but you could still incur a service call fee.
- DIY skill level: Doing it yourself saves labour but introduces risk if safety standards aren’t followed.
Breaking Down the Parts Cost
Below is a snapshot of typical pricing for common oven brands sold in NewZealand. Prices are inclusive of GST and reflect the market as of September2025.
| Brand | Model Range | Wattage | Part Cost (NZ$) |
|---|---|---|---|
| Fisher & Paykel | Built‑in 60L | 3000W | 120‑150 |
| Samsung | Electric Convection | 3500W | 100‑130 |
| Whirlpool | Classic 55L | 2500W | 80‑110 |
| LG | Smart Oven | 3000W | 115‑145 |
| Generic aftermarket | Universal fit | 2700‑3400W | 60‑90 |
Notice the spread: premium OEM parts can be up to 2‑3 times the price of a universal aftermarket coil. The trade‑off is fit‑ment, warranty validation, and sometimes longer lifespan.
Professional Service vs. DIY: The Cost Comparison
| Scenario | Parts (NZ$) | Labor (NZ$) | Total (NZ$) | Typical Time |
|---|---|---|---|---|
| DIY, OEM part | 130 | 0 | 130 | 1‑2hrs |
| DIY, aftermarket part | 75 | 0 | 75 | 1‑2hrs |
| Professional, OEM part | 130 | 80‑120 (1hr) | 210‑250 | 1‑1.5hrs |
| Professional, aftermarket part | 75 | 80‑120 (1hr) | 155‑195 | 1‑1.5hrs |
| Warranty service (still covered) | 0 | ~50 (service call) | 50 | 0.5‑1hr |
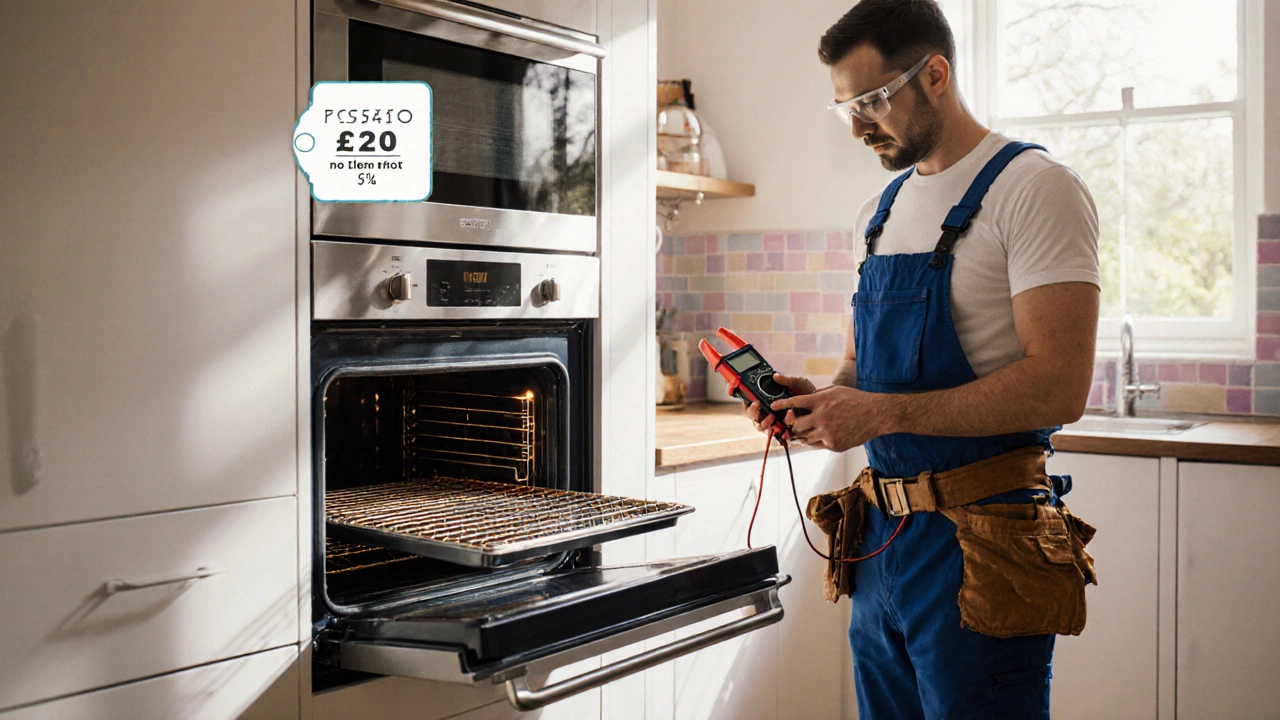
DIY saves you the labour charge, but you must be comfortable handling live electricity and have the right tools - a multimeter, screwdriver set, and possibly a socket wrench.
Step‑by‑Step Guide to a DIY Replacement
- Safety first: Disconnect the oven from the mains. If your unit is hard‑wired, turn off the dedicated circuit breaker and verify no voltage with a multimeter.
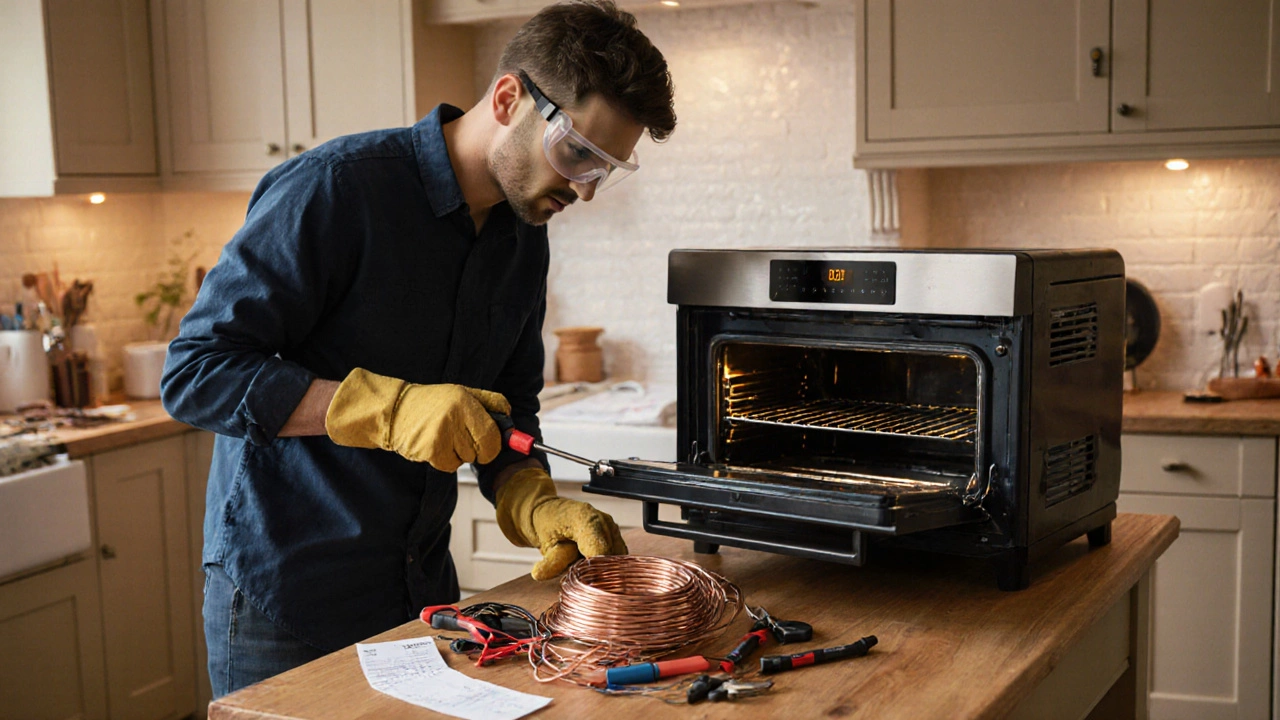
- Identify the faulty element: Remove the oven racks, locate the screw caps (usually 3‑4 per element), and gently pull the element out.
- Take note of the part number: Most ovens label the element with a part number (e.g., FP‑EHE‑3000‑001). Write it down before discarding the old coil.
- Purchase a compatible replacement: Use the part number to search a reputable dealer (e.g., Appliance Parts NZ) or verify the wattage (match the original rating to avoid overheating).
- Install the new element: Align the screw holes, secure with the original caps, and reconnect the wiring harness. Double‑check that no wires are pinched.
- Test the oven: Restore power, set the oven to 180°C, and monitor the element for even glow. Use a thermometer to confirm temperature accuracy.
If at any point you feel unsure, pause and call a professional technician (licensed appliance repair specialist). Their hourly rate typically covers a safety check, so you won’t be paying for a blind guess.
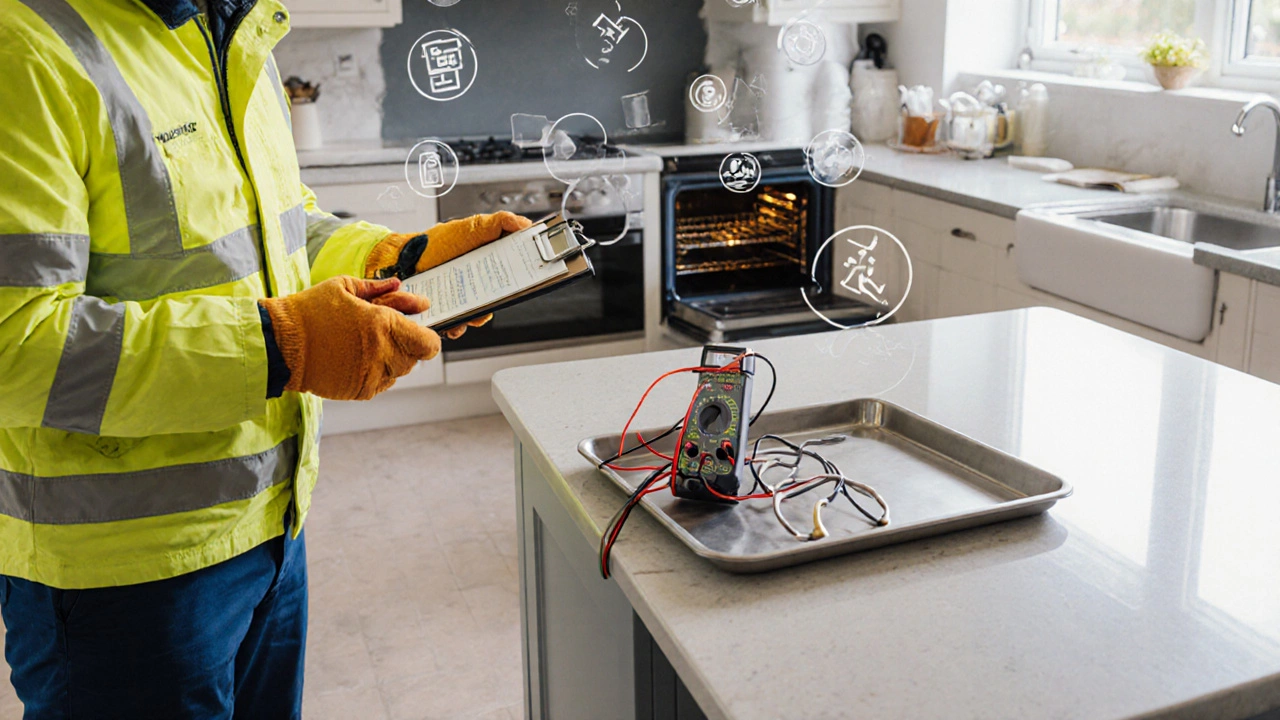
Safety Standards and Warranty Pitfalls
NewZealand’s Electrical Safety Act 2023 (governs all domestic electrical work) requires that any work involving mains voltage be performed by a certified electrician or a licensed appliance repair service. Doing the job yourself does not violate the act, but you must ensure the oven is fully isolated from the supply.
Most manufacturers, such as Fisher & Paykel and Samsung, state that self‑replacement voids the warranty if the new part is not OEM. However, they often allow a “service call” fee where a technician installs the OEM part without charging for labour if the warranty is still active.
Where to Source Quality Parts
Three reliable channels in Auckland:
- Authorized dealer stores - e.g., The Appliance Store (sells OEM coils with 12‑month warranty).
- Online marketplaces - sites like Trade Me often list aftermarket coils at lower prices but check seller ratings.
- Direct from the manufacturer - contact the brand’s NZ service centre for part numbers and official pricing.
When comparing, look for the following attributes: part number, wattage, voltage rating (230‑240V), and any “certified for NZ” label.
Cost‑Saving Tips and Common Pitfalls
- Bundle repairs: If the thermostat or thermal fuse shows wear, replace them together - you avoid a second service call.
- Check for rebates: Some utility companies run “energy‑efficient appliance” rebates that cover part of the cost if you upgrade to a higher‑efficiency element.
- Beware of cheap clones: Ultra‑low‑cost parts may use sub‑standard nichrome wire, leading to premature burnout.
- Document the job: Keep the receipt and a photo of the installed element. This helps if you later claim warranty or insurance.
Quick Reference Checklist
- Confirm oven model and part number.
- Verify wattage matches original specifications.
- Turn off power at the breaker and test for zero voltage.
- Gather tools: screwdriver, socket wrench, multimeter.
- Purchase OEM or verified aftermarket element.
- Follow step‑by‑step installation guide.
- Run a temperature test before cooking.
Frequently Asked Questions
How much does a typical oven heating element cost in NewZealand?
A genuine OEM element for a mid‑range brand runs between NZ$120 and NZ$150. Aftermarket universal coils can be as low as NZ$60, but they may require minor modifications to fit.
Will fixing the element myself void my oven’s warranty?
Most manufacturers state that using a non‑OEM part voids the warranty on that component. However, if the oven is still under a full warranty, you can often pay a service call fee and have a licensed technician install the OEM part without losing coverage.
Is it safe to replace the element without an electrician?
Yes, as long as you completely disconnect the oven from the mains and verify zero voltage with a multimeter. Follow the step‑by‑step guide and wear insulated gloves. If you’re uncomfortable with any step, call a licensed appliance repair service.
How long does a professional repair typically take?
A qualified technician usually finishes the swap within 45minutes to 1hour, including the time to test the oven after installation.
Are there any energy‑saving benefits to upgrading the element?
Switching to a high‑efficiency element (often labeled “low‑profile” or “rapid‑heat”) can shave 5‑10% off cooking times, which translates to modest electricity savings over the life of the oven.