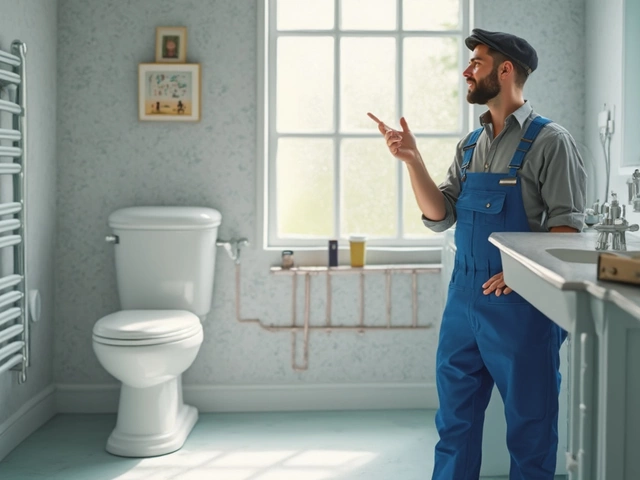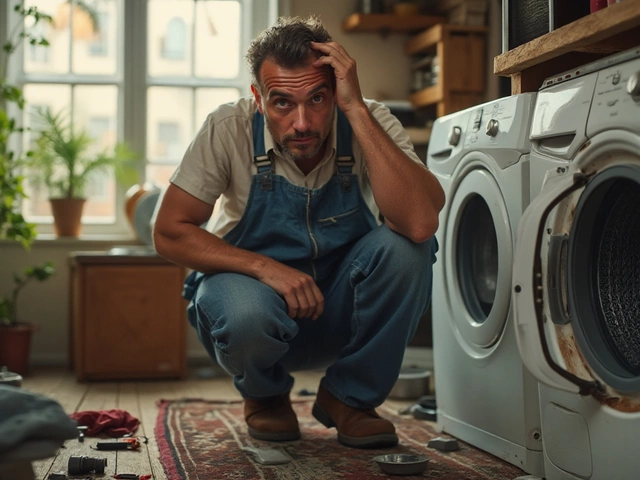
Ever heard that clunk coming from the kitchen, only to find out your oven’s conked out right before you’ve got mates coming over for roast vege night? It’s enough to make you wish for a second kitchen—or at least, better luck. Before you cancel the dinner party and ring a technician, let’s look at the million-dollar question: “Can I repair my own oven?” Spoiler alert: You might be able to, but it’s not always as simple as tightening a screw or giving it a whack. Ovens look tough, but they’ve got some surprisingly delicate (and sometimes dangerous) guts. Still, if you’re patient, careful, and pay attention, a fair bit of oven trouble can be sorted out on your own—all with tools from the garage and a bit of Kiwi ingenuity.
What Can Go Wrong with Ovens?
Ovens are meant to be the workhorses of the kitchen. Until they’re not. Sometimes, it’s a little thing like the light not turning on. Other times, you get a cold oven on pizza night—that’s when you start poking around. Most of the time, the problems are down to two main culprits: the heating element (that glowing bar inside), or the thermostat (the bit that tells your oven when it’s hot enough).
If you’re using an electric oven, some classic issues include elements that won’t heat up, ovens that won’t switch on at all, and temperature swings that scorch or undercook everything. Gas ovens throw different curveballs, like failing igniters or pilot lights that keep blowing out. One common symptom is the oven runs, but never gets hotter than warm. Or maybe it heats up, then suddenly trips the circuit breaker and everything goes black. Heard any beeping noises? That can sometimes be the control panel crying out for help. And in old-school ovens, knobs get stuck, doors don’t close, or seals start to sag.
Want a quick rundown of what most frequently breaks in a typical electric oven in New Zealand? Here’s some data from a 2024 appliance repair survey:
| Problem | Percentage of Repairs |
|---|---|
| Heating Element Broken | 48% |
| Thermostat Malfunction | 21% |
| Control Panel Fault | 15% |
| Door or Seal Issue | 10% |
| Ignition/Starter (Gas Oven) | 6% |
Funny enough, my own cat Luna has a habit of climbing on the oven, which once knocked the temperature knob loose—so sometimes, the culprit is closer than you think. If you notice scorching near the door, or a smell of melting plastic, it’s a sign you need to act fast.
Should You Try Oven Repairs Yourself? Is It Safe?
Here’s where you have to be honest with yourself. Fixing an oven might sound satisfying, and you’ll find hundreds of cheerful YouTubers making it look effortless. Real talk: While changing a light bulb is child’s play, rewiring a control board isn’t exactly afternoon tea. Ovens combine heat, electricity, and sometimes gas. Those three together? They can turn an easy job into a dangerous one if you get it wrong.
Here’s the basic rule: If repairs involve the door, seal, or knobs, you can probably handle it if you’re handy with a screwdriver. If the issue is electrical—like a dead element or dodgy thermostat—you can try, but you need to be cautious. Gas problems are a no-go at home: If you smell gas, hear clicking noises but no flame, or suspect a leak, close the gas tap and call a pro. Don’t play around with gas, mates.
It’s not just the risk of shocks or burns. Newer ovens have sensitive digital circuits. Lose a screw or touch the wrong connector, and your oven might never work again. Not to mention, you could void your warranty. Here are some quick tips to stay safe:
- Always unplug your oven or switch off the breaker before starting any work.
- Let the oven cool down fully to avoid burns.
- Wear work gloves. Elements and panels have sharp edges.
- Use a multimeter to check for electrical current—don’t just assume it’s safe.
- If you’re even a bit unsure about gas, call a certified technician.
Plenty of famous oven brands even put warning stickers inside the panels to remind you. And did you know it’s actually illegal to do your own gas repairs in New Zealand unless you’re a licensed gasfitter?

DIY Oven Repairs: What You Can Actually Fix at Home
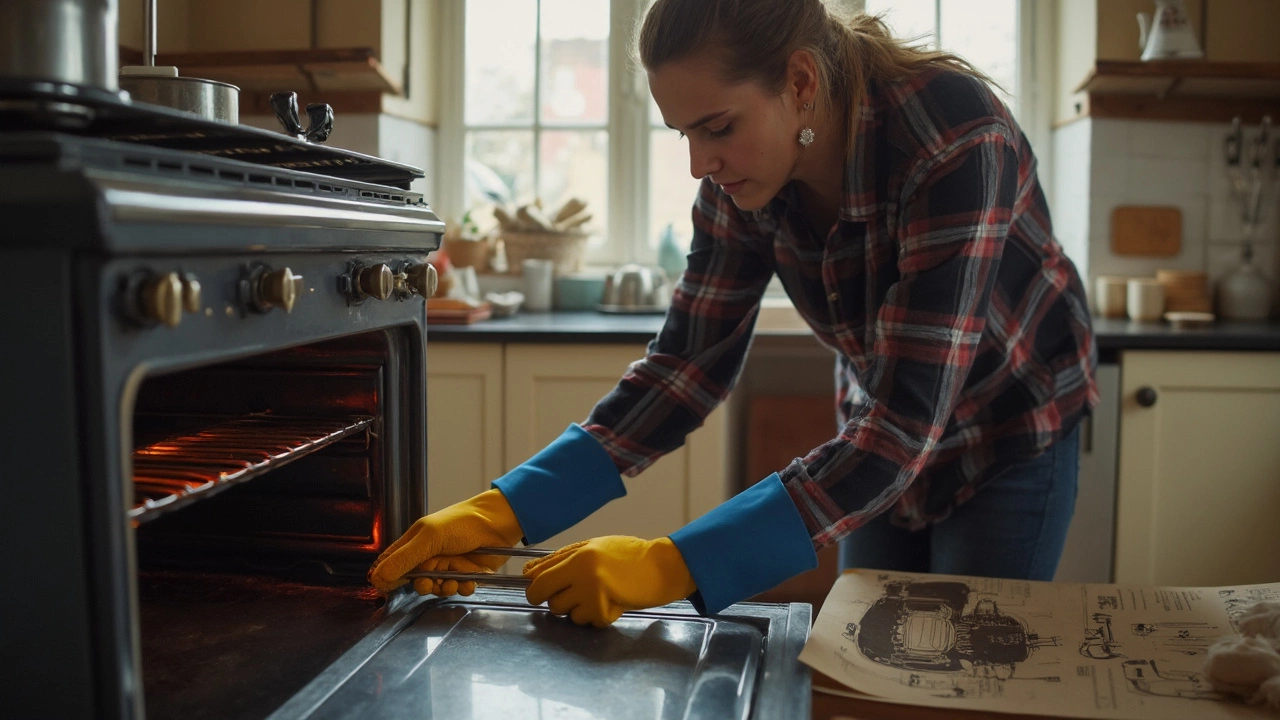
Alright, let’s talk about what’s actually possible in a Kiwi home garage. The most common DIY oven repairs you can tackle safely include replacing the heating element, swapping out busted light bulbs, or tightening up a dodgy oven door. Quick fixes, right? But let’s dig into what those look like, since I’ve been down this road myself (Charlie, my dog, once ate my instruction manual… Don’t ask!).
Replacing the heating element usually takes half an hour. Here’s how you’d do it:
- Unplug your oven or flip the main switch at your switchboard. Double-check with a voltage tester.
- Open the oven and locate the screws holding the element in place. Usually, it’s a couple of Phillips-head screws.
- Remove the screws and gently pull the old element forward. You’ll see two wires connected with simple slide-on connectors.
- Pull those off (gently, one at a time) and attach them to your new element. Make sure they’re snug.
- Slide everything back, screw the element into place, and reconnect the power.
Bulb replacement is even simpler. If your oven light is out, unplug the oven, unscrew the bulb cover (it can be a bit tight, so you might need rubber gloves for grip), pop out the old bulb, and plug in a new one. Use an oven-rated bulb, not just any household one, or it’ll explode or melt the first time you bake a batch of bikkies.
For oven doors that won’t shut right, open it up, unscrew the hinges, and check for any bent bits or broken springs. You can usually get replacement parts from appliance stores or even Trademe. Sometimes, cleaning the seal or replacing worn rubber makes a surprising difference in oven efficiency. Don’t ignore a dodgy door—it leaks heat, wrecks your bills, and scorches your knuckles when you check the roast.
Control panels, thermostats, and anything that requires taking off multiple panels or messing with electrical boards is where you should tread carefully. While it is possible to buy the parts online and follow guides, you’ll need to label every connector, take loads of photos, and call a mate if you get stuck. If your oven flashes error codes, look them up in the manual or on the manufacturer’s website. Some are as simple as resetting with a hard restart (unplug for five minutes, then power back up).
If you run into a failing fan (the whirring bit you hear when the oven’s running), you’re looking at a slightly harder fix. The fan is usually mounted at the back or side, and you’ll need to unscrew the panel, disconnect the wires, and swap the unit. Sometimes there’s a sneaky thermal fuse, which looks like a little white button—if that’s popped, you’ll have to replace it. Don’t cross your fingers and hope; double-check each connector, because fans are vital for heat distribution.
Here’s a pro tip: Whenever Luna (my cat) gets curious around the oven, I slip an old towel under the door as extra protection—it keeps fur out of the hinges and doubles as an emergency catch if anything drops during repairs.
Knowing When to Call the Experts
Even if you’re good with a tool kit, some jobs just aren’t worth the risk. Anything that involves gas pipes, built-in digital controllers with sealed circuits, or wiring that isn’t clearly labelled probably means it’s time to call the pros. New Zealand has strong safety rules about home appliance repairs for a reason. Most home insurance won’t cover oven-related fires if you’ve done dodgy repairs.
Let’s say you try to fix your oven, and suddenly you hear a fizzing noise—or worse, you notice a burning smell or see smoke. Stop instantly. Unplug everything, open the windows, and don’t turn anything back on. If you smell gas or hear hissing, leave the house right away and call emergency services. Your average appliance repair tech charges between $80 and $120 per visit in Auckland, but compare that to a kitchen rebuild—that’s a solid reason to play it safe.
Searching for spare parts? You’ll find most oven elements, fans, and seals online, but always match the brand and model. Dodgy, off-brand parts might not fit or can fail fast. Look for reviews or, if possible, ring the store first to check compatibility. Also, before you shell out for replacement panels or control boards, check the price of a new oven—for older models, a big repair bill can end up costing more than an entry-level replacement unit. Plus, if your oven’s over 10 years old and keeps playing up, it’s probably time to upgrade. The latest units use less energy and tend to be more reliable (and easier to clean).
And hey—sometimes, the best fix is temporary. If you’re in a bind, you can whip up meals in a toaster oven, slow cooker, or even air fryer. I’ve grilled sausages on the outdoor barbecue more times than I care to admit while waiting for a part to ship out.