Electric Hob Element Repair Estimator
Enter details and click calculate to see your potential savings.
- DIY Total Cost $0
- Professional Total $0
- You Save $0
You’re halfway through cooking a Sunday roast when one of the burners just stops heating. It’s annoying, sure, but before you call a technician or start browsing for a brand-new electric hob is a kitchen appliance that uses electrical resistance to generate heat for cooking, ask yourself: can I fix this myself? The short answer is yes. In most cases, replacing a faulty heating element is a straightforward task that requires little more than a screwdriver and about twenty minutes of your time.
Heating elements are the workhorses of any electric stove. They convert electricity into heat, allowing you to boil water, fry eggs, or simmer sauces. Over time, these components wear out due to thermal cycling, physical damage, or electrical faults. Knowing how to identify a bad element and swap it out saves you significant money on service calls. This guide walks you through exactly what to look for, what tools you need, and the step-by-step process to get your hob back in action.
Identifying the Faulty Heating Element
Not every cold burner means a dead element. Sometimes, the issue lies with the switch, the wiring, or the thermostat. Before you buy a spare part, you need to be certain the element itself is the culprit. Here’s how to diagnose the problem safely.
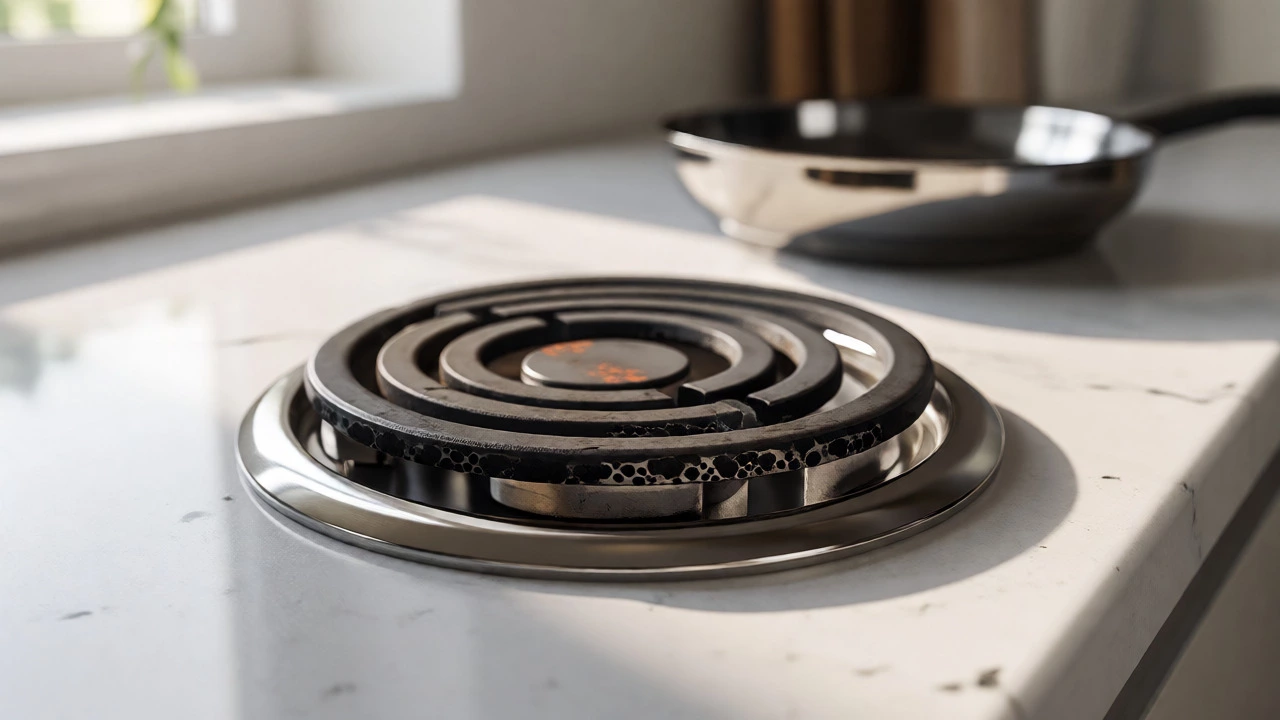
- Visual Inspection: Turn off the power at the wall. Look closely at the element. Do you see cracks, blistering, or blackened spots on the metal surface? Physical damage is a clear sign it needs replacing.
- The Glow Test: Turn the hob on to its highest setting (safely, with the pan removed). Watch the element. If it doesn’t glow red-hot within a few minutes while other burners do, it’s likely failed.
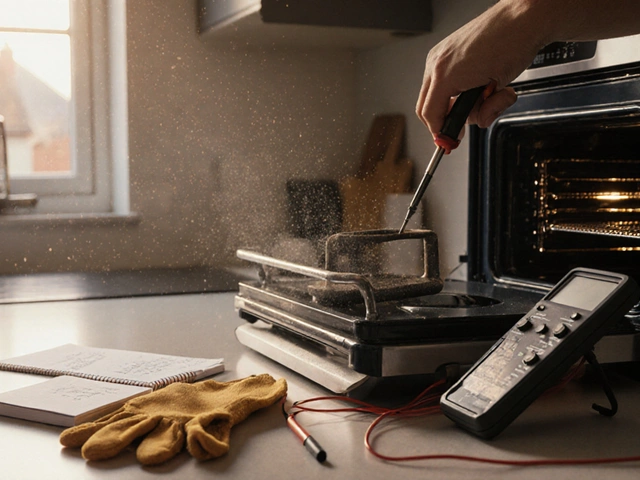
- Multimeter Check: For a definitive diagnosis, use a multimeter. Set it to continuity mode. Touch the probes to the terminals on the back of the element. If the meter shows no continuity (infinite resistance), the internal coil is broken, and the element must be replaced.
If the element looks fine and glows but doesn’t heat properly, check the connections. Loose wires can cause intermittent heating. However, if the element is visibly damaged or fails the continuity test, replacement is your only option.
Types of Electric Hob Elements
Electric hobs aren’t all created equal, and neither are their elements. Identifying the correct type is crucial because parts are rarely interchangeable between models. Understanding the technology helps you find the right replacement quickly.
| Element Type | Description | Common Use Case |
|---|---|---|
| Solid Cast Iron | Heavy, durable discs that retain heat well. | Older built-in hobs and freestanding ranges. |
| Radiant Coil | Exposed spiral coils that sit under ceramic glass. | Standard ceramic-top hobs. |
| Hi-Light / Rapid | Fast-heating elements with variable zones. | Modern high-end ceramic hobs. |
| Induction Coil | Copper wire coils that generate magnetic fields. | Induction hobs (note: these don't get hot themselves). |
Most people asking this question have a solid cast iron or radiant coil setup. Induction hobs are different; their "elements" are actually copper coils that rarely fail in the same way as resistive heaters. If you have induction, the issue might be the control board rather than the coil itself. Always check your user manual or the model sticker on the underside of the hob to confirm the exact part number before ordering.
Safety First: Preparing for Replacement
Working with electricity is serious business. One wrong move can result in a shock or damage to the appliance. Follow these safety rules religiously.
- Isolate the Power: Don’t just turn the knob to "off." Go to your home’s circuit breaker panel and switch off the dedicated circuit for the hob. If there isn’t a dedicated breaker, unplug the unit from the wall socket if accessible.
- Allow Cooling Time: Even after turning off the power, elements stay hot for a long time. Wait at least 30-60 minutes to ensure the surface is cool to the touch.
- Protect Your Surfaces: Place a towel or cardboard on the floor beneath the hob area. Glass-ceramic tops are fragile and can shatter if you drop a heavy tool or the element itself.
- Gather Tools: You typically need a Phillips-head screwdriver, a flat-head screwdriver (for prying clips), and possibly a nut driver or spanner depending on the mounting brackets.
Never attempt to remove an element while the hob is still plugged in or live. Capacitors in some electronic controls can hold a charge even after being switched off, so waiting a few minutes after unplugging is a smart precaution.
Step-by-Step Replacement Process
Once you’ve confirmed the element is dead and bought the correct replacement part, here is how you swap it out. The process varies slightly by manufacturer, but the core steps remain consistent.
1. Access the Element
For most built-in hobs, you’ll need to lift the unit out of the countertop cutout. This often involves removing screws from the side brackets or lifting the entire hob up gently. Be careful not to strain the flexible gas hoses (if it’s a dual-fuel) or the rigid electrical conduit. For freestanding ranges, you usually access the element from underneath the main oven compartment or by removing the top panel.
2. Disconnect the Wiring
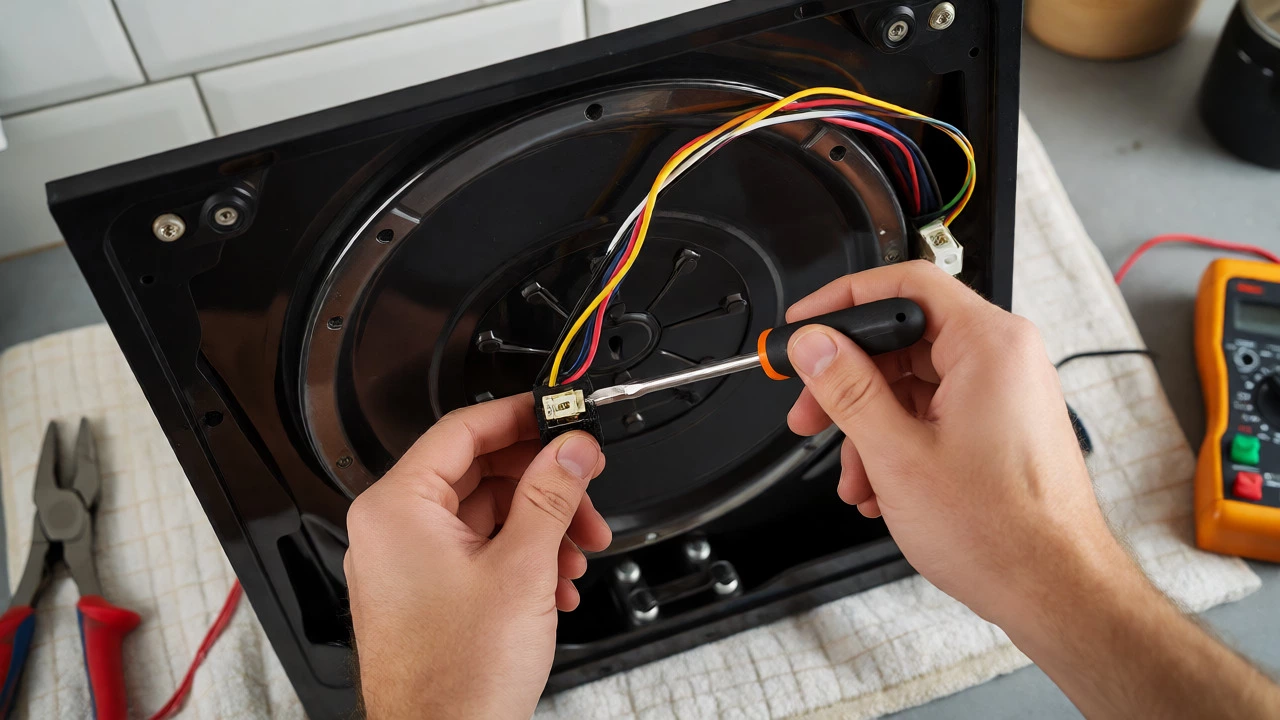
Look at the back of the element. You’ll see two or three wires connected to terminal blocks. Take a photo with your phone before disconnecting anything. This visual reference will save you hours of guessing later. Loosen the terminal screws and slip the wires off. Note which wire goes where-color coding helps, but positions matter more.
3. Remove the Old Element
Elements are usually held in place by screws, spring clips, or nuts. Unscrew the retaining hardware. Some elements slide out easily; others may require a gentle wiggle to break free from corrosion or heat sealant. Pull the old element away from the hob body.
4. Install the New Element
Position the new element in the same orientation as the old one. Secure it with the original screws or clips. Ensure it sits flush against the surface. If the mounting holes are corroded, clean them with a wire brush before reattaching the hardware.
5. Reconnect the Wires
Refer to your photo. Slide each wire onto its corresponding terminal and tighten the screws firmly. A loose connection causes arcing and burns out the new element quickly. Give each wire a gentle tug to ensure it’s secure.
6. Test the Hob
Reassemble the hob, push it back into place, and restore power. Turn the burner to medium-high. Within a minute, the new element should begin to glow. Let it run for five minutes to ensure stable heating. If it heats evenly and shuts off correctly when turned down, you’ve succeeded.
When to Call a Professional
While DIY replacement is feasible for many, some scenarios warrant expert help. Recognizing these limits prevents costly mistakes.
- Cracked Ceramic Glass: If the glass top is cracked around the element, replacing the element won’t fix the leak or structural weakness. The whole glass panel may need professional replacement.
- Complex Electronics: If your hob has touch controls or digital displays that behave erratically, the fault might lie in the control board, not the element. Diagnosing board-level issues requires specialized equipment.
- Hardwired Connections: If your hob is hardwired directly into the house wiring without a plug, and you’re uncomfortable working with exposed mains voltage, hire a licensed electrician. Safety is paramount.
- Warranty Concerns: If your hob is still under warranty, opening it yourself might void the coverage. Check the terms before proceeding.
In Auckland, finding a reliable appliance technician is easy, but doing the job yourself gives you immediate results and satisfaction. Plus, you learn a valuable skill for future maintenance.
Cost Breakdown: DIY vs. Service Call
Let’s talk numbers. Why bother with the hassle? Because the savings are substantial.
| Item | DIY Cost | Professional Service Cost |
|---|---|---|
| Replacement Element | $30 - $80 | $50 - $120 (markup included) |
| Labor | $0 (Your time) | $120 - $180 per hour |
| Call-out Fee | $0 | $60 - $90 |
| Total Estimated Cost | $30 - $80 | $230 - $390 |
A standard heating element costs between $30 and $80 depending on the brand and size. A technician’s call-out fee alone often exceeds the cost of the part. By handling the swap yourself, you keep hundreds of dollars in your pocket.
Frequently Asked Questions
How long does an electric hob element last?
With normal use, a high-quality heating element can last between 5 to 10 years. Factors like frequent high-heat cooking, spills causing thermal shock, or poor ventilation can shorten this lifespan significantly. Regular cleaning and avoiding dry boiling help extend their life.
Are all electric hob elements the same size?
No, they vary widely. Common diameters include 145mm, 180mm, 225mm, and 300mm. Wattage also differs, ranging from 1200W to 3000W. You must match both the physical dimensions and the electrical rating to ensure proper fit and performance. Always check the model number on the existing element or the hob's data plate.
Can I replace a ceramic hob element without removing the glass?
Usually, no. On most ceramic-top hobs, the elements are mounted beneath the glass panel. To access them, you typically need to remove the glass top, which requires suction cups and careful handling to avoid cracking. Some newer designs allow access from underneath, but verify your specific model's service manual first.
What happens if I install the wrong wattage element?
Installing an element with a higher wattage than specified can overload the circuit breaker or damage the control switches. Lower wattage will result in slower heating times. Always stick to the manufacturer's recommended specifications found on the old element or in the user manual to maintain safety and efficiency.
Why is my new element not heating evenly?
Uneven heating often indicates poor contact between the element and the cookware or the hob surface. Ensure the element is seated flat and securely fastened. Also, check that your pots and pans have flat bottoms. Warped cookware reduces efficiency and makes heating appear uneven, even if the element is functioning correctly.