Heat Pump Repair Diagnostic Tool
Select the symptoms you are experiencing with your heat pump to get an immediate assessment of whether you can fix it yourself or need to call a pro.
Select a symptom above and click Analyze to see recommendations.
You’re shivering in your living room, or maybe sweating through your shirt, and you realize the heat pump is blowing air that’s just… lukewarm. It’s annoying, sure, but before you panic about a $500 service call, ask yourself: can I fix this myself?
The short answer? Sometimes. The long answer depends entirely on what’s actually broken. Heat pumps are complex machines involving refrigerants, high-voltage electricity, and moving parts. Some issues are simple clogs or dirty filters you can handle with a screwdriver and a hose. Others involve sealed systems where opening the wrong panel could void your warranty-or worse, get you zapped.
What Is Actually Going On Inside Your Unit?
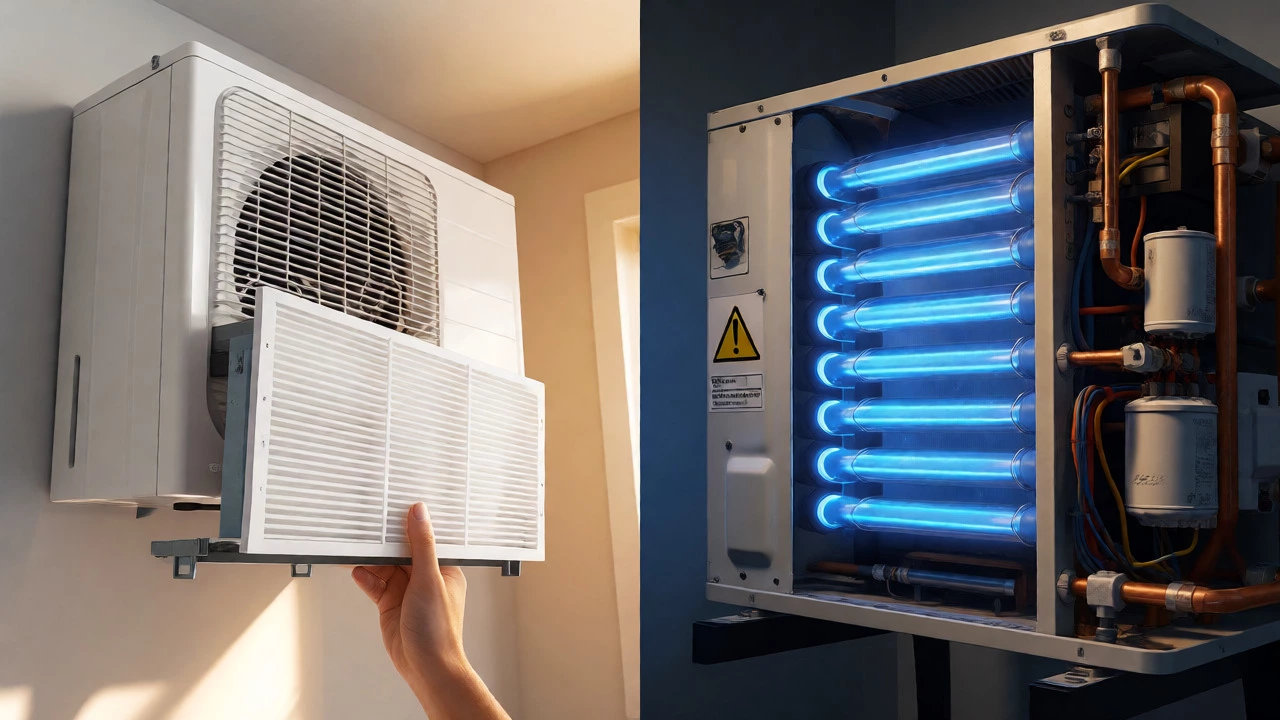
To understand what you can fix, you need to know what you’re looking at. A modern split-system heat pump consists of two main units: an indoor head unit (the part on your wall) and an outdoor condenser unit (the boxy thing outside). They work together by moving heat rather than creating it. In winter, they pull heat from the outside air and dump it inside. In summer, they reverse the process.
The magic happens thanks to a refrigerant loop. This closed system circulates a fluid that changes state from liquid to gas and back again. Because this loop is sealed and pressurized, most repairs involving leaks or pressure drops require specialized tools and certification. However, the components that facilitate airflow-the fans, coils, and filters-are accessible and often the source of minor problems.
The DIY Zone: What You Can Safely Fix
Before calling a pro, run through these checks. About 40% of "broken" heat pumps are just dirty or blocked. If you’re handy with basic tools, you can tackle these tasks safely.
- Clean or Replace Air Filters: This is the number one cause of poor performance. Dust-clogged filters restrict airflow, causing the coil to freeze up in heating mode or overheat in cooling mode. Check them every month during heavy use. If they’re reusable, wash them with warm soapy water and let them dry completely. If they’re disposable, swap them out.
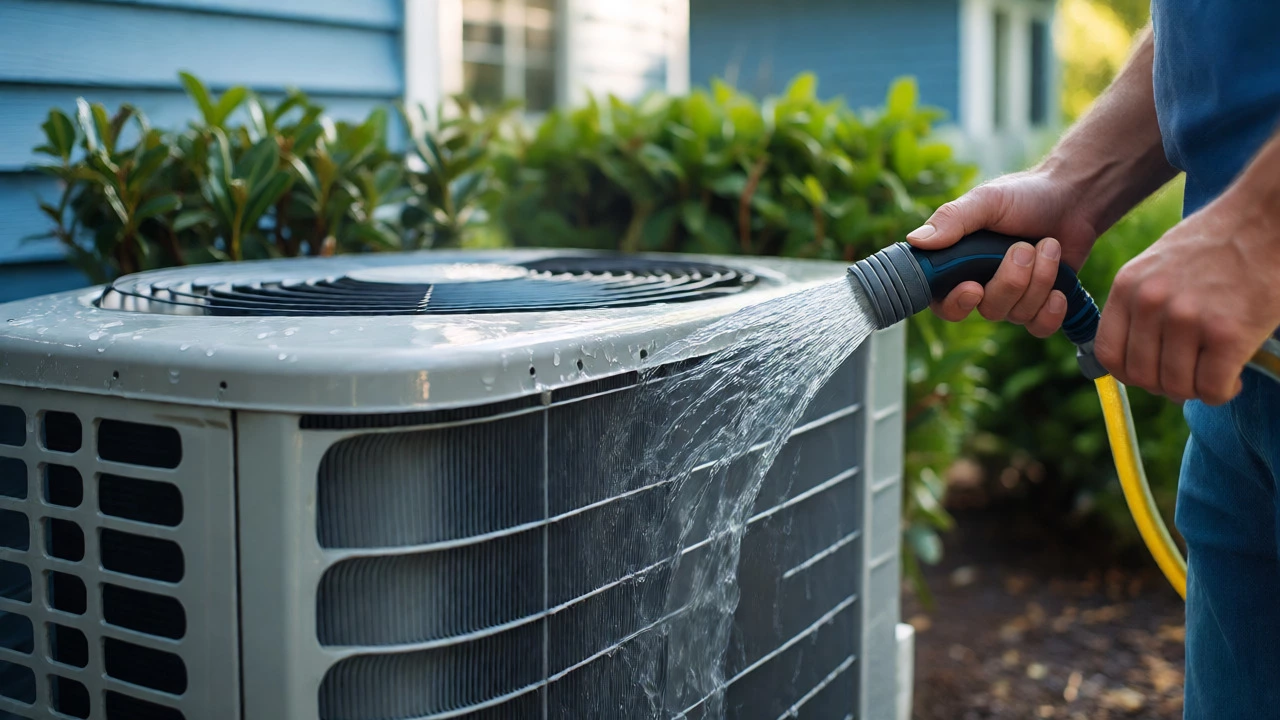
- Clear Outdoor Debris: Go outside and look at the condenser unit. Is it surrounded by tall grass, leaves, or dirt? The unit needs to breathe. Trim vegetation back at least 30 centimeters from all sides. Gently rinse the fins with a garden hose (low pressure!) to remove pollen and dust. Do not use a high-pressure washer; you’ll bend the delicate aluminum fins and destroy efficiency.
- Check Thermostat Settings: Sounds obvious, but batteries die. Make sure the thermostat is set to the correct mode (Heat/Cool) and temperature. If it’s a smart thermostat, check if it’s connected to Wi-Fi. Sometimes a reboot fixes connectivity glitches.
- Inspect the Drain Line: In cooling mode, heat pumps produce condensate. If the drain line gets clogged with algae or mold, water backs up and might leak indoors. Try pouring a cup of distilled vinegar down the drain access point to break up blockages.
If cleaning these areas restores normal operation, you’ve just saved yourself a hefty service fee. But if the unit still runs poorly, makes strange noises, or doesn’t turn on at all, you’re likely entering professional territory.
The Pro Zone: When to Call a Technician
Here’s the hard truth: anything involving the electrical board, the compressor, or the refrigerant circuit usually requires a licensed HVAC technician. In New Zealand, handling refrigerants legally requires a license under the Environmental Protection Authority guidelines. Why? Because releasing refrigerant into the atmosphere contributes to global warming, and improper handling can damage the compressor permanently.
You should definitely call a pro if you notice:
- Ice Buildup: If the outdoor unit is encased in ice during winter, it’s not just cold weather-it’s a defrost cycle failure or low refrigerant charge. While you can gently melt visible ice with warm water, the underlying cause needs diagnosis.
- Burning Smell: Turn the unit off immediately. This indicates overheating wiring or a failing motor. Continuing to run it risks a fire.
- Loud Grinding or Screeching: This usually points to bearing failure in the fan motor or compressor issues. These are mechanical failures that require part replacements.
- Unit Won’t Start: If you’ve checked the breaker and it’s fine, the issue might be a faulty capacitor or control board. Testing capacitors involves discharging high voltage-dangerous for amateurs.
DIY vs. Professional: A Cost-Benefit Breakdown
Let’s look at the numbers. Doing it yourself costs time and maybe $20-$50 for parts like filters or cleaner. Hiring a pro in Auckland typically starts around $150-$200 for a diagnostic visit, plus labor and parts for the actual repair.
| Issue | DIY Feasibility | Estimated Pro Cost (NZD) | Risk Level |
|---|---|---|---|
| Dirty Filters/Coils | High | $120 - $180 | Low |
| Clogged Drain Line | Medium | $150 - $250 | Low |
| Faulty Capacitor | Low (Electrical) | $200 - $350 | High |
| Refrigerant Leak | None (Legal Req.) | $400 - $800+ | Very High |
| Compressor Failure | None | $800 - $1,500+ | Very High |
Notice the gap between DIY potential and cost savings. For simple maintenance, the ROI on doing it yourself is massive. For complex repairs, attempting a DIY fix often leads to bigger bills later because you might misdiagnose the problem or damage sensitive components while trying to help.
Safety First: Don’t Be That Person
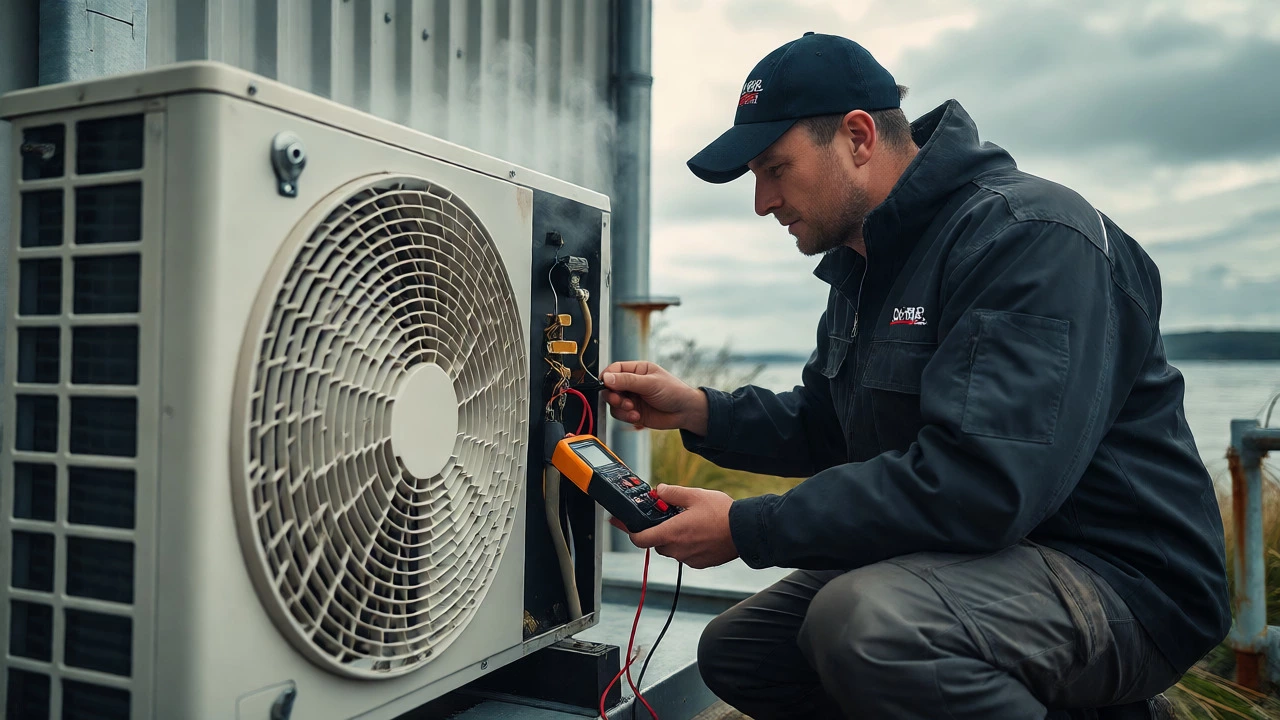
I’ve seen homeowners try to clean the outdoor fan blades while the unit is running. Big mistake. Those blades spin fast enough to take off fingers. Always turn off the power at the isolator switch or circuit breaker before touching any internal components. Wait five minutes after turning it off to let capacitors discharge slightly, though true safety requires a multimeter check.
Also, never spray water directly into the electronics compartment of the outdoor unit. Water and circuit boards don’t mix well. Stick to washing the fins and the fan assembly carefully.
Maintenance: The Best Repair Is Prevention
The best way to avoid needing a repair is regular maintenance. Think of it like changing the oil in your car. You wouldn’t drive until the engine seizes, right? Same logic applies here.
- Annual Service: Get a professional tune-up once a year. They’ll check refrigerant levels, tighten electrical connections, and clean deep within the coils where you can’t reach.
- Keep Vents Clear: Don’t block the indoor unit with furniture or curtains. Restricted airflow forces the system to work harder, shortening its lifespan.
- Monitor Performance: Keep an eye on your energy bills. A sudden spike without a change in usage habits often signals declining efficiency due to wear or leaks.
A well-maintained heat pump can last 15-20 years. A neglected one might fail in 7-10. The difference is largely in how much attention you pay to the basics.
Final Verdict: To Fix or Not to Fix?
So, can you repair a heat pump? Yes, but know your limits. Clean the filters, clear the debris, and check the settings. If those steps don’t solve it, put down the screwdriver and pick up the phone. Trying to fix a refrigerant leak or a bad capacitor without training is like performing surgery on yourself-it’s possible, but probably not wise.
In Auckland, where humidity and coastal salt air can corrode components faster, staying on top of maintenance is even more critical. Regular care keeps your home comfortable and your wallet happy. And when the big stuff breaks, you’ll know exactly who to call.
How often should I clean my heat pump filters?
You should check your filters every month during peak usage seasons (summer and winter). Clean them if they look visibly dusty. During lighter usage periods, checking every three months is usually sufficient. Clogged filters significantly reduce efficiency and can cause the system to freeze up.
Why is my heat pump blowing cold air in heating mode?
This could be due to several reasons. First, check if the outdoor unit is iced over; if so, the defrost cycle may have failed. Second, low refrigerant levels can prevent proper heat absorption. Third, a faulty reversing valve might be stuck. Finally, ensure your thermostat isn't set to 'Fan Only' instead of 'Heat'. If filters are clean and settings are correct, call a technician to check refrigerant pressure.
Is it worth repairing an old heat pump?
It depends on the age and the cost of the repair. As a rule of thumb, if the repair cost exceeds 50% of the price of a new unit, replacement is often better. Also, consider efficiency gains; newer models are significantly more efficient than those made 10+ years ago, which can save money on power bills. If the unit is under 10 years old and the repair is minor, fixing it is usually worthwhile.
Can I use a pressure washer to clean the outdoor unit?
Generally, no. High-pressure water can bend the thin aluminum fins of the condenser coil, restricting airflow and reducing efficiency. It can also force water into electrical components, causing shorts. Use a standard garden hose with a gentle spray nozzle, or a specific coil cleaner kit designed for HVAC units.
What does it mean if my heat pump makes a clicking sound?
A single click when starting or stopping is normal as relays engage. Rapid, repetitive clicking often indicates a failing relay, a tripped breaker resetting itself, or a compressor struggling to start (hard start). If the clicking persists or prevents the unit from running properly, it requires professional diagnosis to prevent further damage to the compressor.