Bathroom Extractor Fan Size Calculator
Choose Your Bathroom Specifications
Recommended Extractor Fan Size
Replacing a bathroom extractor fan isn’t as scary as it sounds. If your fan’s noisy, doesn’t clear steam, or has stopped working altogether, you don’t need to call a professional right away. Most homeowners in Auckland can swap out a faulty extractor fan in under two hours with basic tools and a little patience. The real question isn’t whether it’s easy-it’s whether you’re ready to do it safely and correctly.
Why Replace Your Extractor Fan?
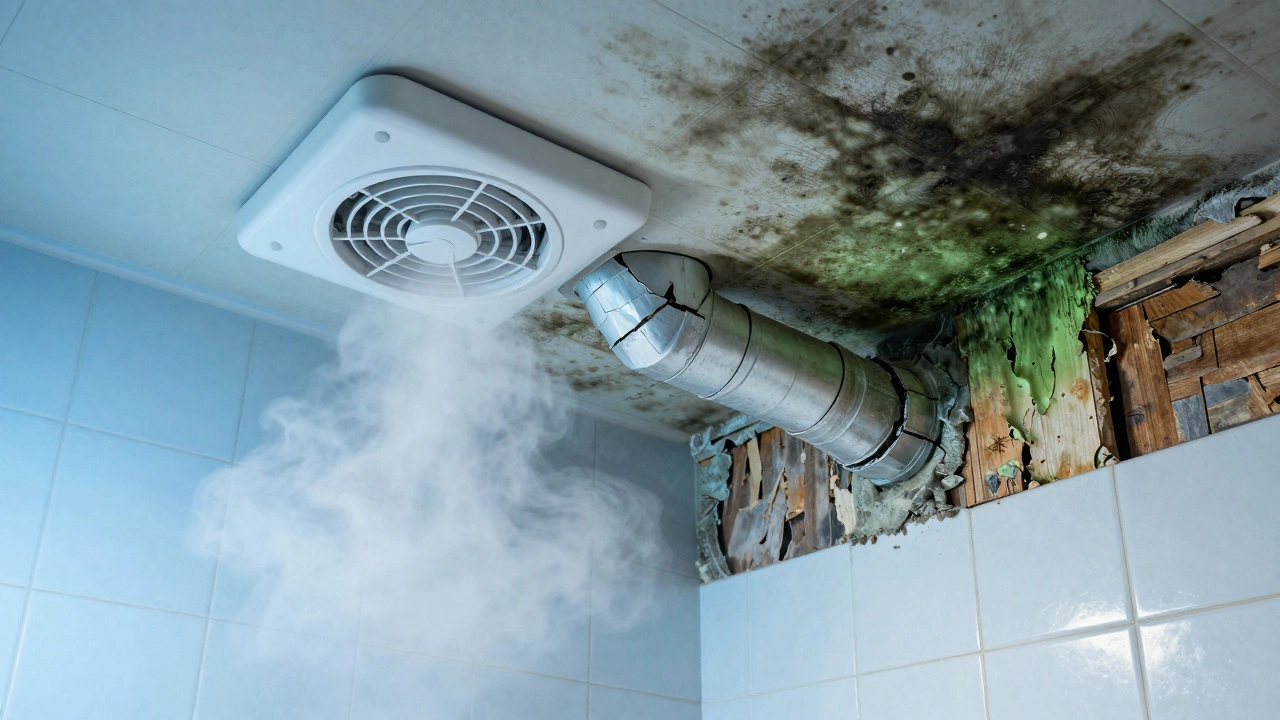
Old or broken extractor fans don’t just annoy you with noise-they cause real damage. Moisture buildup leads to mould on walls and ceilings, peeling paint, and even rotting timber behind tiles. In New Zealand’s humid climate, especially in bathrooms with little natural ventilation, a working extractor fan isn’t optional. It’s a necessity. If your fan runs but sounds like a jet engine, or if it doesn’t spin at all, it’s time to replace it. Mould growth behind the bathroom cabinet? That’s a red flag.
Most extractor fans last 8 to 12 years. If yours is older than that, even if it still runs, it’s probably inefficient. Newer models use 40% less energy and move air more quietly. You’ll save money on electricity and avoid future repair headaches.
What You’ll Need Before You Start
You don’t need fancy gear. Here’s what’s actually required:
- Replacement extractor fan (make sure it matches the size and voltage of your old one)
- Phillips screwdriver
- Wire strippers or electrician’s pliers
- Non-contact voltage tester
- Stiff brush or vacuum (to clean dust from the duct)
- Silicone sealant (for the wall or ceiling opening)
- Electrical tape
- Helper (optional, but useful for holding the new fan in place)
Don’t skip the voltage tester. Even if you turned off the light switch, the wiring might still be live. Bathroom circuits are often shared with other rooms, so you need to shut off the correct breaker at the switchboard. Test it twice-once before you start, once right before touching wires.
Step-by-Step: How to Replace the Fan
Follow these steps in order. Rushing here leads to mistakes.
- Turn off the power. Go to your switchboard and turn off the circuit breaker that controls the bathroom. Use your voltage tester on the fan’s wires to confirm no electricity is flowing. This isn’t optional.
- Remove the old fan cover. Most covers snap off or are held by two or three screws. Set them aside. You’ll likely see a plastic or metal housing with wires connected.
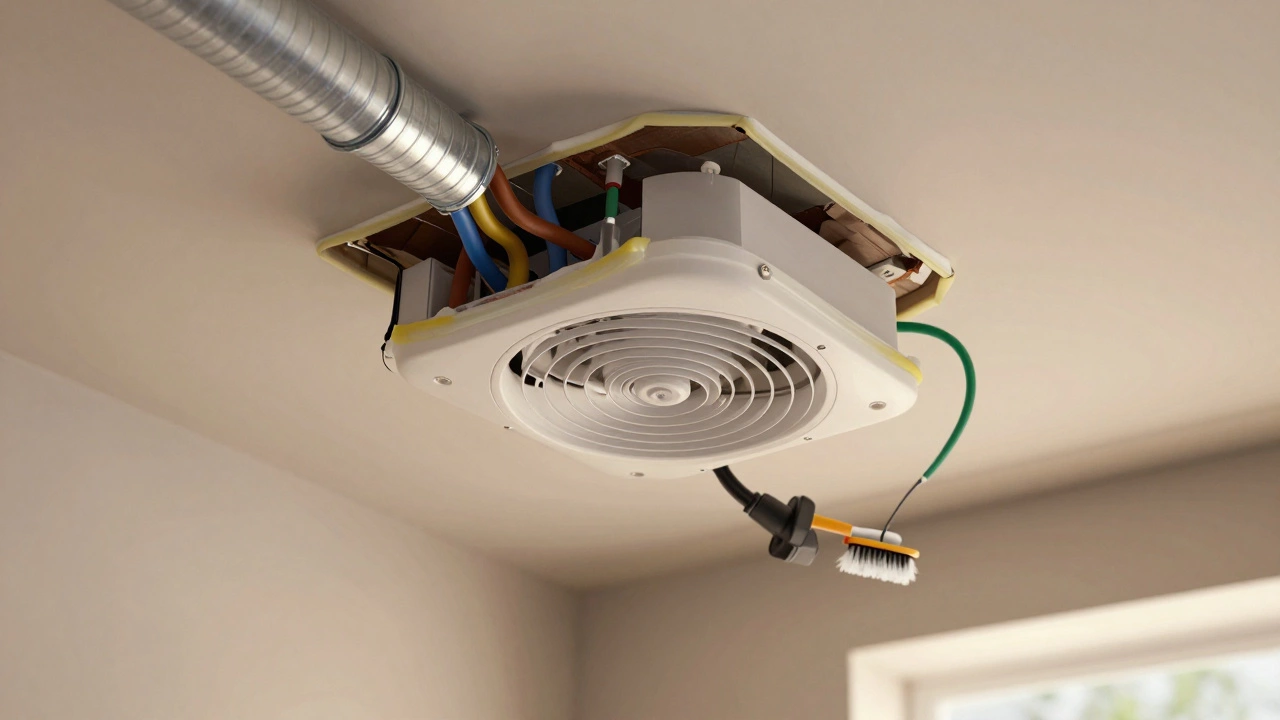
- Disconnect the wiring. Take a photo of the wiring before you touch anything. Usually, there are three wires: live (brown), neutral (blue), and earth (green/yellow). Unscrew the wire nuts or terminal blocks. Pull gently-don’t yank.
- Remove the fan unit. The fan is usually held by spring clips or screws from the ceiling or wall. You may need to reach behind the unit to release them. Once free, pull it out slowly. You’ll see the duct connected to the back. Disconnect it by loosening the metal band or clip.
- Clean the duct. Use a brush or vacuum to clear out dust, cobwebs, and debris. A clogged duct is why many new fans fail quickly. If the duct is crushed or cracked, now’s the time to fix it.
- Install the new fan. Slide the new unit into place. Reconnect the duct using the same clip or band. Make sure it’s snug-air leaks reduce efficiency.
- Wire it up. Match the wires: brown to brown, blue to blue, green/yellow to earth. Twist them together, then secure with wire nuts. Wrap each connection with electrical tape for extra safety. Tuck the wires neatly into the cavity.
- Secure the fan. Reattach the mounting clips or screws. Don’t overtighten-plastic housings can crack.
- Seal the edges. Run a thin bead of silicone sealant around the edge where the fan meets the ceiling or wall. This stops air leaks and reduces noise.
- Turn the power back on. Flip the breaker. Test the fan. It should start quietly and pull air strongly. If it hums but doesn’t spin, you might have a faulty unit. If it doesn’t turn on at all, double-check your wiring.
Choosing the Right Replacement Fan
Not all extractor fans are the same. Here’s what to look for:
- Size. Measure the opening in your ceiling or wall. Common sizes are 150mm, 180mm, and 200mm. Match it exactly.
- Cfm rating. For a standard bathroom (under 10m²), aim for 15-20 cfm. For larger bathrooms or those with a shower and bath, go for 25-30 cfm.
- Noise level. Look for a rating below 0.8 sones. Anything above 1.0 sones will be noticeable.
- Features. Timer switches (runs for 10-15 minutes after you leave) and humidity sensors (turns on automatically when steam rises) are worth the extra cost. They prevent you from forgetting to turn it on.
- Brand reliability. Brands like Vent-Axia, extract, and Manrose are common in New Zealand. They’re widely available and have parts you can replace later.
Don’t buy the cheapest fan you find. A $40 fan might save you money now but cost you in noise, energy, and lifespan. Spend $80-$120-it’ll last longer and work better.
When to Call a Professional
You can do this yourself-but not always. Call an electrician if:
- You’re not comfortable working with wiring
- The fan is connected to a dedicated circuit with no visible switch
- The duct runs through the roof cavity and you can’t access it
- You find signs of water damage or rot behind the fan
- The wiring looks old, frayed, or melted
If your home was built before 1990, the wiring might not meet current standards. An electrician can check if your circuit is grounded and safe. It’s not expensive-usually $100-$150 for a quick inspection.
Common Mistakes to Avoid
Here’s what most DIYers get wrong:
- Skipping the voltage test. You think the light switch turns off the fan. It doesn’t always. Always test.
- Ignoring the duct. A dirty or kinked duct makes even the best fan useless. Clean it.
- Using the wrong size. A fan too small won’t remove moisture. One too big will be loud and waste energy.
- Forgetting the sealant. Air leaks around the fan cause condensation on the ceiling. Seal it.
- Not checking the power rating. Make sure the new fan matches your home’s voltage (230V in New Zealand).
One Auckland homeowner replaced their fan but didn’t seal the edge. Three months later, mould appeared on the ceiling. A $5 tube of silicone would’ve prevented it.
How Long Does It Take?
For someone with basic tool skills, replacing a bathroom extractor fan takes 1.5 to 2.5 hours. If you’ve done it before, you can do it in 45 minutes. The longest part is usually cleaning the duct and finding the right breaker. Don’t rush the wiring. One wrong connection and you risk a short circuit-or worse.
What Happens If You Don’t Replace It?
Ignoring a broken fan doesn’t make the problem go away. Moisture accumulates. Mould spreads. Timber rots. Insurance companies in New Zealand have denied claims for water damage caused by poor ventilation. In one case, a family had to replace an entire ceiling after five years of neglect. The cost? Over $4,000. A new fan costs $100.
It’s not just about comfort. It’s about safety and property value. A home with visible mould in the bathroom can lose up to 10% of its market value.
Final Thoughts
Yes, replacing a bathroom extractor fan is easy-if you take your time and follow the steps. It’s one of the most cost-effective DIY jobs you can do. You save on labour, you get a quieter, more efficient system, and you protect your home from hidden damage. Just don’t cut corners on safety. Turn off the power. Test the wires. Seal the edges. Choose the right fan. Do those things, and you’ll never need to call someone again.
Can I replace my bathroom extractor fan myself?
Yes, most homeowners can replace a bathroom extractor fan themselves with basic tools and a little caution. The job involves turning off the power, disconnecting the old fan, cleaning the duct, and wiring in the new unit. If you’re comfortable handling electrical connections and following safety steps, it’s a manageable DIY project. If you’re unsure about wiring or find damaged ductwork, call a licensed electrician.
How much does it cost to replace a bathroom extractor fan?
The fan itself costs between $80 and $150, depending on features like timers or humidity sensors. If you hire a professional, labour adds $150-$250. Doing it yourself saves you $150-$200. The total DIY cost is usually under $200, including sealant and tools you may already own.
Do I need to replace the duct when replacing the fan?
Not always, but you should inspect it. If the duct is crushed, cracked, or full of dust and debris, clean it or replace it. A blocked duct reduces airflow by up to 60%, making even a new fan ineffective. Flexible ducting should be replaced every 10 years. Rigid metal ducting lasts longer but can still collect moisture and mould.
How do I know what size extractor fan I need?
Measure the opening where the old fan sits-most are 150mm, 180mm, or 200mm. For room size, aim for 15-20 cubic feet per minute (cfm) per square metre of floor space. For example, a 6m² bathroom needs a fan rated for 90-120 cfm. Check the manufacturer’s guide on the old unit or look up the model online if you’re unsure.
Why is my new extractor fan still noisy?
A noisy new fan usually means one of three things: the duct is too narrow or kinked, the fan isn’t mounted securely, or there’s debris in the blades. First, check that the duct isn’t squashed behind the unit. Then, make sure the fan is tightly fastened to the housing. Finally, turn off the power and remove the cover to clean any dust or spider webs from the blades. If it’s still loud, the fan may be defective-contact the supplier.