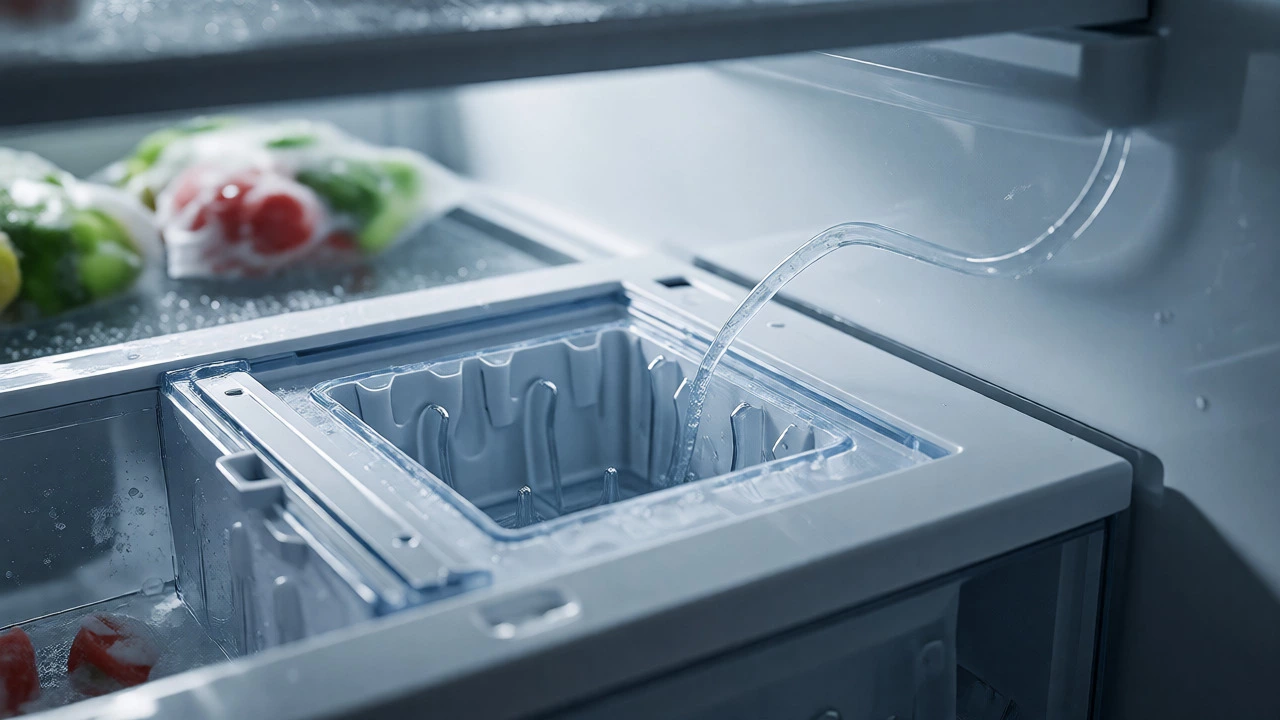
Ice Maker Troubleshooting Checklist
Follow these steps in order to diagnose why your freezer isn't making ice. Check off each step as you verify it.
Diagnostic Result
You open the freezer door, expecting a scoop of cold cubes for your drink, but all you get is silence and empty air. It’s frustrating, especially when your fridge seems to be cooling fine otherwise. If your ice maker has suddenly stopped producing ice, it’s rarely a mystery. In most cases, it comes down to three main culprits: a blocked water supply, incorrect temperatures, or a mechanical failure within the unit itself. Before you call a technician in Auckland, there are several checks you can do yourself that might save you a hefty service fee.
Check Your Water Supply First
The most common reason an ice maker stops working isn’t actually inside the machine-it’s outside. Ice makers need a steady flow of water to function. If that flow is interrupted, the cycle stalls. Start by checking the water inlet valve. This small component controls the water entering the ice maker. If the power to the fridge was recently cut (maybe during a storm or a move), the valve might have closed automatically or lost its signal.
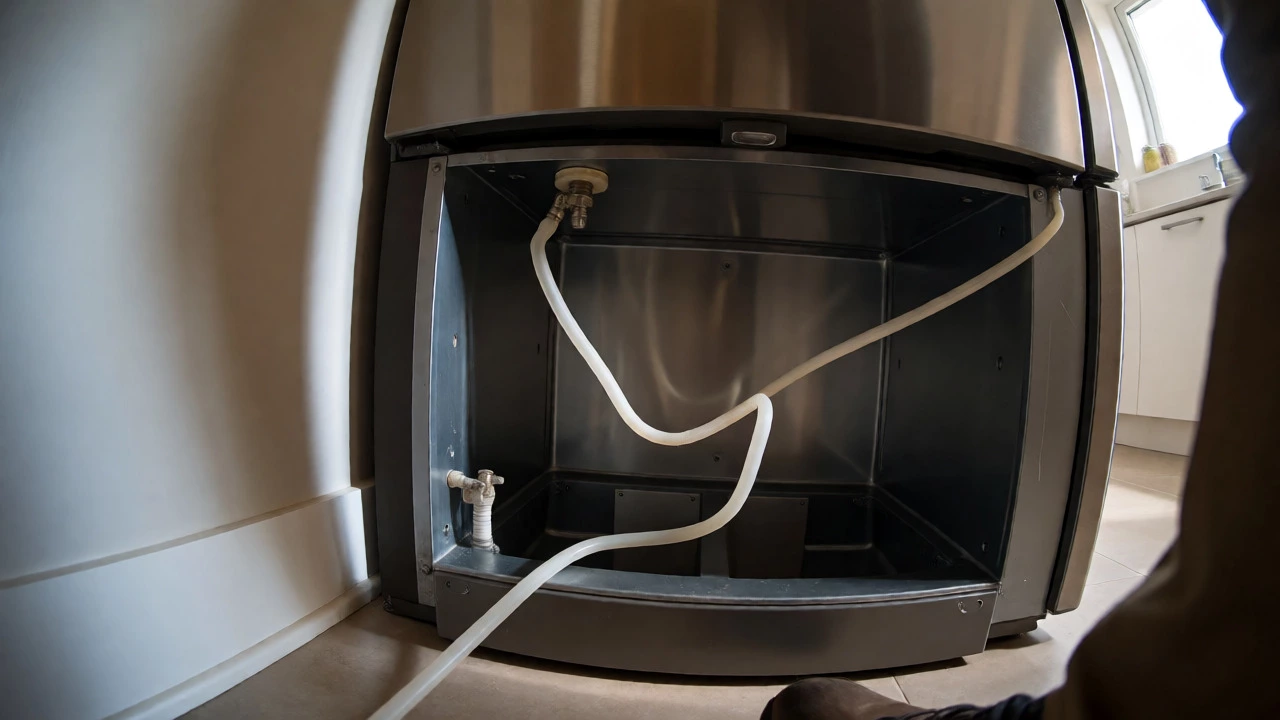
Next, look at the water line. Is it kinked behind the fridge? Sometimes, pushing the fridge back into place after cleaning bends the hose just enough to stop water flow. Also, check if the household water supply to the fridge is turned on. It sounds obvious, but we’ve seen plenty of cases where a family member accidentally shut off the isolation valve under the sink while fixing a leak elsewhere.
| Symptom | Likely Cause | Immediate Fix |
|---|---|---|
| No water in tray | Kinked hose or closed valve | Straighten hose; open valve fully |
| Small or hollow ice cubes | Low water pressure | Check filter; ensure valve is fully open |
| Water leaking under fridge | Cracked inlet valve or loose connection | Tighten connections; replace valve if cracked |
The Importance of Correct Freezer Temperature
If water is getting to the ice maker but no ice forms, your freezer might not be cold enough. Ice makers are picky about temperature. They generally require the freezer compartment to be at -18°C (0°F) or lower to initiate the freezing cycle correctly. If your freezer is set to -15°C, the water might cool down but never freeze solid enough to trigger the harvest cycle.
Use a standalone thermometer to verify the actual temperature inside the freezer. The digital display on the fridge door can sometimes lie, especially if the sensor is faulty or covered in frost. If the temperature is too high, give the freezer 24 hours to stabilize after adjusting the thermostat. Don’t expect instant results; thermal mass takes time to change.
Another factor here is airflow. If you’ve stuffed the freezer with bags of vegetables and boxes of fish, you might be blocking the vents. Air needs to circulate around the evaporator coils to keep everything evenly cold. Rearrange your food so that nothing is touching the back wall or covering the vents near the ice maker assembly.
Inspecting the Ice Maker Assembly
Once you’ve ruled out water and temperature, it’s time to look at the hardware. Most modern fridges use either an automatic icemaker or a manual tray system. For automatic units, the issue often lies in the harvest arm or the mold heater.
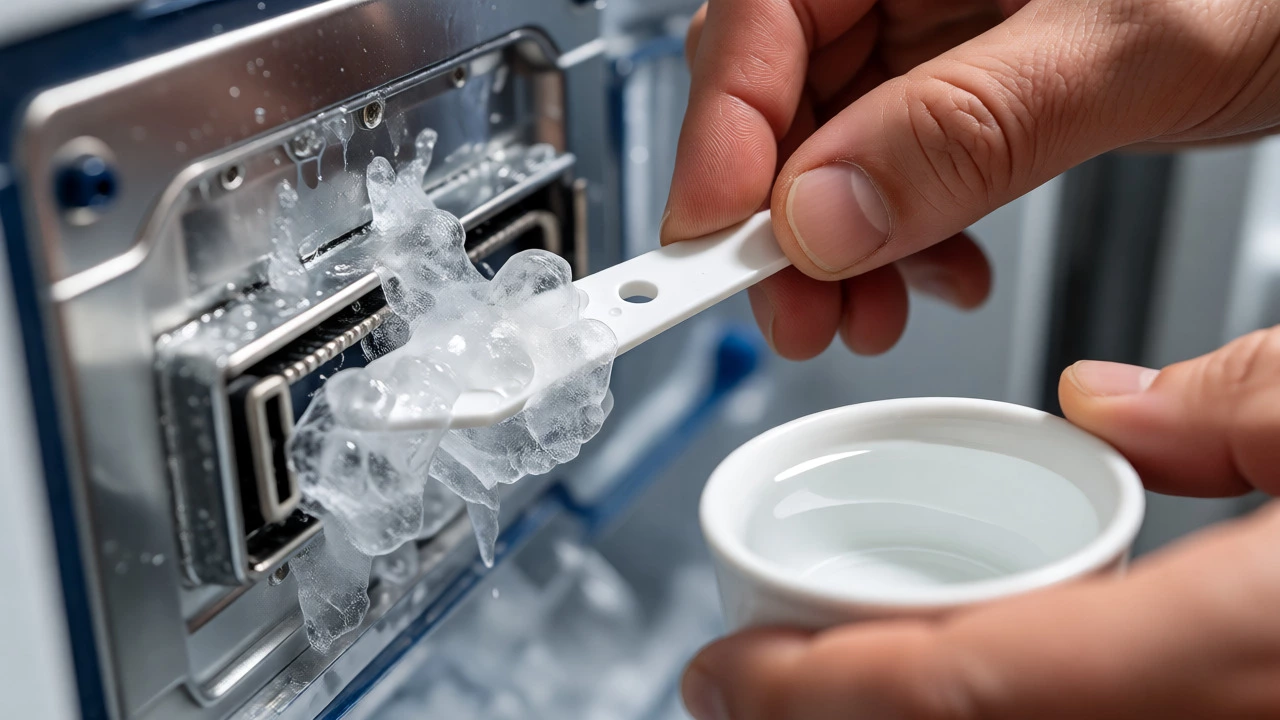
The harvest arm is the little plastic paddle that rotates when the ice is ready. If it’s stuck in the wrong position, the ice maker won’t start a new cycle. Gently try to rotate it by hand. If it moves freely, good. If it’s jammed, look for ice buildup. Sometimes, ice cubes stick together or fuse to the mold, preventing the arm from completing its rotation. You can usually clear this by pouring a little warm (not hot) water over the mechanism to melt the excess ice.
If the arm moves but no ice drops, the mold heater might be dead. This tiny electrical component warms up slightly to loosen the ice from the metal mold before harvesting. If it fails, the ice stays stuck forever. Testing this requires a multimeter to check for continuity, which is a job for someone comfortable with basic electronics.
Clogged Water Filters and Frozen Lines
In New Zealand homes, hard water is a common issue, particularly in certain parts of Auckland. Over time, mineral deposits build up in the water filter. A clogged filter restricts water flow, leading to small, hollow, or misshapen ice cubes-or no ice at all. If you haven’t changed your filter in six months, swap it out. It’s a cheap fix that solves a surprising number of problems.
Beyond the filter, the water line itself can freeze. This happens more often than people think, especially if the fridge is in a garage or a poorly insulated kitchen during winter. If the tube running from the back of the fridge to the ice maker freezes solid, water can’t pass through. You can often spot this by feeling the line near the bottom of the fridge. If it feels rock-hard, unplug the fridge and let it thaw for a few hours. Some technicians recommend installing a heat tape wrap around the line if this keeps happening.
When to Call a Professional
Some fixes are DIY-friendly, but others require specialized tools and knowledge. You should consider calling a professional if:
- Electrical faults: You smell burning, see scorch marks, or the control board shows error codes you can’t reset.
- Refrigerant leaks: If the freezer isn’t cooling at all, even after cleaning coils and checking settings, you might have a gas leak.
- Complex disassembly: Some built-in ice makers are buried deep behind panels that require removing the entire front face of the freezer.
Attempting complex repairs without the right skills can void your warranty or cause further damage. A certified technician can diagnose whether the issue is the control board, the motor, or the compressor.
Maintenance Tips to Prevent Future Breakdowns
Prevention is easier than cure. To keep your ice maker running smoothly, follow these simple habits:
- Clean the ice maker monthly: Remove the ice bin and wash it with warm soapy water. Wipe down the interior of the ice maker housing to remove any slime or mineral buildup.
- Replace filters on schedule: Stick to the manufacturer’s recommendation, usually every 6 months. Set a reminder on your phone.
- Don’t ignore strange noises: Grinding or clicking sounds often precede a complete failure. Investigate early.
- Keep the condenser coils clean: Dusty coils make the compressor work harder, affecting overall efficiency. Vacuum them twice a year.
How long does it take for an ice maker to produce ice after turning it on?
Typically, it takes between 12 to 24 hours for an ice maker to produce its first batch of ice after being turned on or reset. This allows the freezer to reach the correct temperature and fill the initial water reservoir.
Can I reset my ice maker myself?
Yes, many ice makers have a reset button or a wire bail arm that you lift and lower to reset the cycle. Consult your user manual for the specific procedure for your model. Unplugging the fridge for 5 minutes can also reset the electronic controls.
Why are my ice cubes cloudy instead of clear?
Cloudy ice is usually caused by trapped air bubbles and minerals in the water. While clear ice makers exist, standard freezers produce cloudy ice naturally. Changing your water filter can reduce mineral content, making the ice clearer, but some cloudiness is normal.
What if my ice maker makes noise but no ice?
If you hear the motor running but no ice is produced, the water supply is likely blocked or the water inlet valve is faulty. Check for kinks in the water line and ensure the water pressure is adequate. If the water flows but doesn’t freeze, check your freezer temperature.
Is it worth repairing an old ice maker?
It depends on the age of the fridge. If the appliance is less than 10 years old and the repair cost is less than 50% of the price of a new unit, it’s usually worth fixing. For older models, replacement might be more energy-efficient and cost-effective in the long run.