Extractor Fan Sizing & Cost Calculator
Calculate the required airflow for your room and estimate potential savings compared to hiring a professional.
Room Specifications
Enter room details to see recommended fan specs.
You’re standing in your kitchen or bathroom, staring at that noisy, rattling box on the ceiling. It’s been struggling to clear out steam and smells for months, and now it’s finally given up. The handyman quote says $250 just to show up and swap it out. That stings. But here is the truth: replacing an extractor fan is one of the most manageable home improvements you can tackle yourself, provided you respect electricity. If you are comfortable changing a light fixture, you have 90% of the skills needed here. The other 10% is knowing when to call a pro because New Zealand electrical rules are strict about who touches what.
This guide cuts through the jargon. We aren’t talking about rewiring your entire house. We are talking about swapping a standard surface-mounted or inline fan unit. By the end, you’ll know exactly which tools go in your bag, how to check if your wiring is safe, and how to avoid the three most common mistakes that turn a $60 part into a $300 mess.
Do You Actually Need a Pro?
Before you buy anything, let’s be honest about your comfort level. In New Zealand, the Electricity Safety Regulations dictate that while homeowners can do some minor work, anything involving permanent connections to the switchboard often requires a registered electrician. However, replacing a fan that plugs into a socket or connects via a flexible cord (like many older bathroom units) is generally considered homeowner-friendly. If your current fan is hardwired directly into the ceiling junction box without a plug, things get trickier.
Ask yourself these questions:
- Is the power supply isolated at the main switchboard? Can you find the correct breaker?
- Are you comfortable handling wire nuts or terminal blocks?
- Is the existing mounting bracket intact, or will you need to drill new holes into plasterboard?
- Does the fan ducting lead outside easily, or is it trapped behind complex roof structures?
If you hesitated on the first two points, hire an electrician. If you nodded yes to all four, keep reading. This is a classic "measure twice, cut once" job. The risk isn’t high voltage electrocution if you kill the power properly; the risk is water damage from a bad seal or fire from loose wires.
Choosing the Right Replacement Unit
Not all fans are created equal. Walking into Bunnings or Mitre 10 with a picture of your old fan is smart, but specs matter more than looks. You need to match three critical attributes: airflow capacity, noise level, and mounting type.
Airflow Capacity, measured in litres per second (L/s), determines how fast the fan clears air. For a standard Auckland bathroom (around 4-6 square meters), you want at least 25-30 L/s. For a kitchen, where grease and heavy steam accumulate, aim for 60+ L/s. If you undersize it, you’ll still have condensation on your mirror. If you oversize it massively, you might create negative pressure that pulls cold drafts under doors.
Noise is measured in decibels (dB). Anything over 45 dB is noticeable. If this is near a bedroom or living area, look for models rated below 35 dB. They cost more, but silence is golden.
| Fan Type | Best For | DIY Difficulty | Airflow Range (Typical) |
|---|---|---|---|
| Surface Mounted | Ceilings with easy access, bathrooms | Low | 20-50 L/s |
| Inline Ducted | Kitchens, long duct runs | Medium | 50-100+ L/s |
| Window Mounted | Older homes with no ceiling cavity | High (requires cutting glass/frame) | 30-60 L/s |
Gathering Your Toolkit
You don’t need a truckload of gear, but having the wrong screwdriver head will ruin your afternoon. Most modern Kiwi fans use Phillips or Pozidriv screws. Old chrome-plated ones might use flathead.
Here is your essential checklist:
- Voltage Tester: Non-contact testers are safer and easier than multimeters for this specific task. Do not trust the light switch alone.
- Ladder: Stable platform. Ensure it’s dry.
- Screwdrivers: Phillips #2 and Flathead.
- Wire Strippers/Cutters: If you need to trim damaged wires.
- Electrical Tape & Wire Nuts: Or ceramic connectors if using rigid cables.
- Silicone Sealant: Anti-mould kitchen grade for sealing gaps around the housing.
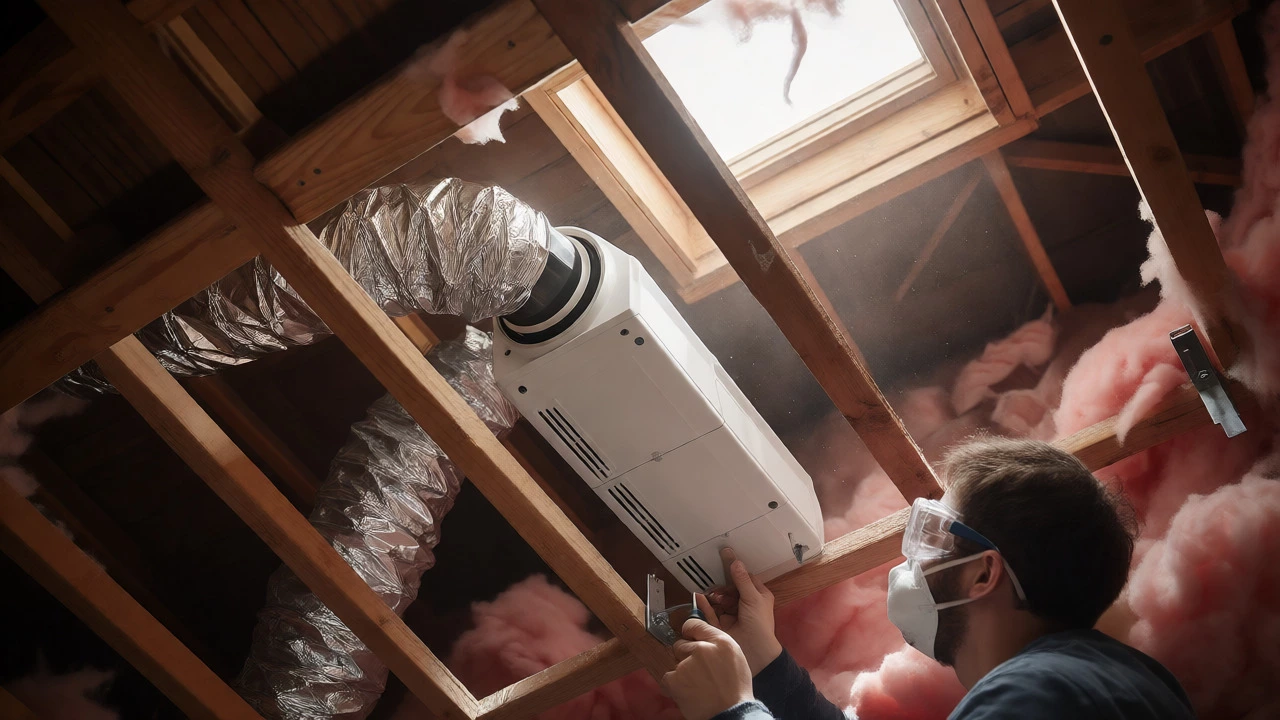
- Dust Mask & Goggles: Ceiling cavities are full of insulation fibers and spider webs.
The Step-by-Step Swap Process
Now we get our hands dirty. Follow this sequence strictly. Skipping steps causes failures.
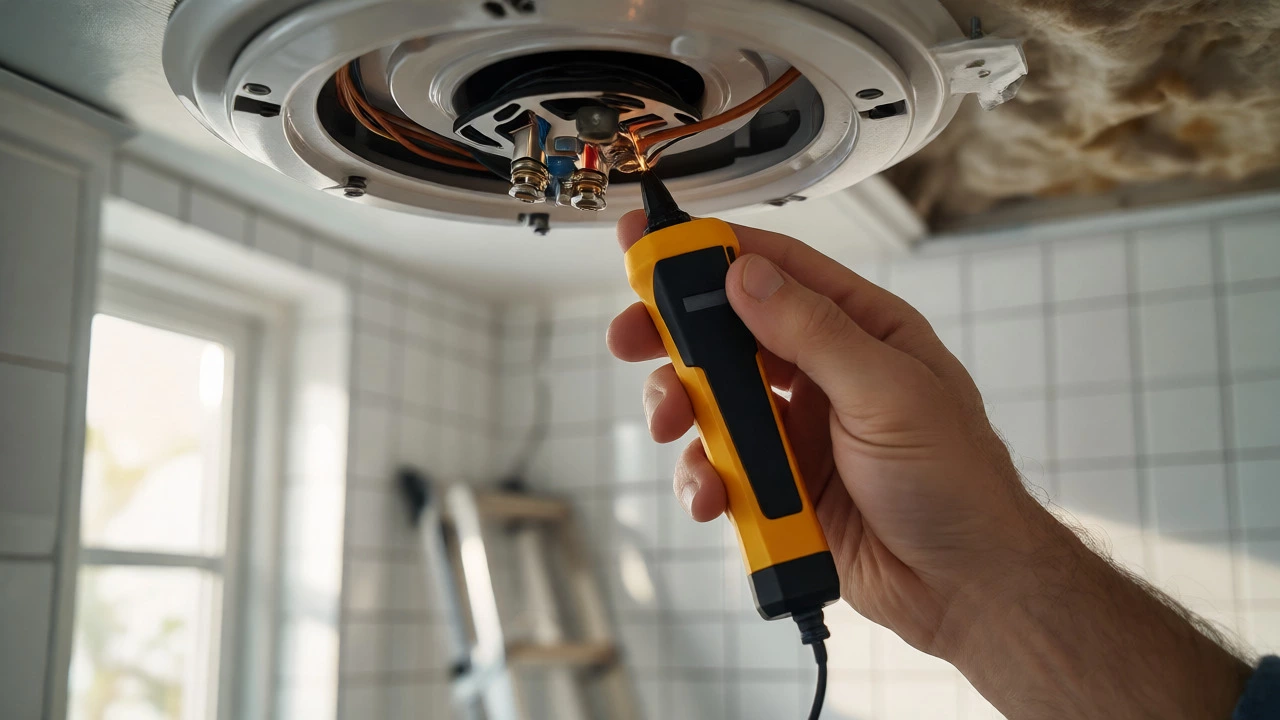
1. Kill the Power. Go to your switchboard. Turn off the circuit labeled "Bathroom Lights/Fans" or similar. If unsure, turn off the main switch. Test the fan switch. Does it click? Yes. Does the fan move? No. Now, take your voltage tester to the wires inside the fan housing. Touch the tip to each conductor. No beep means you are safe. Never assume the breaker label is accurate.
2. Remove the Cover. Most covers clip off or unscrew. Set them aside carefully so you don’t lose the spring clips. Take a photo of the wiring configuration before disconnecting anything. This is your insurance policy against forgetting which wire was Live (brown), Neutral (blue), and Earth (green/yellow).
3. Disconnect Wiring. Unscrew the terminals or twist off the wire nuts. Support the fan weight with one hand while pulling the wires free with the other. If the wires are brittle or cracked, cut them back to fresh copper.
4. Remove the Old Housing. Unscrew the mounting brackets. Lower the unit. Watch out for the ducting hose-it’s often taped or clamped. Cut the tape or loosen the clamp. Pull the old unit down. Inspect the ceiling hole. Is it too big for the new fan? You might need timber battens to bridge the gap.
5. Prepare the New Unit. Attach the new mounting brackets to the fan housing according to the manual. Thread the new ducting hose onto the spigot (the outlet pipe). Secure it with a metal hose clamp-duct tape fails over time due to heat and moisture.
6. Mount and Connect. Lift the new fan into place. Screw the brackets into the ceiling joists or secure them to the plasterboard anchors provided. Connect the wires: Brown to Brown (Live), Blue to Blue (Neutral), Green/Yellow to Earth. Give each connection a gentle tug to ensure they are tight. Loose connections cause arcing and heat.
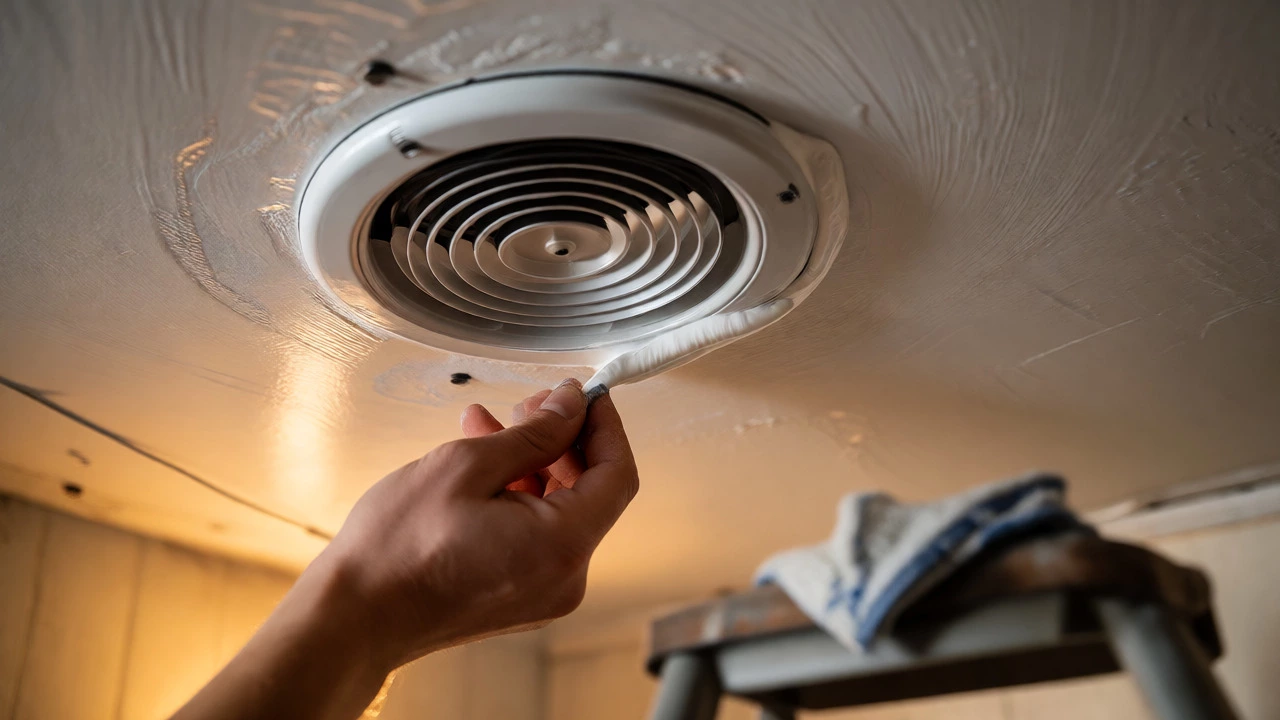
7. Seal and Test. Apply a bead of silicone around the edge of the housing where it meets the ceiling to prevent moisture ingress. Reattach the cover. Restore power. Switch it on. Listen for rattle. Check for vibration. If it hums loudly, tighten the screws or add rubber washers between the bracket and ceiling.
Common Pitfalls to Avoid
Even experienced DIYers trip up here. First, ignoring the damper flap. Many fans have a gravity-operated flap that closes when the fan is off to stop cold air coming in. If you install it upside down or jammed open, you’ll feel a draft every winter night. Ensure it moves freely.
Second, poor ducting routes. Every bend in the duct reduces airflow efficiency by roughly 10%. If you have to route the duct through a roof space, keep it straight and short. Don’t crush the flexible foil ducting with insulation material. It needs to breathe.
Third, forgetting the timer or humidistat. Modern fans often come with built-in timers that run for 15 minutes after you switch them off. This is crucial for clearing residual moisture. If you bypass this feature during wiring, you might shorten the lifespan of your paintwork and seals.
When to Call a Registered Electrician
There are clear lines you shouldn’t cross. If you need to extend the cable run from the switchboard, that’s electrician territory. If your home has old fabric-insulated wiring (common in pre-1980s Auckland villas), do not touch it yourself. It crumbles like cake. If the fan shares a circuit with sensitive electronics and you notice flickering lights after installation, get a professional to check the load balance.
In New Zealand, self-certification is possible for minor works, but keeping records is vital. If you sell your house, the inspector will ask about electrical modifications. Keep your receipt for the fan and note the date of replacement. If you’re unsure, paying $100-$150 for a quick sign-off or installation is cheaper than fixing a fire hazard later.
Maintenance Tips for Longevity
You’ve done the work; now protect it. Once a year, pop the cover off and vacuum the blades. Dust buildup slows rotation and strains the motor. Wipe the housing with a damp cloth. Check the external vent cap outside your house. Birds love nesting there. If it’s blocked, the fan pushes hot air into your ceiling cavity instead of outside, defeating the purpose entirely.
By taking control of this small upgrade, you save money and gain a better understanding of your home’s systems. It’s satisfying to walk into a clear, odor-free room and know you fixed it yourself. Just remember: respect the power, measure correctly, and seal tightly.
How much does it cost to replace an extractor fan myself?
A basic bathroom fan costs between $60 and $120 NZD. Kitchen models range from $150 to $300+. Add $20 for silicone and consumables. Compare this to a $250-$400 plumber/electrician bill, and the savings are significant if you already own basic tools.
Do I need a licensed electrician to change an extractor fan in NZ?
Generally, no, if you are replacing like-for-like on an existing circuit and the connection method allows for safe isolation. However, if you must alter the wiring layout or connect to a new circuit, a registered electrician is required by law.
What size extractor fan do I need for my bathroom?
Calculate the volume of your room in cubic meters (Length x Width x Height). Multiply by 10 for the minimum airflow in liters per second (L/s). For example, a 2m x 2m x 2.4m room is 9.6 cubic meters, requiring ~96 L/s? Wait, standard rule is actually Air Changes Per Hour. For bathrooms, aim for 10-15 air changes. A simpler rule of thumb for NZ homes: 25-30 L/s for small ensuites, 40+ L/s for larger family bathrooms.
Why is my new extractor fan noisy?
Noise usually comes from vibration. Ensure the mounting screws are tight but not over-tightened (which cracks plaster). Check that the fan blade isn't touching the housing. If the ducting is crushed or kinked, it creates turbulence noise. Also, ensure the damper flap isn't rattling against the housing.
Can I install an extractor fan without ducting?
Yes, these are called recirculating fans. They pull air through charcoal filters and blow it back into the room. They remove odors but do NOT remove moisture. In NZ's damp climate, ducting to the outside is strongly preferred to prevent mould growth.