Can a Pressure Cooker Be Repaired? Here’s What Actually Works
November 23 2025Install a Bathroom Fan – Easy DIY Guide
Got steam, smells, or mould creeping into your bathroom? Adding a fan is the quickest fix. You don’t need a contractor – just a few tools, a bit of patience, and this guide.
What You’ll Need Before Starting
Gather these items first so you don’t waste time running to the shop midway:
- Bathroom exhaust fan (choose a model that matches your ceiling size and airflow rating – look for 50‑80 CFM for a medium bathroom).
- Switch or timer (many fans come with a wall switch, but a humidity‑activated timer makes life easier).
- Drill with hole‑saw bit (the fan’s housing usually needs a 120 mm opening).
- Screwdriver set, wire strippers, and electrical tape.
- Safety gear – safety glasses and a dust mask.
- Optional: Ducting and external vent cap if the fan isn’t pre‑wired to a vent.
Turn off the electricity at the breaker before you touch any wires. If you’re unsure about the wiring, a quick call to a qualified electrician can save headaches later.
Step‑by‑Step Installation Process
1. Mark and cut the opening. Use the fan’s template to trace a circle on the ceiling. Keep the ceiling joist layout in mind – you’ll need a solid spot to mount the fan housing.
2. Cut the hole. Drill a pilot hole in the center, then attach the hole‑saw and cut through. Be careful of any wiring or plumbing above.
3. Run the duct. If your fan isn’t already connected to a vent, attach a short piece of rigid duct to the back of the fan housing, then run it to the nearest exterior wall or roof vent. Seal the joints with foil tape to keep air leakage low.
4. Wire the fan. Most fans have a simple 2‑wire (live, neutral) connection and a ground. Strip the ends, twist matching colors together, and secure with wire nuts. Wrap with electrical tape for extra safety.
5. Secure the fan housing. Slide the fan into the ceiling hole. Most units have spring clips or screws that lock it in place. Double‑check that it sits flush with the ceiling – gaps cause noise and reduced airflow.
6. Install the grille and switch. Snap the decorative grille onto the housing. If you’re using a separate wall switch, mount the box, run the cable, and connect it the same way you wired the fan.
7. Test it out. Turn the breaker back on and flip the switch. You should hear a steady hum and feel air moving out of the vent. If the fan runs but feels weak, check the duct for kinks or blockages.
That’s it – you’ve turned a stale bathroom into a fresh‑air zone. A well‑installed fan reduces moisture, prevents mould, and can even lower your heating bill because the air dries faster.
Still not comfortable with any step? Spending a few extra pounds on a professional install is worth it if you’re unsure about the electrical or ventilation work. Otherwise, enjoy the quiet, dry bathroom you’ve created yourself.
 12 Jan
DIY Guide to Installing Your Own Extractor Fan
Installing an extractor fan by yourself can be a fairly straightforward process with the right tools and guidance. This article provides practical advice and tips for installing an extractor fan in your home. From understanding the different types and the tools you'll need, to a detailed step-by-step guide, these instructions will help ensure proper ventilation in your bathroom or kitchen. Learn key safety considerations, and discover common issues that might arise and how to fix them.
Read More...POPULAR POSTS


How Often Should You Replace the Anode Rod in a Water Heater?
December 15 2025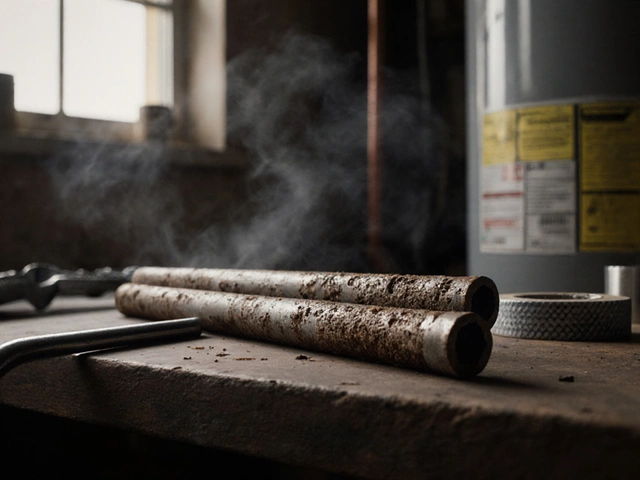

Oven Repair DIY: Can You Fix Your Oven at Home?
June 26 2025