DIY Tips: Can You Replace Your Electric Oven?
January 9 2025Freezer Replacement Tips: A Practical Guide for Homeowners
Thinking about swapping out your old freezer? You don’t need a handyman’s degree to get it done right. In this guide we walk through the whole process – from picking the perfect model to the day‑of installation – so you can avoid common headaches and keep a few pounds in your wallet.
1. Figure Out What You Really Need
First, ask yourself a couple of simple questions. How much food do you store? Do you need quick‑freeze power for meat and fish, or is a steady temperature enough for everyday meals? If you have limited floor space, a tall upright might fit better than a wide chest. Measure the width, depth, and height of the spot where the new unit will live, and add a few centimetres for ventilation.
Energy rating matters too. Look for a freezer with an A+ or higher label – the upfront cost might be a bit higher, but you’ll save on electricity bills year after year. Check the freezer’s defrost system; auto‑defrost models are convenient but use a little more power than manual‑defrost units.
2. Plan the Removal and Installation Day
When the delivery day arrives, you’ll need a clear path from the door to the kitchen. Remove any rugs, protect flooring with cardboard or a moving blanket, and make sure the door can swing wide enough. If your old freezer is a chest, empty it completely and let it defrost at least 24 hours before you move it – a bag of towels on the floor will catch the melt water.
Safety first: unplug the old unit or turn off the gas line if it’s a gas‑powered model. For electric freezers, use the dedicated circuit breaker rather than just pulling the plug; this avoids a surprise spark. Once it’s dead, you can slide it out with the help of a friend or two. Many towns offer free recycling for large appliances – call your local council or check online for a bulk‑waste pickup.
When the new freezer arrives, inspect it for any transport damage before signing the delivery note. Place it on a level surface; most freezers have adjustable feet that you can turn to level it front‑to‑back and side‑to‑side. Plug it in and let it run empty for at least four hours before you load up food – this lets the compressor settle and the temperature stabilize.
Finally, give the freezer a quick test. Listen for a steady hum from the compressor, make sure the thermostat responds when you turn it up or down, and check for any odd noises. If everything sounds normal, you’re good to go.
Here are a few extra money‑saving tips: buy during big sales (Black Friday, January clearance) or look for open‑box deals at local appliance stores. A well‑maintained used freezer can be a solid bargain if you check the seals and run a quick temperature test. Keep the freezer’s coils clean – a vacuum brush every six months helps it run efficiently and extends its life.
With these steps you’ll replace your freezer without a fuss, keep your food safe, and avoid surprise repair bills later. Happy freezing!
 17 Jul
Freezer Repair vs. Replacement: Ultimate Guide to Lower Costs and Smart Choices
Wondering if repairing or replacing your freezer is cheapest? This guide breaks down costs, life spans, repair tips, and helps you make the smartest, most affordable choice.
Read More...POPULAR POSTS

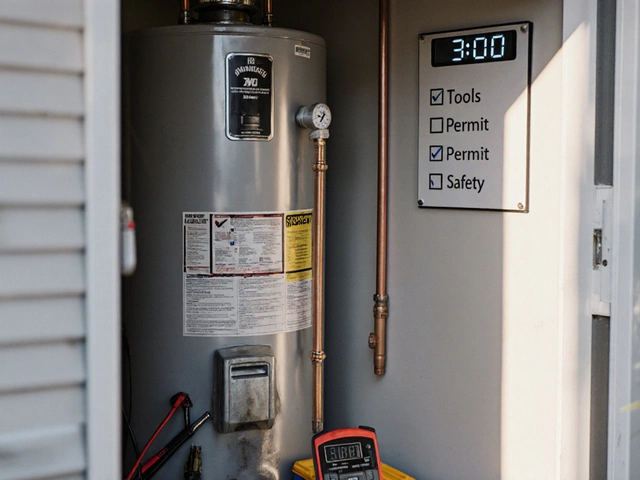
How Long Does a Hot Water Heater Replacement Take?
October 18 2025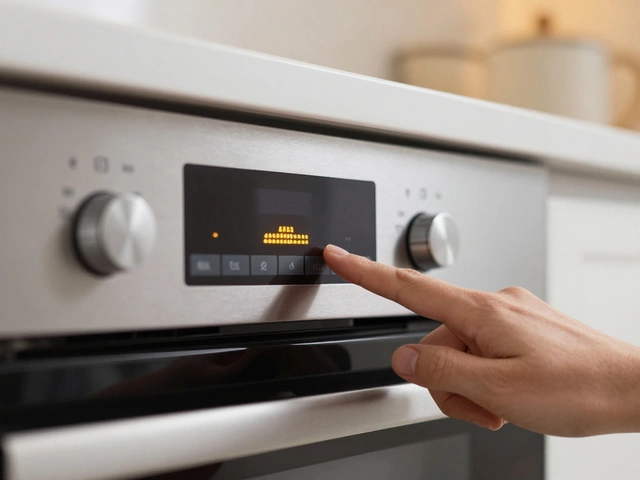

Can Electric Ovens Be Fixed: Your Handy Guide
February 20 2025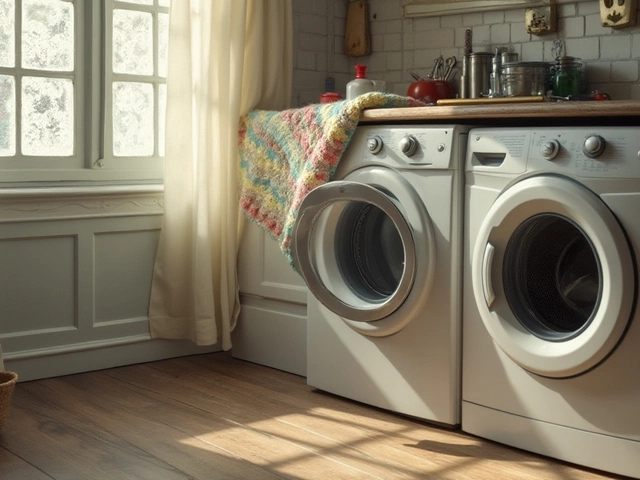
Common Washing Machine Parts That Frequently Fail
January 17 2025