DIY Tips: Can You Replace Your Electric Oven?
January 9 2025Flush Water Heater: Simple Steps to Extend Lifespan and Save Energy
If your hot water feels lukewarm or your bills are creeping up, a dirty water heater could be the culprit. Over time, sediment builds up at the bottom of the tank, forcing the burner to work harder and reducing the amount of hot water you get. Flushing the tank clears out that gunk, restores performance, and can add years to the unit’s life. The good news? You don’t need a plumber for a basic flush – just a few tools and a bit of patience.
Why Flushing Is Important
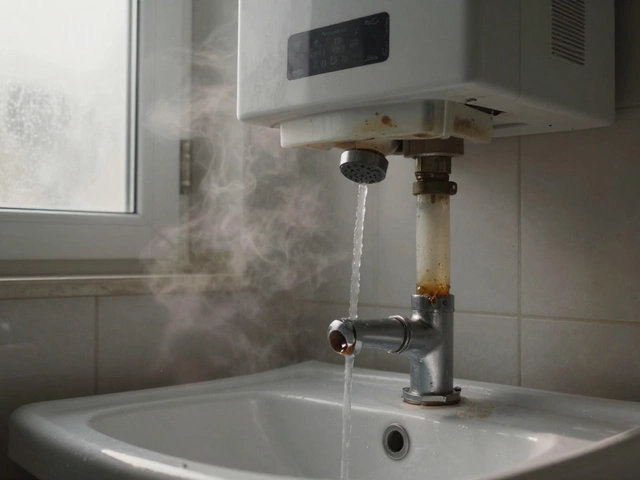
Every time you heat water, minerals from the supply settle at the bottom of the tank. In hard‑water areas, this layer can become quite thick. When the heating element or burner sits on top of the sediment, it can overheat, leading to rust or even a burst tank. Besides safety, the sediment acts as an insulator, so the heater uses more gas or electricity to reach the set temperature. The result is higher energy bills and a shorter lifespan. A quick annual flush removes the buildup, keeps the heater efficient, and helps maintain consistent hot‑water temperature throughout your home.
Step‑by‑Step Flush Process
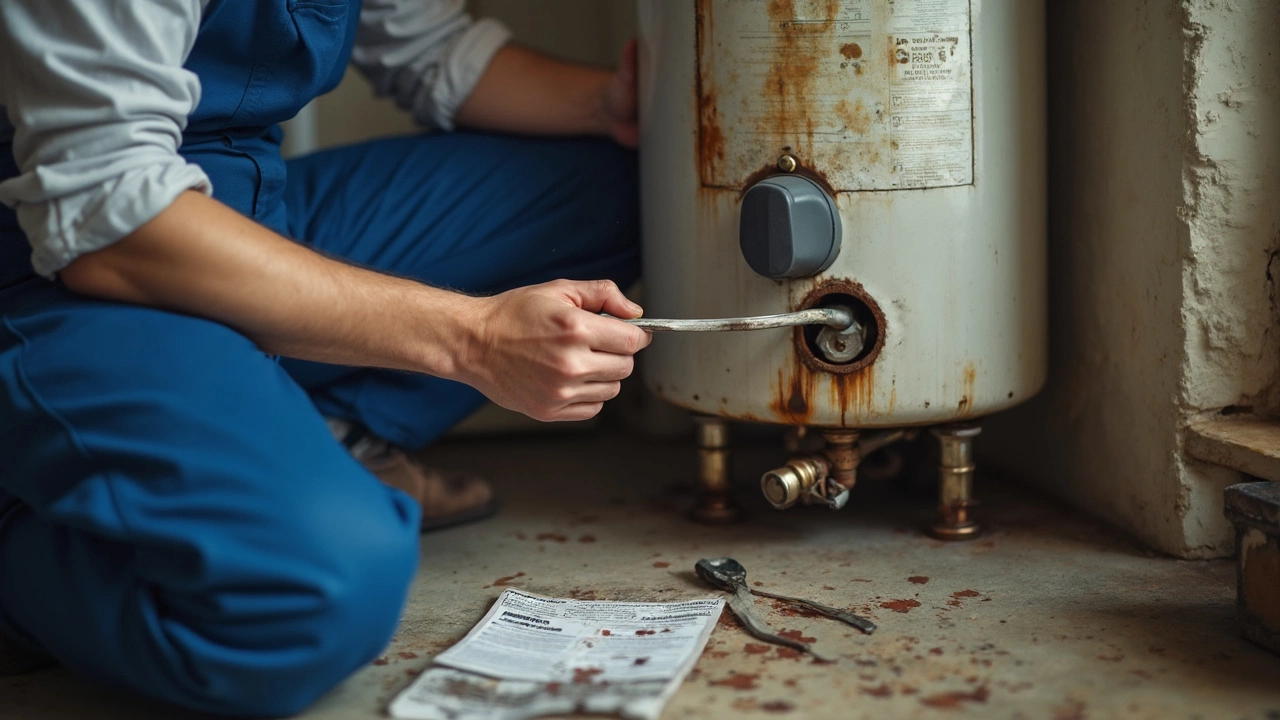
1. Turn off power or gas. For electric heaters, switch off the breaker at the fuse box. For gas units, set the thermostat to “off” and wait a few minutes for the burner to cool.
2. Shut off the water supply. Locate the cold‑water inlet valve on top of the tank and turn it clockwise until it stops.
3. Attach a garden hose. Connect one end to the drain valve at the bottom of the tank and run the other end to a safe drainage spot – a floor drain or outdoors is best.
4. Open the drain valve. Let the water flow out. You’ll hear a rush as the tank empties; if it slows, the sediment may be blocking the outlet.
5. Flush with cold water. Once the tank is empty, open the cold‑water inlet slightly. The incoming water will stir up remaining debris and push it out through the hose. Keep the drain open until the water runs clear.
6. Close valves and refill. Shut the drain valve, remove the hose, and turn the cold‑water supply back on. Let the tank fill completely – you’ll hear the water flowing into the tank.
7. Restore power or gas. For electric heaters, flip the breaker back on. For gas units, turn the thermostat back to your desired setting and light the pilot if needed.
8. Check for leaks. Inspect the drain valve and inlet connections. Tighten any loose fittings and wipe up any water on the floor.
That’s it – a clean tank, lower bills, and hotter showers. If you notice rust, loud banging noises, or the heater won’t stay hot after a flush, it’s time to call a professional. These signs often mean internal damage that a simple flush can’t fix.
To keep the process easy, make flushing part of your annual home‑maintenance checklist. Mark the date on your calendar, gather a hose and a bucket, and you’ll have a reliable hot‑water system year after year. Remember, a clean water heater runs smoother, saves you money, and reduces the risk of unexpected breakdowns.
 9 May
9 May
Should You Flush a 10 Year Old Water Heater? Essential Facts You Need Before Touching That Valve
Wondering if it's a good idea to flush your old water heater? This article breaks down what actually happens inside a ten-year-old tank, the risks and rewards of flushing it, and how you can keep your hot water running safely. We'll cover the warning signs you can’t ignore, what to do if your heater’s on its last legs, and the simple steps that save you money on costly breakdowns. Get straight talk and real tips—especially if your heater’s still kicking after a decade.
Read More...POPULAR POSTS

What Is the Most Common Problem with a Hot Water Heater?
January 26 2026
How to Check if an Extractor Fan Is Working Properly
December 8 2025
Comprehensive Guide to Servicing Extractor Fans
January 25 2025