Is Repairing Your 15-Year-Old Oven Worth It? A Guide to Electric Oven Troubleshooting
December 14 2024Extractor Fan Installation: Simple Steps to Fresh Air
Want a kitchen or bathroom that stays dry and odor‑free? Installing an extractor fan is one of the quickest ways to improve ventilation. You don’t need a degree in engineering – just a few tools, a bit of patience, and the right safety checks. In this guide we’ll walk you through the whole process, point out the parts that most people get wrong, and tell you when it’s smarter to call a certified gas engineer.
When to DIY and When to Call a Pro
If the fan you bought comes with a clear mounting kit and the wiring is a simple plug‑in, you can probably do it yourself. Most modern fans use a standard 230V connection and the instructions are a one‑page diagram. The DIY road is safe when you’re dealing with a non‑combustion fan that runs on electricity alone.
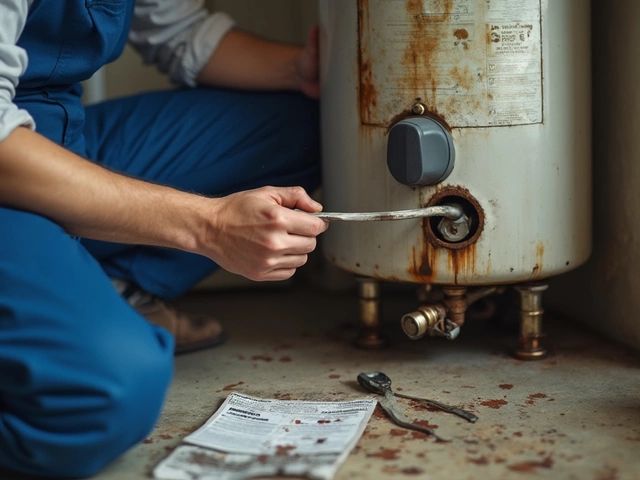
However, if your fan is a gas‑powered extractor or you need to tap into an existing gas line, you must hire a registered gas engineer. In the UK, gas work without a qualified professional is illegal and dangerous. Even a small mistake can cause a leak or carbon monoxide risk. When in doubt, schedule a visit from a certified specialist – it’s a small cost compared to potential hazards.
Cost, Tools, and Common Mistakes
Typical costs break down like this: a basic electric fan costs £30‑£80, a mid‑range model £100‑£150, and high‑end units with heat‑recovery can reach £300‑£500. Installation supplies (screws, plasterboard plugs, sealant) add another £10‑£20. If you hire an electrician, expect a £80‑£150 labor fee.
Here’s the short tool list you’ll need:
- Drill with appropriate bits (usually 6‑8 mm)
- Screwdriver set
- Wire strippers
- Silicone sealant
- Safety glasses and gloves
Common errors that trip up DIYers:
- Skipping the vent pipe clearance – the pipe must exit the building with a minimum 15 cm gap from any opening.
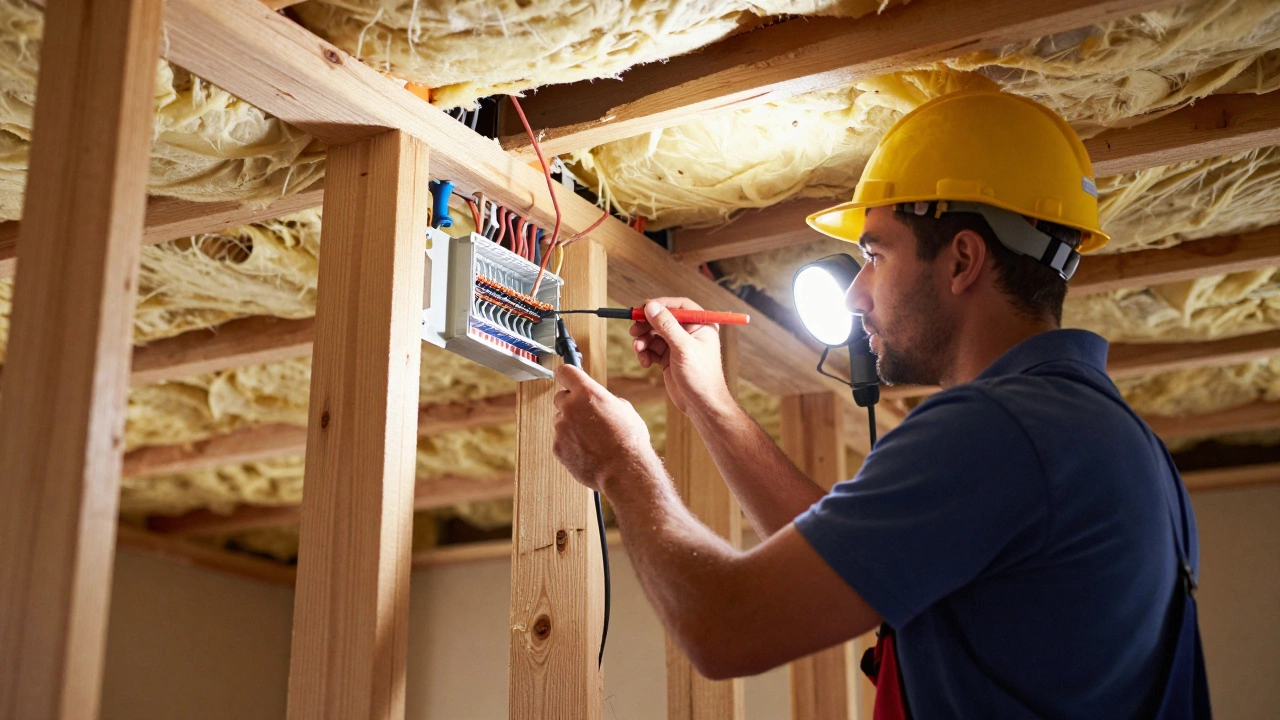
- Forgetting to turn off the electricity at the consumer unit before wiring.
- Using the wrong size hole – a hole that’s too big lets drafts in, too small restricts airflow.
- Neglecting to seal around the fan housing, which can cause moisture to seep into walls.
Once everything is wired, test the fan before sealing the final cover. Turn the power back on, switch the fan, and listen for a steady hum. If it wobbles or smells burnt, shut it down and double‑check the connections.
After installation, keep the fan humming smoothly by cleaning the filter every 1‑2 months. Remove the filter, wash with warm soapy water, dry, and pop it back. A clean filter means less strain on the motor and lower electricity bills.
In summary, fitting an extractor fan is a doable weekend project when you stay within the electrical realm and follow the safety steps. For any gas‑related work, always book a certified gas engineer – it keeps your home safe and meets legal requirements. Ready to start? Grab your fan, check the instructions, and enjoy a fresher, drier space in no time.
 29 Mar
Who Puts in Extractor Fans? The Complete Guide to Professional Installation
Find out exactly who should install extractor fans in your home. We break down the roles of electricians and builders, compliance with NZ Building Code, and why professional help saves money long-term.
Read More... 7 Feb
7 Feb
Who Installs an Extractor Fan? Your Go-To Guide for a Swift Setup
Extractor fans are essential for ventilating bathrooms and kitchens, reducing humidity, and preventing mold. If you're wondering who to call for installation or repairs, this article gives you the lowdown. Discover which tradesperson fits your extractor fan and get practical tips for a fuss-free experience. Uncover interesting facts about extractor fans that might surprise you.
Read More...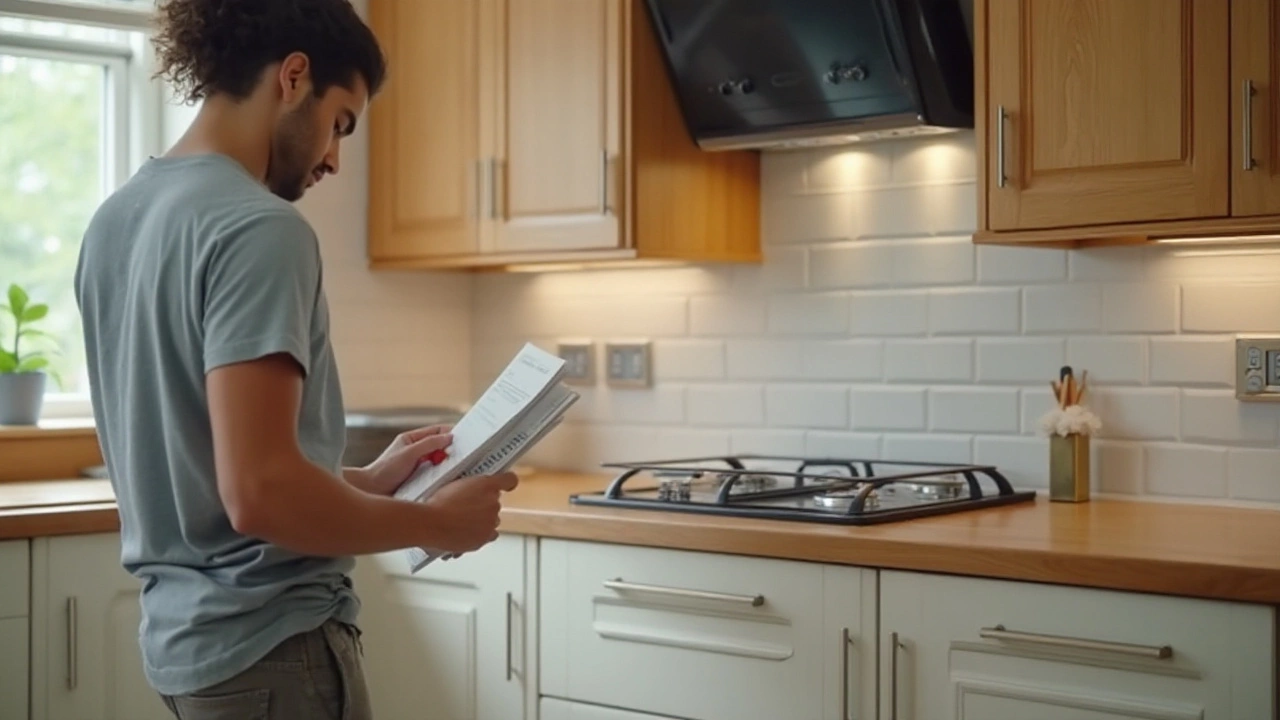 12 Jan
DIY Guide to Installing Your Own Extractor Fan
Installing an extractor fan by yourself can be a fairly straightforward process with the right tools and guidance. This article provides practical advice and tips for installing an extractor fan in your home. From understanding the different types and the tools you'll need, to a detailed step-by-step guide, these instructions will help ensure proper ventilation in your bathroom or kitchen. Learn key safety considerations, and discover common issues that might arise and how to fix them.
Read More...