Water Heater Maintenance Checklist & Planner
Maintenance Progress
Complete each step to ensure a safe and thorough flush.
🛠️ Phase 1: Preparation & Tools
⚠️ Phase 2: Safety Shutdown
💧 Phase 3: Draining & Flushing
✅ Phase 4: Refill & Restart
You might have noticed your water heater making weird popping noises, or maybe your hot water doesn't last as long as it used to. These are classic signs that your tank is filling up with sediment. While it sounds like a job for a pro, the short answer is yes: you can absolutely flush your water heater yourself if you have a bit of patience and a few basic tools. Doing it once a year can save you from a premature tank failure and keep your energy bills from creeping up.
Before we get started, let's talk about the flush water heater process. Flushing a water heater is the act of draining the tank to remove mineral deposits, primarily calcium and magnesium, which settle at the bottom over time. This sediment acts as an insulator, forcing your heater to work harder to warm the water and eventually causing the metal to corrode from the inside out.
Quick Takeaways for a Successful Flush
- Frequency: Do this once a year to prevent sediment buildup.
- Key Tool: A standard garden hose is essential for draining the tank.
- Safety First: Always turn off the power or gas before starting.
- Warning Sign: If your tank is 10+ years old and has never been flushed, be careful; sediment might be the only thing plugging old leaks.
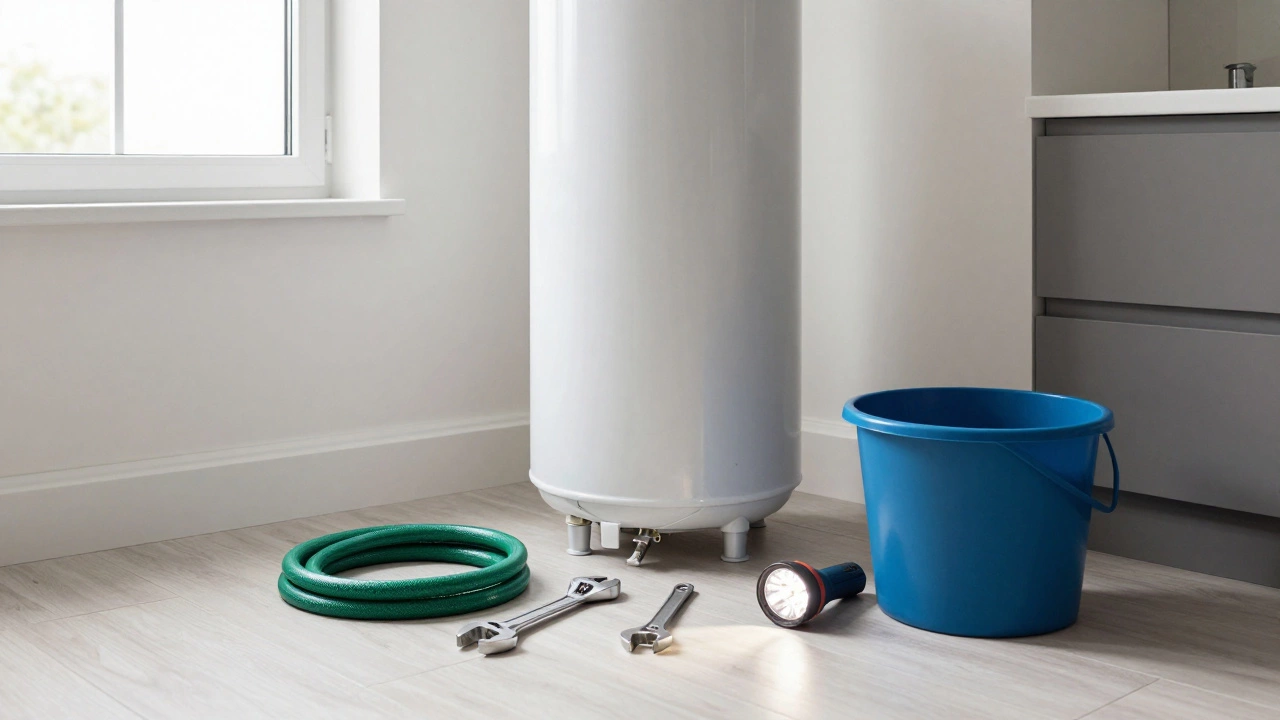
The Tools You'll Need
You don't need a master plumber's kit for this. Most of these items are probably already in your garage. Grab these before you start so you aren't hunting for a wrench while your floor is getting wet.
- A garden hose (long enough to reach a floor drain or outside).
- A screwdriver or adjustable wrench.
- A bucket (just in case of spills).
- A flashlight to see into the drain valve.
Step-by-Step Guide to Flushing Your Tank
Whether you have a Electric Water Heater or a Gas Water Heater, the basic steps are the same, though the power-off method differs.
- Shut Down the Energy Source: If you have an electric heater, flip the breaker in your electrical panel. For gas heaters, turn the dial on the gas control valve to the "OFF" or "PILOT" position. If you leave the power on while the tank is empty, you'll burn out the upper heating element in seconds.
- Turn Off the Water Supply: Locate the cold water inlet pipe (usually at the top) and turn the valve clockwise until it's fully closed. This stops new water from entering the tank while you're trying to empty it.
- Connect the Hose: Find the drain valve at the bottom of the tank. Attach your garden hose to this valve. Run the other end of the hose to a driveway, a yard, or a large floor drain.
- Open the Drain Valve: Slowly turn the valve open. You'll hear the water start to move. If the valve is old, it might be stubborn-don't force it too hard or you might snap the handle.
- Break the Vacuum: The water might flow slowly or stop entirely because of a vacuum effect. To fix this, open a hot water faucet somewhere in your house (like the kitchen sink) or open the T&P valve on the top of the heater to let air in.
- Flush Out the Gunk: Once the tank is empty, turn the cold water supply back on for a few seconds, then shut it off again. This "stirs up" the remaining sediment at the bottom and pushes it out through the hose. Repeat this until the water running through the hose looks clear.
- Close and Refill: Close the drain valve and remove the hose. Turn the cold water supply back on fully. Wait until the tank is completely full before turning the power or gas back on. You'll know it's full when water flows steadily from the hot water faucet in your house without any air bubbles.
Identifying Your Heater Type and Needs
Not all heaters are created equal. Depending on your home's plumbing and water quality, your approach might change. For example, if you live in an area with "hard water" (high mineral content), you'll see a lot more white, flaky sediment than someone in a soft-water area.
| Heater Type | Energy Source | Sediment Risk | Maintenance Level |
|---|---|---|---|
| Standard Tank | Gas or Electric | High | Annual Flush Required |
| Tankless Heater | Gas or Electric | Low/Medium | Chemical Descaling |
| Heat Pump Heater | Electric | High | Annual Flush Required |
Common Pitfalls to Avoid
I've seen plenty of homeowners make the same few mistakes. Avoid these to keep your project from turning into a flood in your basement.
First, never forget to turn off the power. If you have an electric heater, the heating elements are submerged in water. If the water level drops and the element is still on, it will burn out in a matter of minutes. This turns a free maintenance task into a costly repair.
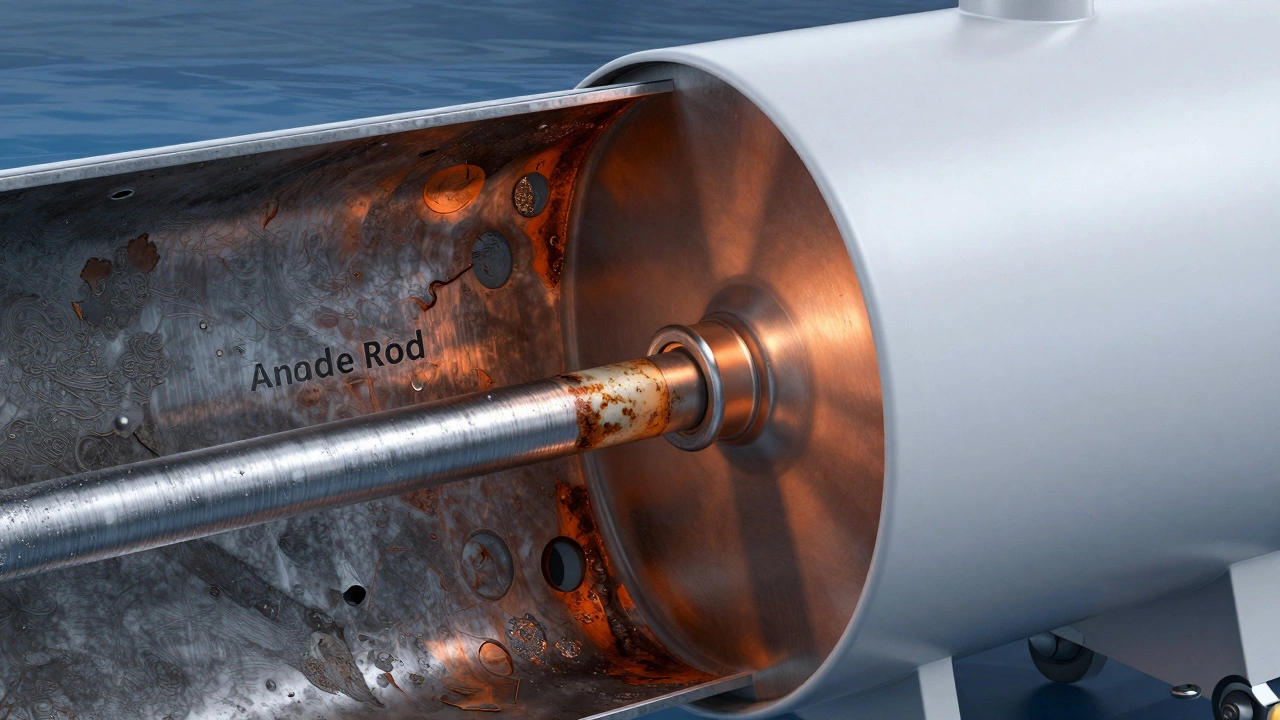
Second, don't ignore the Anode Rod. While you're flushing the tank, it's a great time to check your anode rod. This is a sacrificial rod that attracts minerals so they stick to the rod instead of your tank walls. If it's completely eaten away, your tank is now the target for corrosion. Replacing this every 3-5 years is the secret to making a water heater last 15 years instead of 8.
Lastly, be wary of old valves. If your drain valve is old and leaks after you close it, don't just tighten it until it breaks. Use a bit of plumber's tape or consider replacing the valve entirely with a brass one for better longevity.
When to Call a Professional
While DIY is great, there are times when you should put down the wrench and call a licensed technician. If your water heater is over 12 years old and has never been flushed, you might be surprised by what happens when you open that valve. Sometimes, the sediment layer is so thick that it's actually plugging small pinholes in the tank. Once you flush that sediment away, the leaks appear.
You should also call a pro if you see significant rust on the outside of the tank, if the heater is leaking from the bottom, or if you aren't comfortable working with gas lines. Safety is always more important than saving a hundred bucks on a service call.
Frequently Asked Questions
How often should I flush my water heater?
Once a year is the gold standard. If you have very hard water, you might want to do it every six months. If your water is very soft, every two years might be enough, but annual checks keep the system efficient.
Why is the water not draining from my tank?
This usually happens because of a vacuum. Open a hot water tap in the house or the pressure relief valve on the tank to let air in, which allows the water to flow out. If it's still stuck, sediment might be clogging the drain valve itself.
Will flushing my water heater improve the temperature?
It might not make the water "hotter," but it will make the heating process more efficient. Without a layer of sediment acting as a barrier, the burner or element can heat the water much faster and more evenly.
Can I use a vacuum to get the sediment out?
A wet/dry vacuum can be used to suck out the remaining sludge after the main drain is complete, but it's not necessary for most homeowners. The "flush and refill" method mentioned in the steps is usually sufficient.
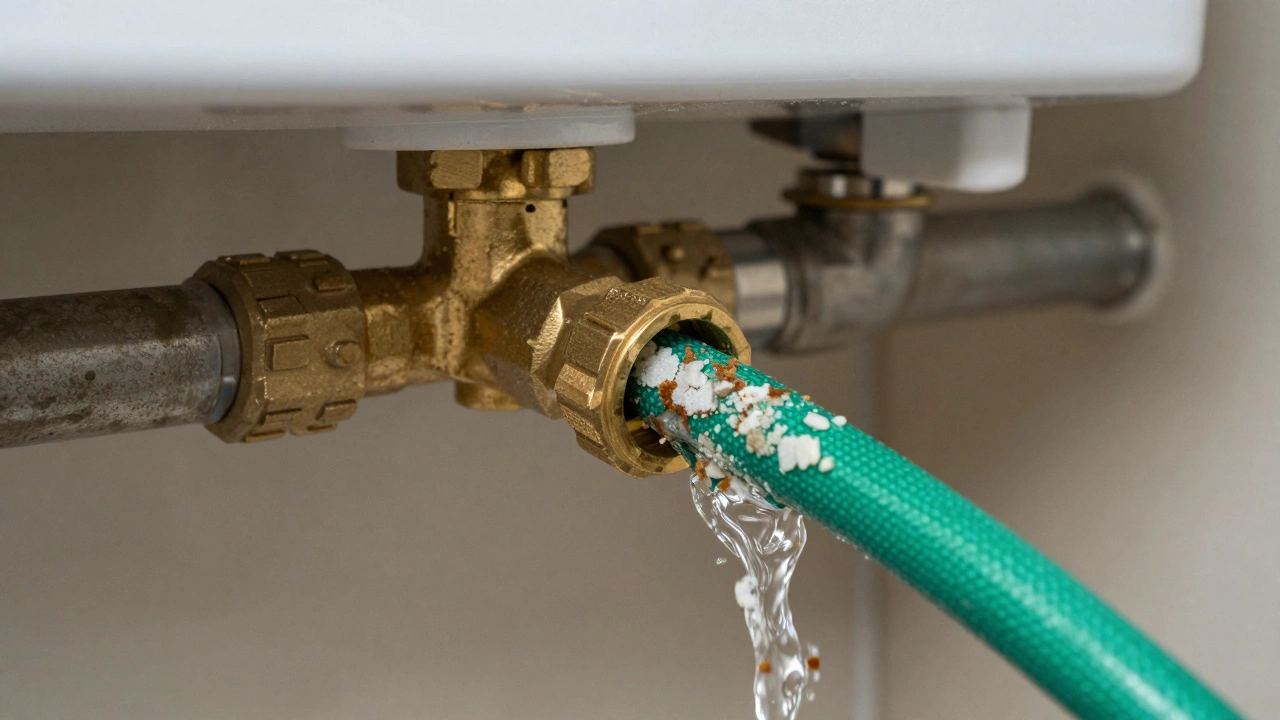
What does the sediment look like?
It usually looks like white or sandy flakes, or sometimes a thick, brownish sludge. This is mostly calcium carbonate and other minerals that have precipitated out of the water.
Next Steps for Maintenance
Now that you've flushed your tank, don't let the maintenance stop there. If you're feeling ambitious, check the Temperature and Pressure Relief Valve (T&P valve) to make sure it's not stuck. This is a safety device that prevents your tank from exploding if the pressure gets too high.
If you find that you're pulling out gallons of sediment every single time you flush, you might want to look into a Water Softener. This system removes the minerals from your water before they ever reach your heater, which means you can flush much less often and your appliances will last significantly longer.