Extractor Fan Cleaning Agent Guide
Click on a cleaning agent below to see if it's safe for the specific part of your fan motor you are cleaning.
Select Cleaning Agent:
Usage Recommendation:
Select an agent from the left to see detailed recommendations and safety warnings.
Quick Tips for Motor Cleaning
- Always cut power at the main breaker before touching any wiring.
- Avoid using water directly on the motor windings; use specialized degreasers.
- Check for bearing wear while the motor is removed.
- Reassemble only after all cleaning agents have completely evaporated.
The Danger of Ignoring Your Fan Motor
Think of your motor as the heart of the system. In a kitchen environment, extractor fan repair is often a matter of fighting a constant battle against aerosolized grease. When you fry food, tiny droplets of fat float into the air. The fan sucks them in, and while the filters catch the big chunks, a fine mist inevitably reaches the motor.
Over time, this mist mixes with household dust to create a sticky, insulating blanket. This creates a serious problem: heat cannot escape the motor coils. When a motor overheats, the internal insulation can melt, causing a short circuit. If you hear a high-pitched whine or notice the fan spinning slower than usual, you're likely dealing with a buildup that's creating physical friction and thermal stress.
Tools You'll Actually Need
You don't need a professional workshop to do this, but using the wrong chemicals can ruin the motor's lacquer. Put away the harsh bleach; it's too corrosive for electrical components. Instead, grab these:
- A set of precision screwdrivers (Phillips and Flathead).
- Isopropyl Alcohol (90% or higher) for cleaning electronic contacts.
- A heavy-duty degreaser or a mixture of warm water and dish soap (for non-electrical parts).
- Compressed air cans or a small vacuum cleaner with a brush attachment.
- Microfiber cloths and cotton swabs.
- A multimeter (optional, but great for checking if the motor is still viable).
Step 1: Safe Disassembly and Power Down
Before you touch a single screw, turn the power off. Don't just flip the wall switch; go to your electrical panel and shut off the circuit breaker for the kitchen. Water and electricity are a lethal mix, and a stray wire could give you a nasty shock.
Remove the grease filters first. Depending on your model, the motor is usually held in place by a mounting bracket and a few screws. Carefully unplug the wiring harness. If your fan uses a Capacitor-that small cylindrical component that helps the motor start-be careful not to bend its terminals. Take a photo of the wiring before you disconnect anything so you aren't guessing where the red and black wires go later.
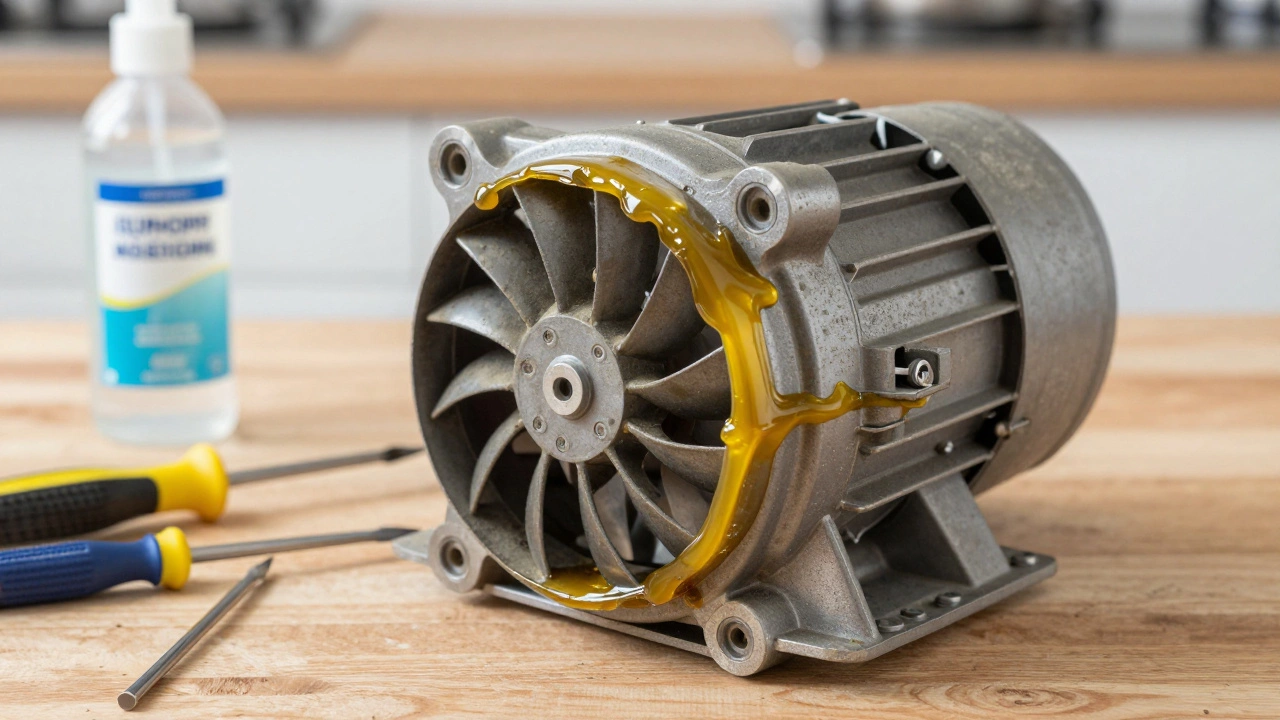
Step 2: Removing the Surface Grime
Once the motor is on your workbench, you'll likely see a layer of yellow, sticky residue. This is where most people make a mistake by spraying the motor with water. Never do that. The motor windings are coated in a thin layer of varnish; soaking them in water can lead to rust in the bearings or degrade that insulation.
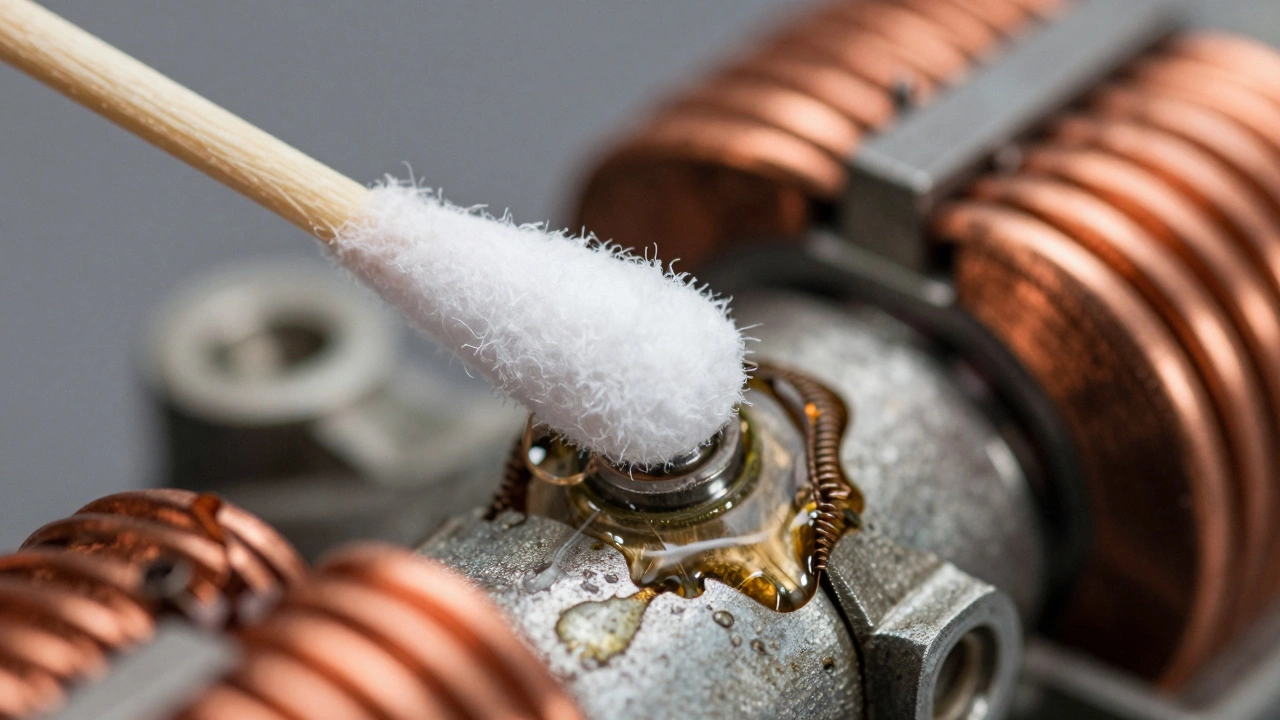
Start with the compressed air. Blow out the loose dust from the vents of the motor housing. Once the loose debris is gone, dip a cotton swab in isopropyl alcohol. This is the gold standard for cleaning electronics because it dissolves oils and evaporates almost instantly without leaving moisture behind. Gently wipe the motor housing and the area around the shaft.
Step 3: Deep Cleaning the Impeller and Shaft
The Impeller-the rotating blade assembly-is usually the filthiest part. If the impeller is removable, take it off. If it's fixed to the shaft, you'll have to clean it in place. Use a dedicated degreaser on a cloth to scrub the blades. If the grease is baked on, let the degreaser sit for five minutes, then scrub with a soft brush.
Check the shaft where it enters the motor. If there is a buildup of "gunk" here, it creates friction that slows the motor down. Clean this area thoroughly. If you see any black metallic flakes, your bearings might be failing, and no amount of cleaning will fix a mechanical collapse.
| Agent | Best Use Case | Risk Level | Drying Time |
|---|---|---|---|
| Isopropyl Alcohol | Circuit boards, motor windings | Low | Seconds |
| Dish Soap Solution | Plastic housings, blades | Medium (Moisture) | Minutes |
| Industrial Degreaser | Heavy baked-on grease | High (Corrosive) | Medium |
| Compressed Air | Dust and loose particles | Very Low | Instant |
Step 4: Lubrication and Testing
Cleaning removes the dirt, but it can also strip away old lubricants. If your motor has oil ports (small holes often covered by a rubber plug), add a drop or two of high-temperature machine oil. Do not use WD-40 for long-term lubrication; it's a solvent, not a lubricant, and it will actually attract more dust over time.
Spin the motor shaft by hand. It should glide smoothly with very little resistance. If it feels "crunchy," you may need to replace the bearings entirely. Once everything is dry-and I mean bone dry-plug the wiring harness back in and test the motor briefly. If it sounds smoother and the air vibration has decreased, you've successfully restored its efficiency.
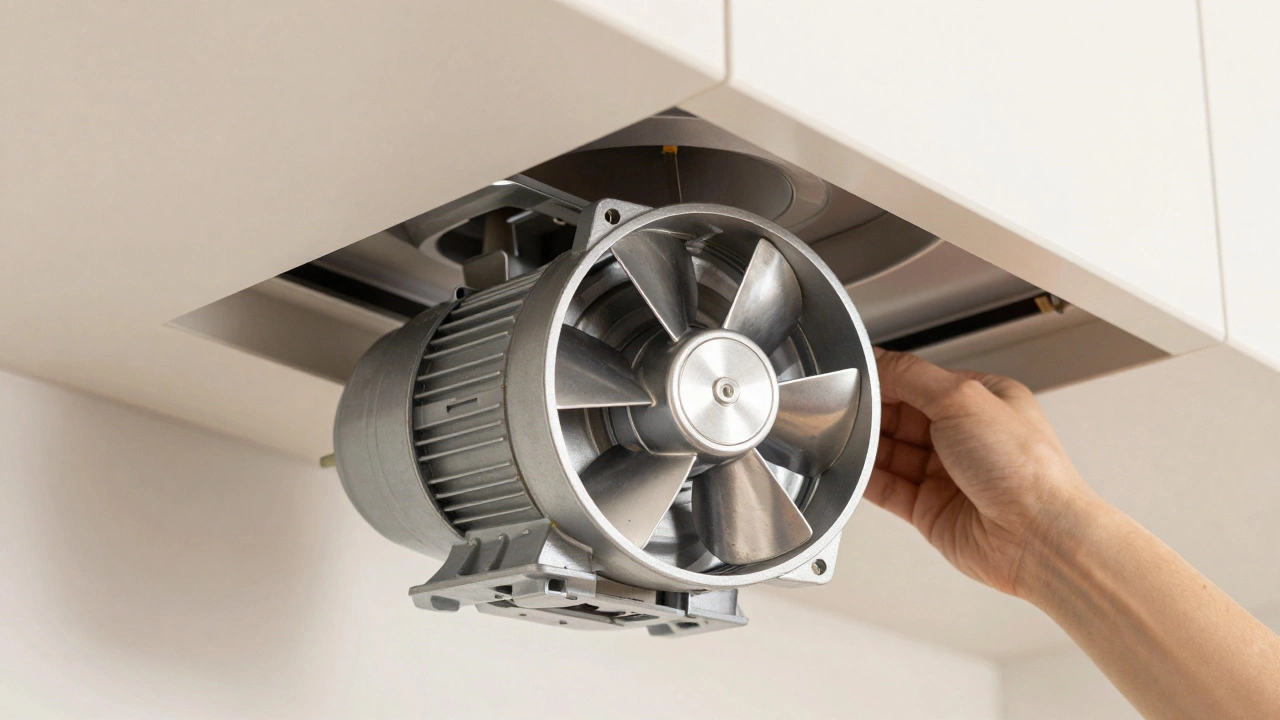
Step 5: Reassembly and Final Maintenance
Slide the motor back into its bracket and tighten the screws. Don't over-tighten them, as you can crack the plastic mounting tabs. Reinstall the filters, but make sure you've cleaned them too. If you put a clean motor back into a system with clogged filters, the motor will struggle against the lack of airflow and overheat again within weeks.
To keep your motor clean longer, try the "steam-first" rule. Turn your extractor fan on two minutes before you start cooking and leave it running for ten minutes after you finish. This clears the remaining moisture and grease from the air before it has a chance to settle and harden on the motor components.
Can I use a vacuum cleaner on the motor?
Yes, but only for loose dust. Use a soft brush attachment to avoid scratching the windings. A vacuum won't remove sticky grease; for that, you'll need isopropyl alcohol or a degreaser.
How often should I clean the motor?
For a busy kitchen, check the motor every 12 months. If you fry foods daily, a 6-month check is better. If you notice the noise level increasing, clean it immediately.
Is it safe to use a pressure washer to clean the motor?
Absolutely not. The high pressure can force water deep into the motor windings and bearings, causing immediate electrical shorts or permanent corrosion. Stick to swabs and compressed air.
What if the motor still smells like it's burning after cleaning?
If you still smell burning, the internal insulation of the copper windings may have already melted. In this case, cleaning cannot fix the damage, and you will need to replace the motor assembly for safety.
Do I need to replace the capacitor when cleaning?
Not necessarily. However, capacitors have a limited lifespan. If the motor hums but doesn't spin even after cleaning, the capacitor is likely dead and should be replaced with one of the exact same rating.
Troubleshooting Common Issues
If you've cleaned the motor and it's still not performing, consider these scenarios:
- The fan spins but there's no suction: This is usually a ducting issue. Check for blockages or disconnected pipes in the ceiling or wall.
- The motor is vibrating violently: This happens if the impeller is unbalanced. Check if a blade is bent or if there is a clump of grease still stuck to one side of the blade.
- The motor is humming but not moving: This is a classic sign of a seized bearing or a failed start capacitor. Try spinning the blade manually (with power off) to see if it's stuck.