Fridge Repair Decision Tool
Select Your Symptom
Select a symptom above
Get an instant diagnosis, difficulty rating, and cost estimate.
That moment when your fridge stops humming and the milk starts sweating is never a good one. It’s usually late at night, or worse, right before you open the door to find that your leftovers have turned into science experiments. Your immediate thought is often panic, followed closely by a question: Can I fix this myself?
The short answer is yes, but with massive caveats. Some fridge issues are as simple as wiping down a drain tube, while others involve handling refrigerants that require special licensing just to touch in New Zealand. Getting it wrong doesn’t just mean a broken appliance; it can mean an electric shock, a fire hazard, or a bill that costs more than buying a new unit.
To help you decide whether to grab a screwdriver or pick up the phone, we need to look at what’s actually happening inside your machine. We’ll break down which repairs are safe for a homeowner, which ones will bankrupt you if you mess them up, and how to troubleshoot common symptoms without guessing.
Understanding What’s Inside Your Refrigerator
Before you take anything apart, you need to understand that a refrigerator is a complex thermodynamic system that moves heat from inside the box to outside using electricity and chemical refrigerants. It’s not just a cold box; it’s a pump. The core components working together include the compressor, the condenser coils, the evaporator fan, and the thermostat.
If any of these parts fail, the cycle breaks. The compressor acts like the heart, pumping refrigerant through the lines. The condenser coils (usually on the back or bottom) release heat into your kitchen. The evaporator coils inside the freezer absorb heat from your food. Fans circulate air between these zones. When you hear a weird noise or feel warm air, one of these specific entities has likely failed. Knowing which one helps you decide if you’re dealing with a loose wire or a sealed system breach.
Safe DIY Fixes: Things You Can Handle Today
Not every problem requires a professional. In fact, many "broken" fridges are just dirty or blocked. These repairs are low-risk, cost nothing, and often solve 50% of household complaints. Here is what you can safely attempt:
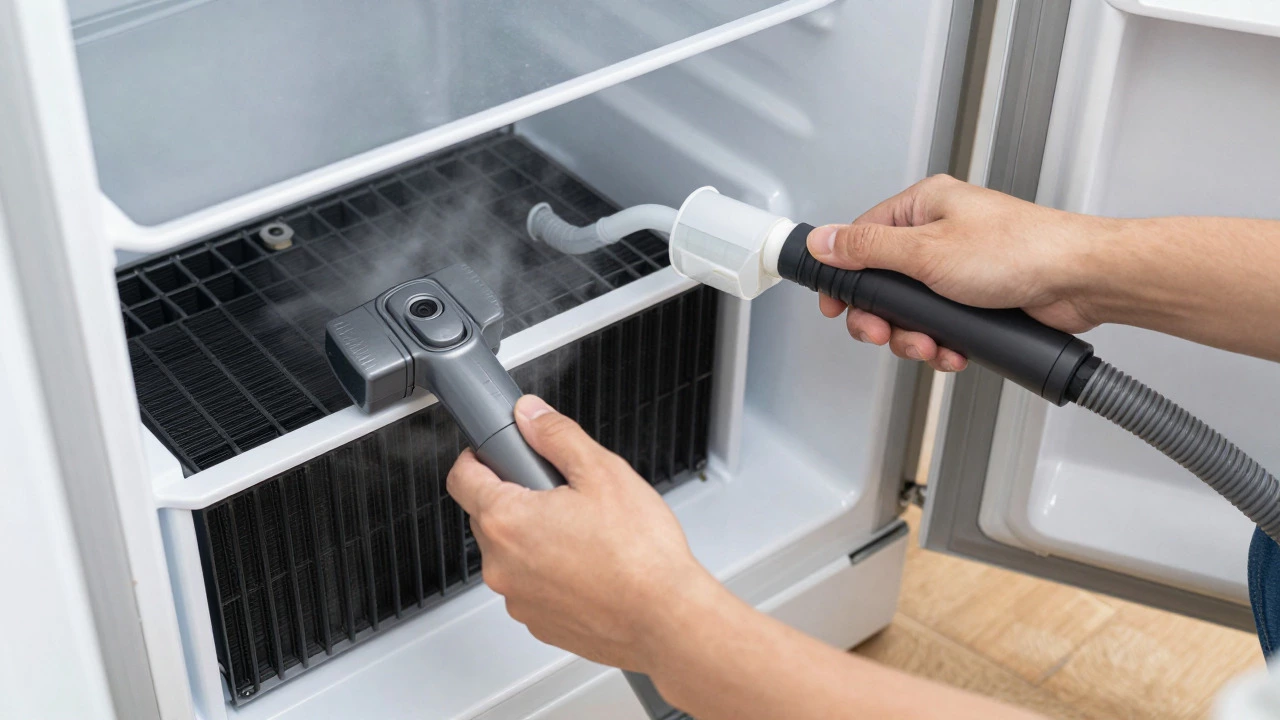
- Cleaning Condenser Coils: If your fridge is running constantly but not cooling well, dust might be choking the coils. Pull the fridge out, locate the coils (behind the bottom kickplate or on the back), and vacuum them. This improves efficiency immediately.
- Clearing a Frozen Drain Hole: Water pooling at the bottom of the fridge? The defrost drain is likely clogged with ice or gunk. Use a turkey baster with hot water or a pipe cleaner to clear the tube located at the back of the freezer compartment.
- Checking Door Seals: Close the door on a dollar note. If you can pull it out easily, your seal is weak. Replace the gasket yourself-it clips in and costs less than $30. This prevents warm air from entering and overworking the compressor.
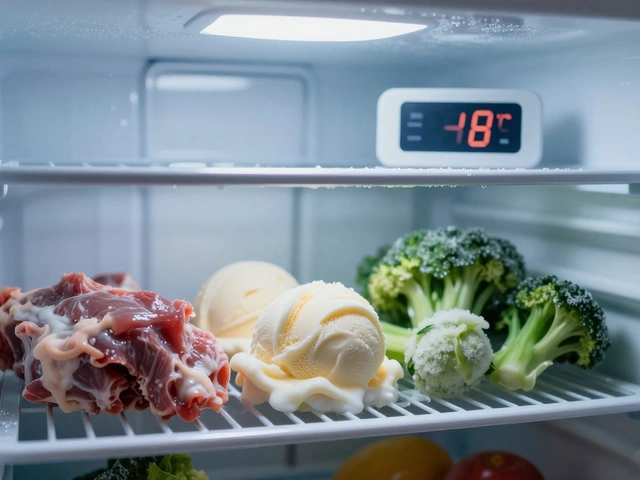
- Adjusting Thermostats: Sometimes the fridge isn’t broken; it’s just set wrong. Ensure the temperature is set to around 3°C for the fridge and -18°C for the freezer. Digital controls can glitch after power surges, so resetting them helps.
- Replacing Light Bulbs: If the interior light stays on, the door switch might be stuck, or the bulb blown. Both are easy swaps. A stuck light generates heat, fighting against the cooling system.
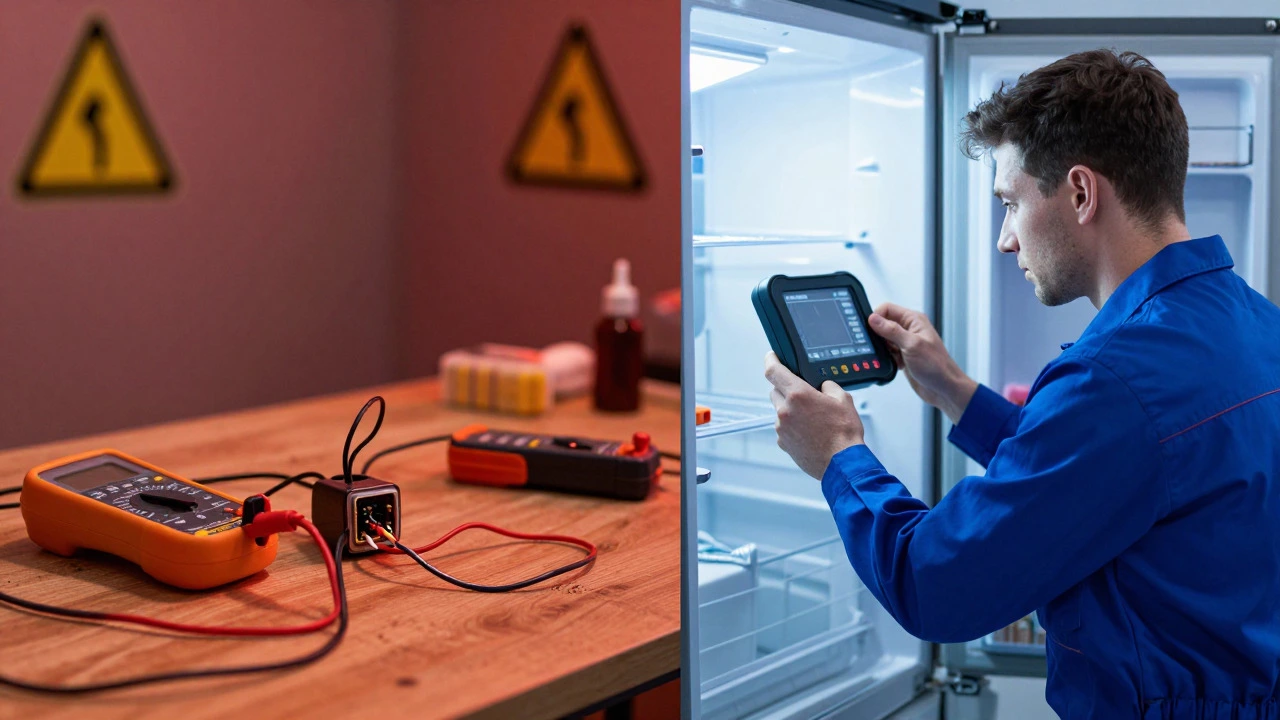
These tasks require basic tools: a screwdriver, a multimeter (for checking continuity), and patience. If you’re comfortable changing a lightbulb and cleaning a window, you can handle these.
The Danger Zone: When to Stop and Call a Pro
Here is where most DIYers make expensive mistakes. Some repairs look simple online but carry significant risks. In Auckland, and across New Zealand, electrical safety standards are strict. If you see any of these issues, put the tools down.
- Compressor Failure: If the compressor clicks but doesn’t start, or runs hot and loud, it might be dead. Replacing a compressor involves brazing copper lines and recovering refrigerant gas. Without EPA certification (or local equivalent), handling refrigerant is illegal and dangerous. Plus, compressors are heavy and expensive. Often, replacing the whole fridge is cheaper.
- Refrigerant Leaks: Oil spots near the coils indicate a leak. Refrigerant gases like R600a (isobutane) are flammable. Opening the sealed system releases this gas into your home. This requires a licensed technician with recovery equipment.
- Main Control Board Issues: Modern fridges have computerized control boards. While you *can* buy a replacement board, diagnosing why the old one failed is hard. If you replace the board but the underlying issue (like a shorted sensor) remains, you’ll blow up the new one too. This is a diagnostic minefield.
- Electrical Wiring Harnesses: If wires are melted, burnt, or sparking, unplug the unit immediately. Do not try to splice wires unless you know exactly what you’re doing. Electrical fires in kitchens are no joke.
For these jobs, the cost of labor plus parts often exceeds $300-$500 NZD. If your fridge is older than seven years, weigh that cost against buying a new, energy-efficient model.
Troubleshooting Common Symptoms: A Decision Tree
Instead of guessing, use this logic to narrow down the problem. Listen to your fridge. Does it hum? Click? Stay silent? Each sound points to a different component.
| Symptom | Likely Cause | DIY Difficulty | Action |
|---|---|---|---|
| Fridge runs constantly | Dusty coils, bad door seal, or faulty thermostat | Easy | Clean coils, check seals, test thermostat with multimeter |
| Freezer works, fridge is warm | Broken evaporator fan or blocked air duct | Medium | Check if fan spins. Clear ice blockages in vents. |
| Water leaking inside/outside | Clogged defrost drain or cracked water line | Easy/Medium | Unclog drain tube. Check water inlet valve connections. |
| Loud buzzing or clicking | Bad start relay or failing compressor | Hard | Test start relay ($10 part). If compressor fails, call pro. |
| No power at all | Tripped breaker, bad outlet, or internal fuse | Easy | Check circuit breaker. Plug another device into the outlet to verify power. |
Notice the pattern? Airflow and cleanliness issues are easy. Mechanical and sealed-system issues are hard. If the problem involves moving air (fans, vents, coils), you can likely fix it. If it involves moving heat via chemicals (compressor, refrigerant), leave it to the experts.
Tools You Need for Basic Fridge Repair
You don’t need a professional toolkit, but having the right basics makes a huge difference. Keep these in your garage:
- Multimeter: Essential for testing continuity in heaters, fans, and thermostats. It tells you if a part is electrically dead without removing it blindly.
- Screwdriver Set: Phillips and flathead. Many fridge panels are held by hidden screws behind labels or kickplates.
- Nut Drivers or Socket Set: For larger bolts on compressor mounts or legs.
- Flashlight: To see inside dark compartments and behind coils.
- Soft Brush/Vacuum Attachment: For cleaning delicate fins on coils without bending them.
A multimeter is the game-changer here. Instead of guessing if the defrost heater is broken, you measure its resistance. If it reads infinite resistance, it’s blown. Order a new one. Simple. Without it, you’re just swapping parts randomly, which wastes money.
Cost-Benefit Analysis: DIY vs. Professional Service
Let’s talk numbers. In New Zealand, calling a qualified appliance repair technician typically costs between $80 and $120 for a call-out fee, plus hourly labor ($90-$150/hr) and parts. A simple thermostat replacement might end up costing $250 total. If you do it yourself, the part costs $40, and you spend an hour.
However, consider the risk. If you misdiagnose a capacitor failure as a compressor failure, you might buy a $400 compressor unnecessarily. That’s a $400 mistake. Professionals have diagnostic software and experience to pinpoint the issue quickly. For complex electronics or sealed systems, their expertise saves you from costly errors.
Rule of thumb: If the repair cost exceeds 50% of the price of a new fridge, stop fixing and start shopping. Modern fridges are more efficient and come with warranties. Older models lack spare parts availability. Don’t throw good money after bad.
Safety First: Critical Precautions Before You Start
Electricity and cold don’t mix well with human error. Follow these non-negotiable safety steps:
- Unplug the Unit: Always disconnect power before touching any internal components. Even unplugged, capacitors can hold a charge, so wait a few minutes.
- Empty the Fridge: Remove all food. Have coolers ready for perishables. You won’t want wet food dripping onto electrical parts.
- Watch Out for Sharp Edges: Metal shelves and coil fins are razor-sharp. Wear gloves if you’re reaching deep inside.
- Don’t Force Panels: Fridge doors and liners are clipped in. Forcing them breaks plastic tabs. Look for hidden screws first.
- Keep Kids and Pets Away: Tools and small parts are choking hazards. Secure the area.
If you smell burning insulation or see smoke, unplug immediately and ventilate the room. Do not re-plug until inspected.
When to Consider Buying a New Fridge
Sometimes, the best repair is no repair. If your fridge is over 10 years old, has frequent breakdowns, or uses obsolete refrigerants, replacement is smarter. Energy prices in Auckland are rising. An old fridge might cost $200+ a year in electricity, while a new Energy Rating 4+ model costs half that. Over three years, the savings pay for the new unit.
Also, check warranty status. If it’s under warranty, DIY voids it. Call the manufacturer. If it’s out of warranty, weigh the repair quote against the retail price of a similar new model. If the quote is high, walk away.
Is it worth repairing an old fridge?
Only if the repair cost is less than 50% of a new fridge's price and the unit is under 7-10 years old. Older models are less energy-efficient and harder to source parts for. If the compressor fails on an old unit, replacement is usually better.
How much does it cost to hire a fridge repair technician in Auckland?
Call-out fees range from $80 to $120 NZD. Labor is typically $90-$150 per hour. Parts vary widely. A simple thermostat fix might total $250, while a compressor replacement can exceed $600. Always ask for a written quote before authorizing work.
Can I fix a fridge that is leaking water?
Yes, most leaks are due to a clogged defrost drain. You can unclog it with hot water and a pipe cleaner. If the leak comes from the water dispenser line, check for loose connections or cracked tubing. These are easy DIY fixes.
Why is my freezer cold but the fridge section warm?
This usually indicates an airflow problem. The evaporator fan might be broken, or the air ducts between the freezer and fridge are blocked by ice. Check if the fan is spinning. If not, replace it. If it is spinning, clear any ice blockages in the vents.
Do I need a license to repair a fridge in New Zealand?
For basic electrical repairs (thermostats, fans), no license is needed for homeowners. However, handling refrigerant gases requires a certified Gasworks ticket. Only licensed technicians should open the sealed system. Doing it yourself is illegal and unsafe.
What should I do if my fridge makes a loud buzzing noise?
Buzzing often comes from the compressor or condenser fan. Check if the fridge is level; uneven floors cause vibration. Clean the condenser coils, as dust can make the fan struggle. If the noise persists, the compressor mounting pads may be worn, or the compressor itself is failing.