Who Puts in Extractor Fans? The Complete Guide to Professional Installation
March 29 2026DIY Oven Troubleshooting: Simple Steps to Get Your Oven Working Again
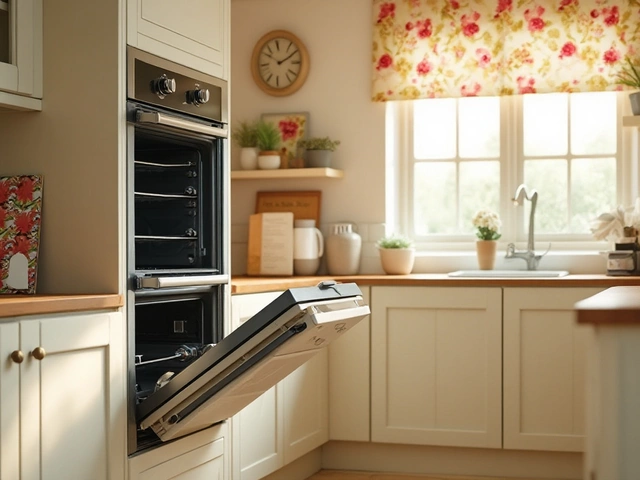
If your oven suddenly stops heating or cooks unevenly, you don’t have to panic. Most issues are caused by a few easy‑to‑check parts, and you can often fix them yourself without special tools. Below is a no‑nonsense guide that walks you through the most common problems, how to test them, and when it’s time to call a certified engineer.
1. Power and Safety Checks
First thing – make sure the oven is actually getting power. Look at the circuit breaker or fuse box; a tripped breaker is the fastest fix. Reset it, then test the oven. If you have a plug‑in model, unplug it, wait ten seconds, and plug it back in. While you’re at it, inspect the power cord for visible cuts or burns. A damaged cord is a fire risk and should be replaced by a professional.
2. Heating Element Inspection
The heating element is the most common culprit when an oven won’t heat. Open the oven door, locate the element (usually a metal coil at the bottom or top), and look for broken sections, blistering, or a blackened spot. If you see any damage, the element needs replacing. To test it without a multimeter, turn the oven to a high setting and watch for any glow after a few minutes. No glow means the element is dead.
If the element looks fine, check the connections. Loose wires can cause intermittent heating. Turn off the oven at the breaker, remove the element’s mounting screws, and gently wiggle the wires. Tighten any loose clamps and secure the element back in place.
3. Temperature Sensor and Thermostat Issues
Modern ovens use a temperature sensor (often a small metal probe) to regulate heat. A faulty sensor can make the oven think it’s already hot, so it shuts off the heating element. Unplug the oven, locate the sensor (usually near the back wall), and pull it out. Use a multimeter set to ohms; at room temperature, most sensors read between 1,000 and 1,100 ohms. If the reading is far off, replace the sensor.
The thermostat works similarly. If you suspect it, the same ohm‑range test applies. Many DIYers skip this step and call a pro, but a quick check can save a call-out fee.
4. Door Seal and Ventilation
A broken door seal lets heat escape, causing uneven cooking and longer pre‑heat times. Close the door and run a thin piece of paper along the seal; if it slips out easily, the gasket is worn. Replacing the gasket is usually a simple snap‑in job.
Also, ensure the oven’s vent is not blocked by food debris or grease. A clogged vent can overheat the oven’s internal components, triggering safety shut‑offs.
5. When to Call the Pros
If you’ve checked power, element, sensor, and door seal and the oven still won’t heat, the problem likely lies in the control board or gas supply (for gas ovens). These parts require a certified gas engineer or qualified electrician to diagnose safely. Trying to tinker with gas valves or electronic boards yourself can be dangerous and may void warranties.
Also, if you notice a strong gas smell, a sparking sound, or any burnt odor, shut the oven off immediately and call a professional. Safety should always come first.
By running through these checks, you’ll solve most DIY oven hiccups in under an hour. Keep a basic toolkit – screwdriver, multimeter, and a spare gasket – handy, and you’ll feel confident handling future oven quirks without waiting for a technician.
 1 Aug
1 Aug
Are Ovens Easy to Fix? A Straightforward Guide to Simple Oven Repairs
Discover if ovens are easy to fix, common issues you can handle yourself, and when you should call a pro. Includes practical tips and real-world advice.
Read More...POPULAR POSTS
Replacing an Electric Oven: Tips and Challenges
January 4 2025

Who to Call When Your Boiler Breaks Down
March 14 2025
How Much Does It Cost to Fix a Boiler in New Zealand?
January 29 2026