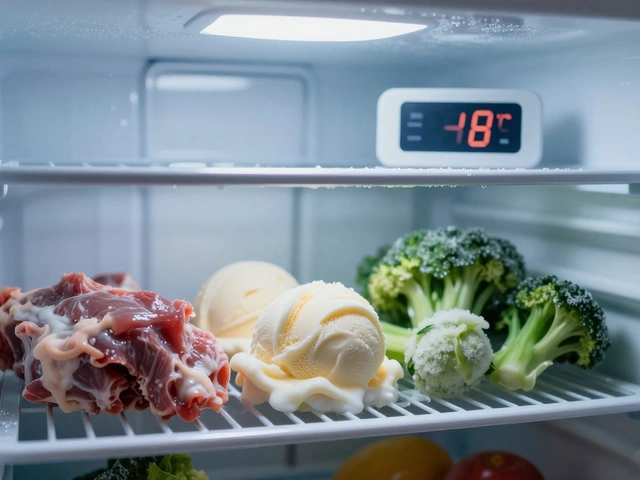
One day your freezer’s cranking out frosty ice cream and solid chicken nuggets, the next it’s a puddle of wasted groceries. Annoying? Absolutely—especially when you’re trying to figure out if everything inside is safe to eat. I’ve been there myself, especially after Finn’s ice pops started getting mushy (trust me, you’ll hear about it). But before you start tossing everything, take a breath—there’s a method to the meltdown.
The most common culprits aren’t as dramatic as you’d think. Sometimes a freezer door left a hair open can warm things up fast. Power surges from a lightning storm can zap your circuit without you even noticing. Or maybe that pizza box you wedged in last night blocked the vents, messing up the airflow. These are basic things to check before panicking or Googling repair services at midnight.
Start by feeling for cold air near the vents inside. If you can barely sense any chill, check if the fan’s blowing at all (listen for the usual hum). Also, take a quick look around the door gaskets for sticky spills or visible cracks—these let warm air sneak right in, no matter how tightly the door’s closed. You’d be surprised how a piece of crusted jam can sabotage the whole thing.
- How Freezers Really Work
- Most Common Causes of Freezer Failure
- What to Check Before Calling for Help
- When to Call a Repair Tech (and What It Might Cost)
How Freezers Really Work
Ever wonder what’s actually going on behind those frosty shelves? A freezer might look pretty simple—just a cold box—but there’s a lot going on under the hood. At its core, the freezer not freezing problem usually comes down to how the machine moves heat out, not just how cold it can make things inside.
Your freezer relies on a compressor, a fan, coils, and a thermostat. Basically, the compressor pumps refrigerant through coils. When the refrigerant evaporates inside those coils, it grabs heat from your food and air, leaving everything cold. Then it releases that heat out the back or bottom of the unit. The fan moves cold air around, keeping everything evenly frozen—no cold spots or weird thawing in the corners.
| Part | What It Does | Failure Signs |
|---|---|---|
| Compressor | Pressurizes refrigerant, moves it through coils | Clicks but no hum, total lack of cooling |
| Evaporator Coils | Lets refrigerant grab heat from inside the freezer | Frost buildup, uneven temps |
| Condenser Coils | Dumps the heat outside the freezer | Dusty coils, freezer runs hot, high energy usage |
| Thermostat | Tells the system when to cool | Freezer too warm or too cold |
| Evaporator Fan | Circulates air throughout freezer | Loud noises, ice cream soft in one area only |
Some freezers also run automatic defrost cycles to stop frost from gumming up the coils. If this fails, frost builds up fast, blocking airflow and making freezing less efficient. For a bit of perspective, the average modern freezer uses less power than a hair dryer—about 30-100 watts when running—but any problem in this system and it has to work way harder, hiking up your electricity bill while doing a lousy job freezing your food.
So, when things go wrong, it’s usually because one of these parts isn’t doing its job or gets blocked by dirt, frost, or even your stack of frozen dinners. That’s why just knowing how these pieces fit together can give you a big head start when things start getting warm.
What to Check Before Calling for Help
Don’t get on the phone with a repair tech just yet. You’d be surprised how often the fix is something obvious—or something you can handle in five minutes with zero special tools. Over 30% of freezer issues reported to service centers in the US turn out to be things the owner could’ve fixed at home. Let’s walk through the stuff you should check first.
- Freezer not freezing? Look at the power first. Is the outlet working? Plug something else in—a lamp, your phone charger—just to be sure. Sometimes it’s as simple as a tripped breaker or a loose plug.
- Check the temperature settings. Freezers should be at 0°F or -18°C. Someone may have bumped the dial or button (especially if you have kids or you’re reorganizing like Maya does after a grocery run).
- Inspect the door seal. Close the door on a dollar bill or even a strip of paper and try to pull it out. If it slides out easily, your seal’s not tight enough. Even a small gap can mess up the whole freezing process.
- Open the vents and make sure nothing’s blocking them. That big bag of frozen veggies covering the vent? Yeah, move it—freezer air needs to move freely or temperatures go haywire quickly.
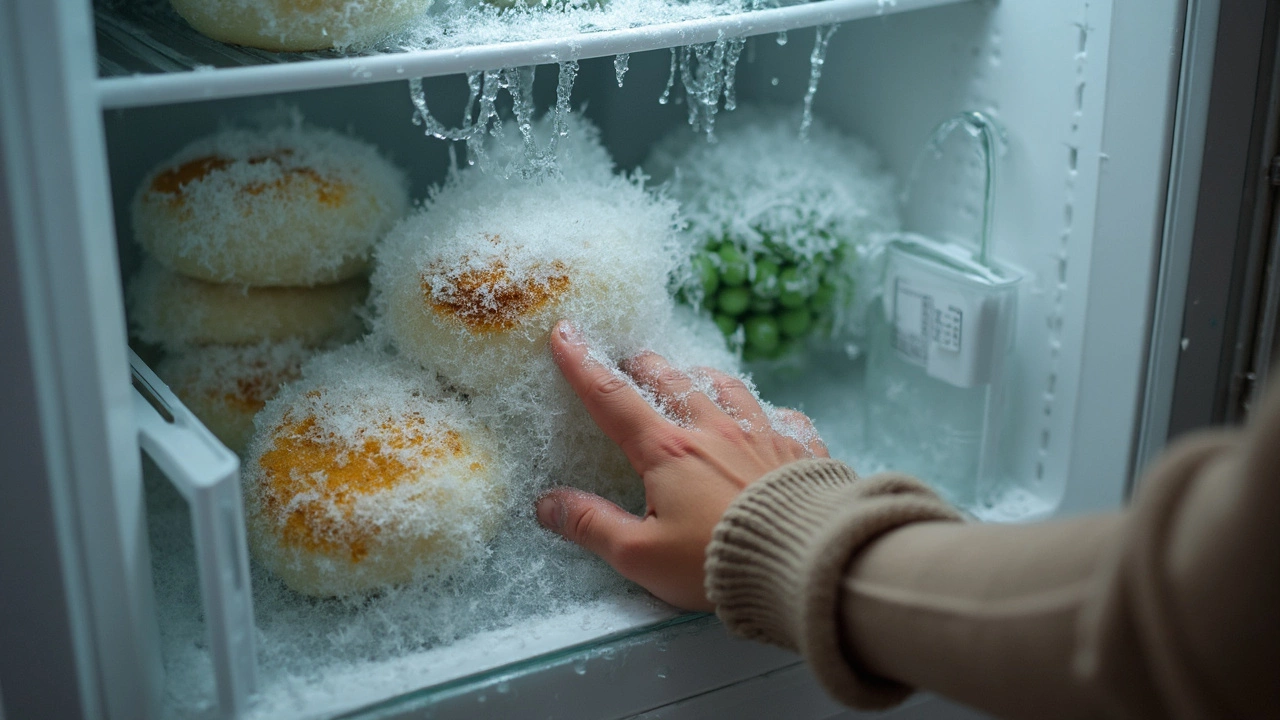
- Defrost buildup is a sneaky culprit. Ice crusting up on the walls or around the door? Too much frost makes the freezer work harder and less efficiently. If you see sheets of ice, it’s probably time for a quick manual defrost.
Here’s a simple table to keep your troubleshooting organized. Don’t skip any steps—you’ll save yourself plenty of frustration and maybe even a service call fee.
| What to Check | How to Check | What It Might Mean |
|---|---|---|
| Power Supply | Plug in another appliance | No power? Check your breaker or try another outlet |
| Temperature Controls | Look at settings/digital display | Not set to 0°F? Readjust and wait a few hours |
| Door Seal | Use paper/dollar bill test | Loose? Clean or consider replacing the gasket |
| Blocked Vents | Check for food blocking vents inside | Move items around, don’t pack it too tight |
| Frost Buildup | Look for ice on walls or shelf | Defrost the freezer if buildup’s more than 1/4 inch thick |
If you go through this whole list and your freezer still isn’t doing its thing, you may have a deeper issue with the compressor, thermostat, or another part you can’t tackle without tools. But at least now you’ve ruled out the stuff you can fix, and if you do call for help, you’ll sound like you know what you’re talking about.
When to Call a Repair Tech (and What It Might Cost)
So you’ve checked the obvious stuff and your freezer still isn’t pulling its weight. When should you wave the white flag and call in the pros? If your freezer isn’t cold after a full defrost, the interior light and fan aren’t turning on, or if you hear clicks, buzzing, or total silence from the compressor, it’s time to get someone out. Leaking coolant (which smells a little weird and oily) is also a no-go for the DIY crowd. These issues usually point to deeper problems with the compressor, starter relay, thermostat, or sealed system that regular folks shouldn’t mess with.
If you’ve got stuff melting fast or you notice frost everywhere despite adjusting settings, don’t wait. Some repairs are time-sensitive. For example, if the starter relay’s shot, leaving the unit plugged in can fry your compressor—now you’re looking at a major bill or a new freezer. And if you see error codes on the digital display, dig out the manual or look them up online, but be real: if it doesn’t reset with a hard unplug-and-plug, you’re probably past the DIY zone.
- If your freezer is under warranty, always call an authorized service tech first. DIY fixes can void that coverage.
- Older freezers (over 10 years old) might not be worth fixing if the repair quote is close to half the cost of replacement.
Here’s what you can expect on cost. A service call fee usually runs $75–$120 just for the tech to show up. Starter relays, thermostats, and fans can be replaced for $100–$250 including labor. Compressor replacement? Brace yourself—$400–$650, parts and labor. Sealed system work can match or even top that. If you hear a repair quote over $500 on a basic model, it’s often smarter to put your money toward a new freezer. You want reliable cold, not a money pit.
One last thing: always check if your home warranty or appliance insurance covers freezer repair before paying out of pocket. Some plans cover parts and labor, which can save you a headache and a chunk of cash.

