Ever opened your dryer door to find clothes still damp, or heard a loud grinding noise that wasn’t there yesterday? You’re not alone. In Auckland’s humid winters, a broken dryer isn’t just inconvenient-it’s a daily hassle. But before you call a technician and fork out $200+, ask yourself: can I fix my dryer myself? The answer isn’t yes or no. It’s maybe-and here’s how to know for sure.
When DIY Dryer Repair Actually Works
Most dryer problems are simple, cheap, and easy to fix. You don’t need to be an electrician. You just need to know what to check-and what not to touch.The top three issues you can fix yourself:
- Lint buildup-the #1 cause of dryer failure. If your clothes take two cycles to dry, this is likely your problem. Clean the lint filter after every load. Then, pull the dryer away from the wall and vacuum the vent hose. Use a brush attachment. Do this every three months. If you haven’t done it in over a year, you’re risking a fire.
- Broken belt-if the drum spins but doesn’t tumble, or you hear a squealing noise, the belt is probably snapped. Most dryers use a simple rubber belt that costs under $20. You can replace it in 45 minutes with a screwdriver and a little patience. YouTube has step-by-step videos for your exact model.
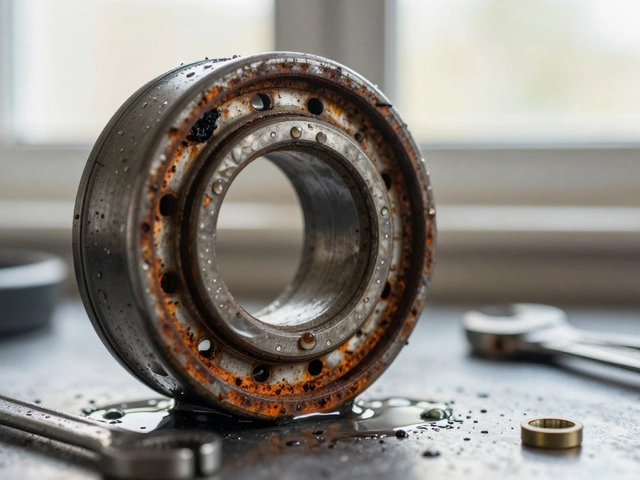
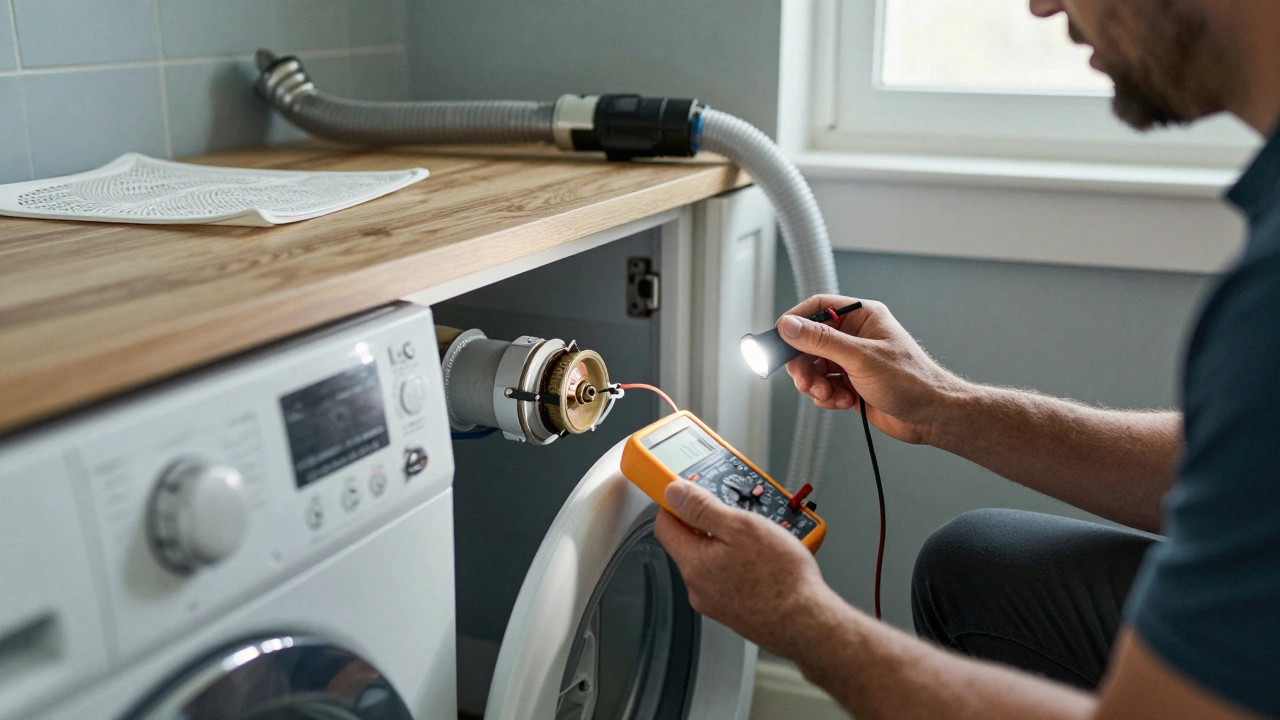
- Tripped thermal fuse-if your dryer runs but doesn’t heat, this tiny component may have blown. It’s a safety device that cuts power if the dryer overheats. You can test it with a multimeter (under $15 at Mitre 10) or just replace it. It’s usually located near the exhaust duct. Replacement costs $10.
These fixes work on 70% of dryers sold in New Zealand over the last 15 years-brands like Samsung, LG, Whirlpool, and Fisher & Paykel. You don’t need special tools. Just a flashlight, a screwdriver set, and the courage to unplug the machine.
When You Should Stop and Call a Pro
There are limits. Some problems aren’t DIY-friendly-and trying to fix them can make things worse.Walk away if you see:
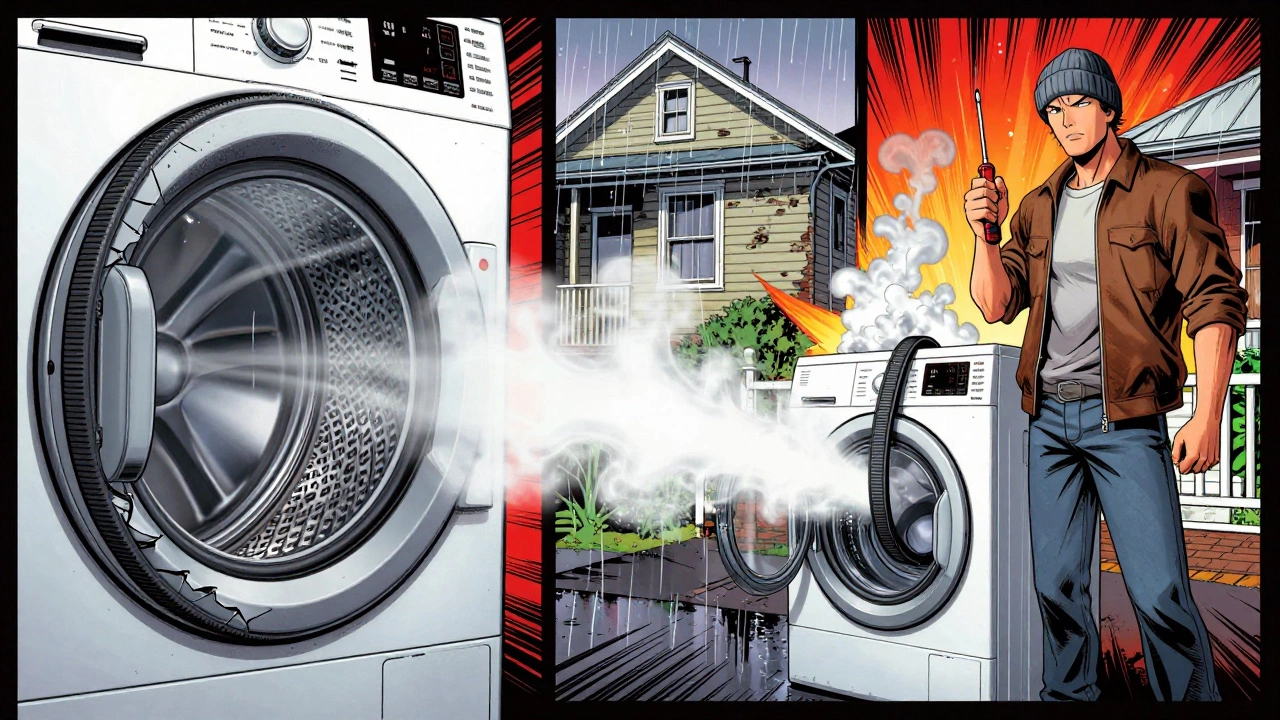
- Electrical sparks or burning smells-this isn’t a fuse issue. It’s a wiring fault, a bad motor, or a damaged control board. Tampering with live components can electrocute you or start a fire.
- Drum won’t spin at all-if the motor is dead or the drum bearings are seized, you’re looking at a $150-$300 repair. Most DIYers don’t have the tools to remove the drum safely.
- Display errors or error codes-modern dryers show codes like E10, F02, or U4. These point to sensors, control boards, or software glitches. Without a service manual and diagnostic tools, you’re guessing.
- Your dryer is over 10 years old-parts are harder to find. Labour costs often exceed the value of the machine. If you’re spending more than half the price of a new dryer, it’s time to replace it.
There’s no shame in calling a technician. But you should call them with information-not panic. Know your model number. Write down the symptoms. That saves you $80 in diagnostic fees.
How to Find Your Dryer Model Number
You can’t fix what you can’t identify. Most people don’t know where to look.Check these spots:
- Inside the door frame
- On the back panel
- Behind the lint filter
- On a sticker near the bottom front
It usually looks like this: WDP5400WW or DLG5988W. Write it down. Then search “[your model] repair manual” online. You’ll find free PDFs with diagrams, part numbers, and step-by-step guides.
Don’t guess. If your dryer is a Fisher & Paykel DD605, the drum bearing is a known weak point. If it’s a Samsung DV45H7000EW, the thermal fuse is behind the back panel. Knowing your model saves hours.
Tools You Actually Need
You don’t need a workshop. Just these basics:- Phillips and flathead screwdrivers
- Flashlight or headlamp
- Needle-nose pliers
- Shop vacuum with hose attachment
- Multi-meter (for testing fuses and thermostats)
- Replacement parts (buy from Appliance Parts NZ or eBay-avoid generic brands)
Don’t buy a $100 tool kit. Borrow a multimeter from a friend. Use a phone flashlight. The only thing worth spending on is the correct replacement part. A $5 thermal fuse can save you $250 in service calls.
Real-Life Example: My Dryer Stopped Heating
Last winter, my LG dryer ran but didn’t heat. Clothes came out damp. I checked the lint filter-clean. I unplugged it. Waited five minutes. Plugged it back in. Still no heat.I looked up the model: DLE3777W. Found the service manual. It said: test the thermal fuse. I removed the back panel. Found the fuse near the exhaust duct. Used my multimeter. No continuity. Dead.
I ordered a replacement for $9.95. Took 15 minutes to install. Turned it on. Hot air came out. Done.
That’s the story of 90% of dryer repairs. No magic. No expertise. Just a little curiosity and a search engine.
What to Avoid
There are traps. Don’t fall for them.- Don’t use the dryer with a broken belt-it’ll damage the drum, motor, or rollers. You’ll end up paying more.
- Don’t ignore strange noises-a thumping sound could mean a broken drum support. A grinding noise could be worn bearings. Both get worse fast.
- Don’t bypass safety switches-some people tape down the door switch to make the dryer run. That’s dangerous. It can cause overheating and fires.
- Don’t buy parts from random online sellers-cheap belts or thermostats fail in weeks. Stick to OEM or reputable suppliers like Appliance Parts NZ or Trade Me sellers with 100+ reviews.

How Long Does It Take?
Most simple repairs take 30-60 minutes. Here’s a rough timeline:- Unplug the dryer: 2 minutes
- Locate and remove panels: 10-15 minutes
- Test or replace part: 10-20 minutes
- Reassemble: 10 minutes
- Test run: 5 minutes
That’s less time than waiting for a technician to arrive. And you’ll learn something useful.
When to Just Buy a New One
Sometimes, the math doesn’t add up.If your dryer is:
- Over 10 years old
- Needs more than one part replaced
- Costs more than $400 to fix
- Uses a discontinued model
Then it’s time to replace it. New energy-efficient dryers in New Zealand cost between $700 and $1,500. But they use 30-50% less electricity. That saves you $100-$200 a year on power bills.
Look for models with the Energy Star label. Fisher & Paykel, LG, and Samsung all have heat pump dryers now-they’re quieter, use less energy, and dry clothes faster.
Don’t feel guilty. Replacing a broken appliance isn’t giving up. It’s being smart.
Final Checklist: Can You Fix It?
Before you start, ask yourself:- Is the problem one of the top three: lint, belt, or thermal fuse?
- Do I know my model number?
- Do I have access to a service manual or video guide for my model?
- Am I comfortable unplugging the dryer and removing panels?
- Can I get the part within 24 hours?
- Am I willing to stop if something feels unsafe?
If you answered yes to all, go ahead. You’ve got this.
If you’re unsure, call a technician. But call them prepared-with your model number, symptoms, and a list of questions. That’s how you avoid being overcharged.
Is it safe to fix a dryer myself?
Yes, if you stick to simple repairs like cleaning lint, replacing a belt, or swapping a thermal fuse. Always unplug the dryer first. Avoid anything involving live wiring, control boards, or gas lines. If you smell burning or see sparks, stop immediately and call a pro.
How much does it cost to fix a dryer myself?
Most DIY repairs cost under $30. A thermal fuse is $10, a belt is $15-$25, and a lint vent brush is $8. You might spend $50 total if you need multiple parts. Compare that to a service call, which starts at $120 just for the visit.
How long do dryer repairs last?
A properly installed belt or thermal fuse should last 3-5 years. Lint cleaning prevents future issues and can extend your dryer’s life by 5-10 years. If a part fails again within a year, you likely bought a cheap replacement or missed another underlying issue.
What if my dryer is still under warranty?
Don’t open it. Most warranties are voided if you attempt DIY repairs. Contact the manufacturer or retailer first. Many offer free diagnostics or discounted service for new appliances. Check your paperwork-some warranties cover parts for 5 years.
Where can I buy dryer parts in New Zealand?
Try Appliance Parts NZ, Trade Me, or local appliance repair shops in Auckland. Avoid random Amazon sellers or eBay listings with no reviews. Look for OEM (Original Equipment Manufacturer) parts-they fit better and last longer. For Fisher & Paykel or LG, use their official parts portals.
Can a faulty dryer cause a fire?
Yes. Lint buildup is the leading cause of home dryer fires in New Zealand. A blocked vent traps heat, and a worn belt can spark. A blown thermal fuse is designed to prevent this-but if it’s bypassed or ignored, the risk goes up. Clean your vent every 3 months. It’s the single best way to prevent fire.
Why won’t my dryer spin?
Most often, it’s a broken belt or worn drum rollers. Less common: a failed motor or seized drum bearing. If the motor hums but the drum doesn’t move, the belt is likely snapped. If there’s no sound at all, the motor or control board may be dead. Start with the belt-it’s the easiest fix.
How do I know if my dryer’s heating element is broken?
If the drum spins but no heat comes out, and you’ve ruled out the thermal fuse and lint blockage, the heating element may be faulty. Test it with a multimeter-it should show continuity. If it’s open (infinite resistance), it’s dead. Replacement costs $40-$70. But this is a harder repair. Only attempt it if you’re comfortable working with electrical components.
Fixing your dryer yourself isn’t about saving money alone. It’s about knowing your home, trusting your hands, and not letting a broken appliance control your routine. You don’t need to be an expert. You just need to start with the simplest fix-and go from there.