Flats gone cold mid-bake, cake mix refusing to rise, pizza cheese barely even melting — it’s the stuff of kitchen nightmares across Auckland and everywhere else. If you’ve stood in front of your oven, squinting suspiciously through the glass at a pallid dinner, thinking, ‘Something’s off…’, you’re probably not imagining things. Ovens rarely die dramatically — most just quietly perform a little worse each day. At the heart of the problem? That humble oven element you rarely think about…until it stops working.
What Does the Oven Element Actually Do?
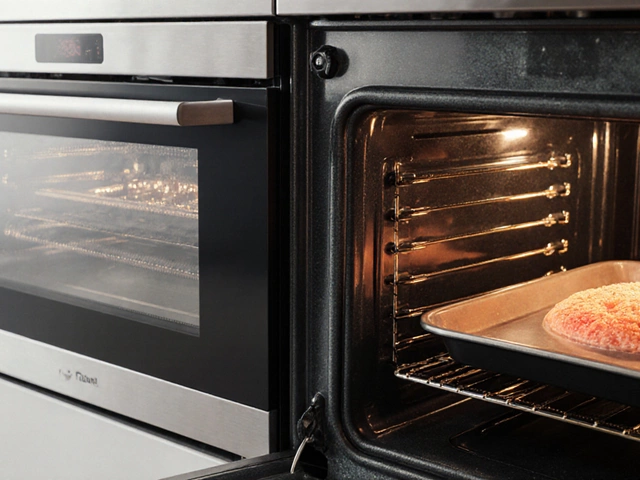
The oven element is the unsung hero hiding at the top or bottom of your oven, depending on whether it’s the bake or grill element at play. It’s a coil of metal containing a wire that heats up when electricity passes through, essentially acting like an electric radiator for your food. Without it doing its job, your oven can’t maintain temperature, meaning soggy pastry, uneven roasting, or no heat at all.
Fun fact: In standard home ovens around New Zealand, the average bake element reaches a toasty 220°C (428°F) — more than enough to crisp a roast or char the edges of your Friday night pizza. This simple technology hasn’t changed much since the 1940s.
Most ovens have at least two main elements — one for the base, one for the grill (top), and some fancier fan-forced models have a third ring hidden around the fan for fast, even cooking. Electric elements are reliable, but like anything under stress, especially with all those Auckland power surges, they’re bound to fail eventually.
Classic Signs Your Oven Element Is on the Fritz
So, how can you tell if the oven element is broken? First, you’ll usually spot the symptoms long before anything completely stops working. Here’s what to look out for:
- Food takes way longer to cook. You crank the dial higher and higher, but nothing seems to help.
- Baking comes out uneven — burnt at one end, raw at the other, or even just limp, sad-looking meals that should’ve browned ages ago.
- The oven’s temperature light keeps cycling, but the inside never actually hits the set heat.
- Visibly, the element might show damage. Look for blisters, cracks, spots where the coating is flaking, or whitish areas that look ‘burned out’.
- No glow at all: Most oven elements glow red hot when running at full blast (especially visible in a dark kitchen), but a failed element stays cold and dull even on the highest setting.
- Sparks, popping, or smoke: A dramatic sign — if you ever see sparks or hear a loud pop as the oven heats up, switch it off immediately. That’s a dead-ringer for a blown element.
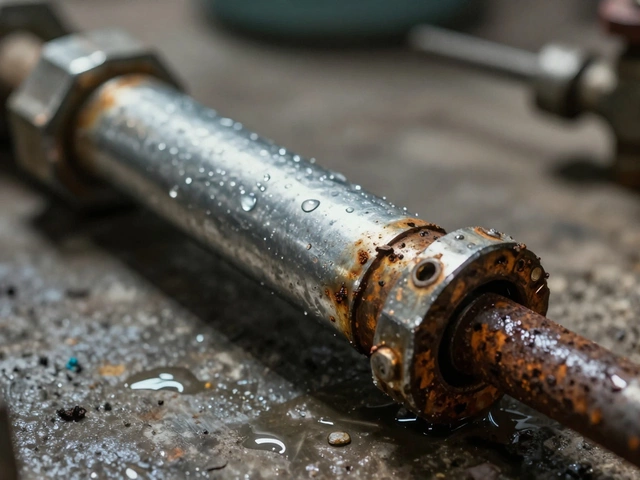
Common Causes for a Broken Oven Element
Oven elements don’t break out of spite. Usually, there’s a reason for their failure — and knowing why can help you prevent future trouble (and maybe save the cost of a new element next year). Here are a few big causes:
- Normal wear and tear: Every time you use the oven, heating and cooling expands and contracts the metal. After thousands of cycles, the wire can fatigue, split, or burn out.
- Heavy spillage: Accidentally tipped over a bubbling casserole? Food spills can bake onto the element, weakening its protective coating or causing short circuits when there’s lots of liquid.
- Power surges: New Zealand is no stranger to accidental grid spikes or outages, and these can fry delicate wires. Even a momentary jolt might push an ageing element over the edge.
- Moisture: Cleaning with excessive water, a steam mop, or a leaking door seal can let moisture inside the element. Water and hot electrics never mix well.
- Physical knocks: Bumping the element with a heavy tray or pan (especially in a tight oven cavity) can jolt the wiring or crack the sheath.
- Manufacturing defects: Rare, but not unheard of — sometimes an element is just a dud, breaking much sooner than expected.
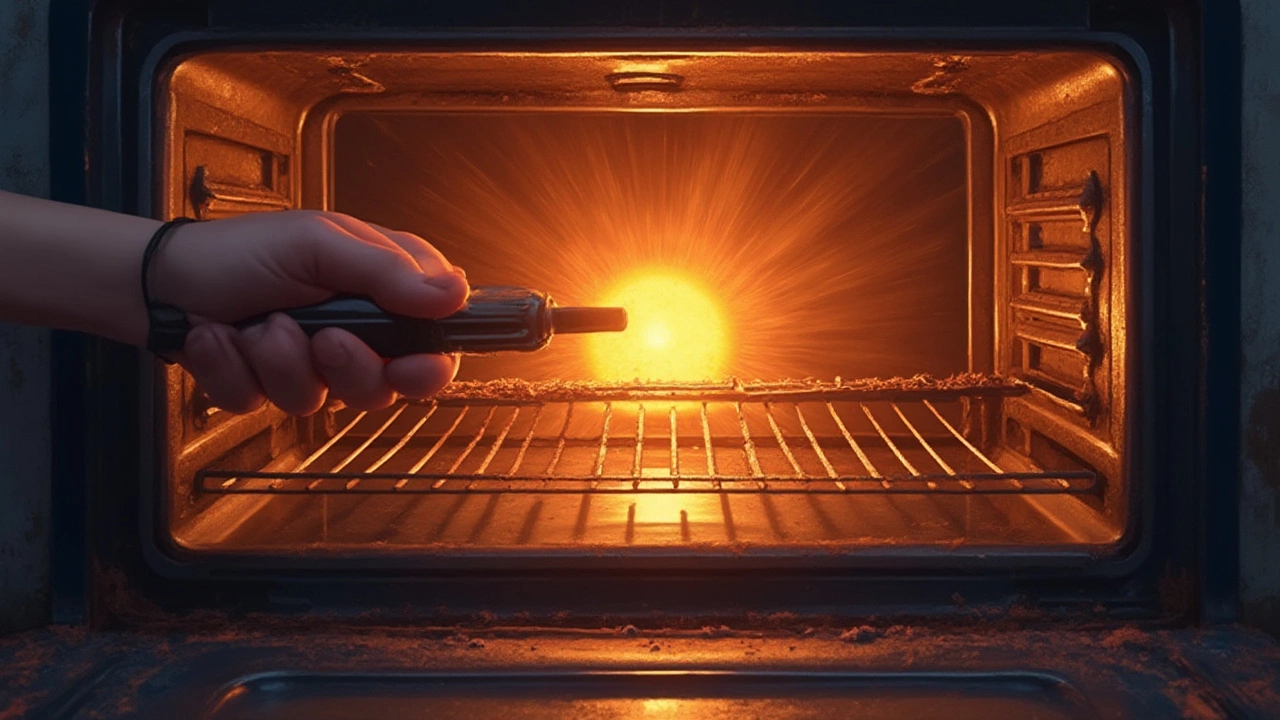
How to Test Your Oven Element (Safely!)
Before you start shopping for a new oven — or calling a professional — you can often confirm a broken element yourself in just a few steps. Safety’s the top priority. Electric ovens carry deadly voltages, so if you’re not confident, always leave it to a pro.
Here’s how you can safely check the element:
- Unplug or isolate power: Switch off your oven at the wall or remove its circuit breaker. Double check it’s dead before poking inside.
- Let it cool: Make sure the oven and element are stone cold to avoid burns.
- Visually inspect: Shine a bright torch at the element. Look for cracks, bubbling, or melted spots. Sometimes you’ll see corrosion or visible breakage.
- Feel (gently): Swipe your (dry) glove or cloth along the element. Any rough spots or loose metal? That’s a bad sign.
- Multimeter test: If you have a multimeter, remove the element (usually held by two screws), disconnect the wires, and check resistance. For a typical element, you’re looking at 20-40 ohms. If you get zero (no circuit) or infinity (open circuit), the element’s dead.
- Test in place: If you don’t want to strip out the oven, see if the element glows red after five to ten minutes at max heat. No glow = no go.

What to Do Next: Fixing or Replacing the Broken Element
If you’ve confirmed your oven element is toast, replacing it is usually pretty straightforward and affordable, especially for common brands like Fisher & Paykel or Westinghouse found all over Auckland. Here’s the basic process if you’re happy to try a DIY fix:
- Buy the exact model replacement: Grab the oven model number (inside the door or on the sticker at the back) and match it exactly, since elements are not always interchangeable.
- Unplug the oven and wait till fully cool.
- Unscrew the retaining clips or screws at the element ends (usually at the rear or under the back panel inside).
- Carefully disconnect the wires (take a photo first, so you don’t mix them up).
- Fit the new element, reattach the wires, and refit screws/clips. Don’t overtighten, as you might crack the element or strip the metal.
- Check for solid, wobble-free fit. Loose elements make for uneven cooking.
One last pro tip: Always double check your oven seals and door close tightly after replacing an element. A loose door will bleed heat and keep you guessing about what’s wrong.
Oven not heating, food half-baked, funny smells, or a failed red-hot test? It’s probably your oven element begging for retirement. Give it a check — and you’ll be back to baking without the guesswork.